Artistic Flourishes
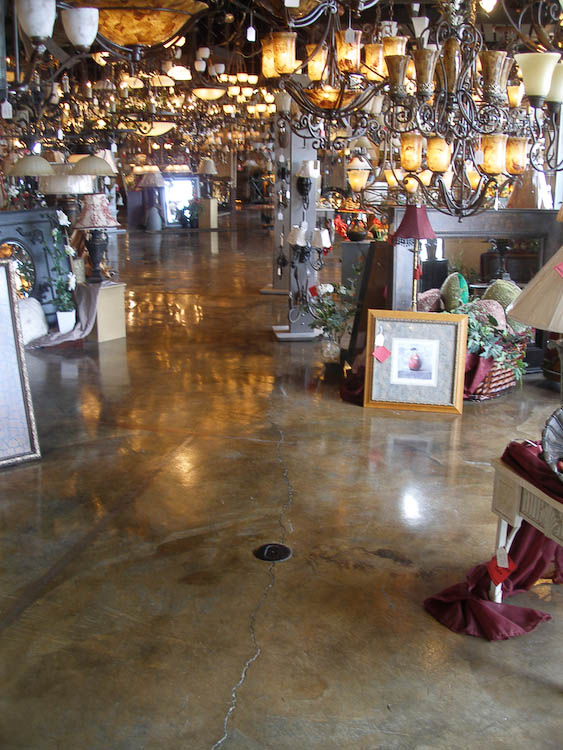
Overall Floor Patterns:


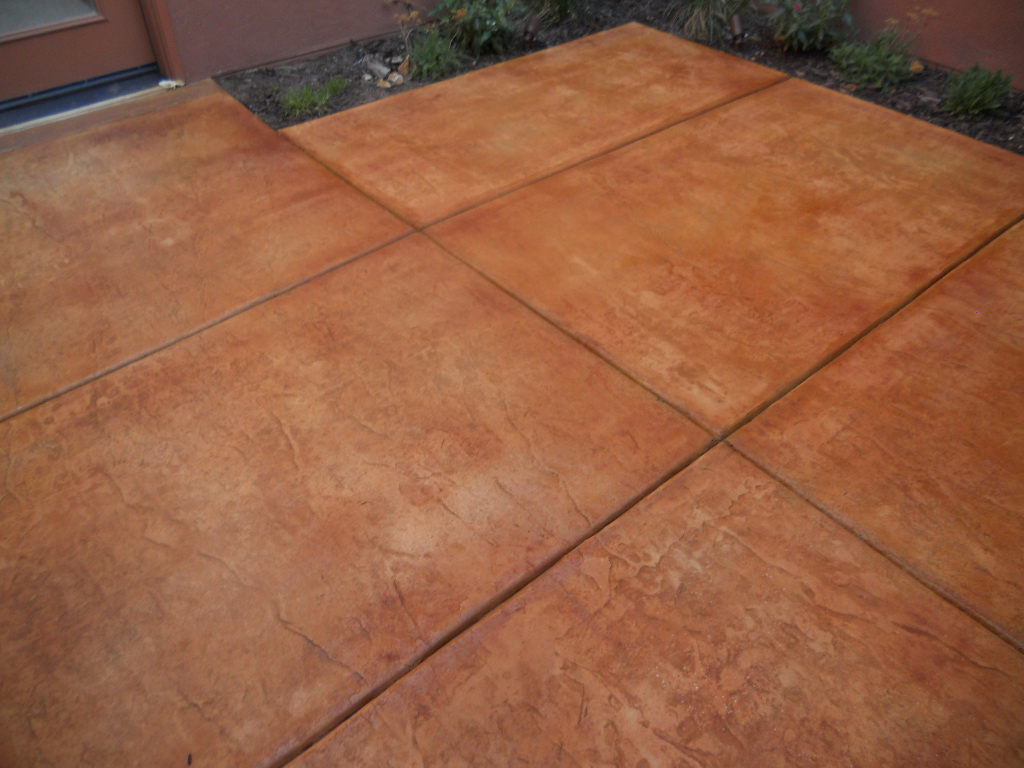
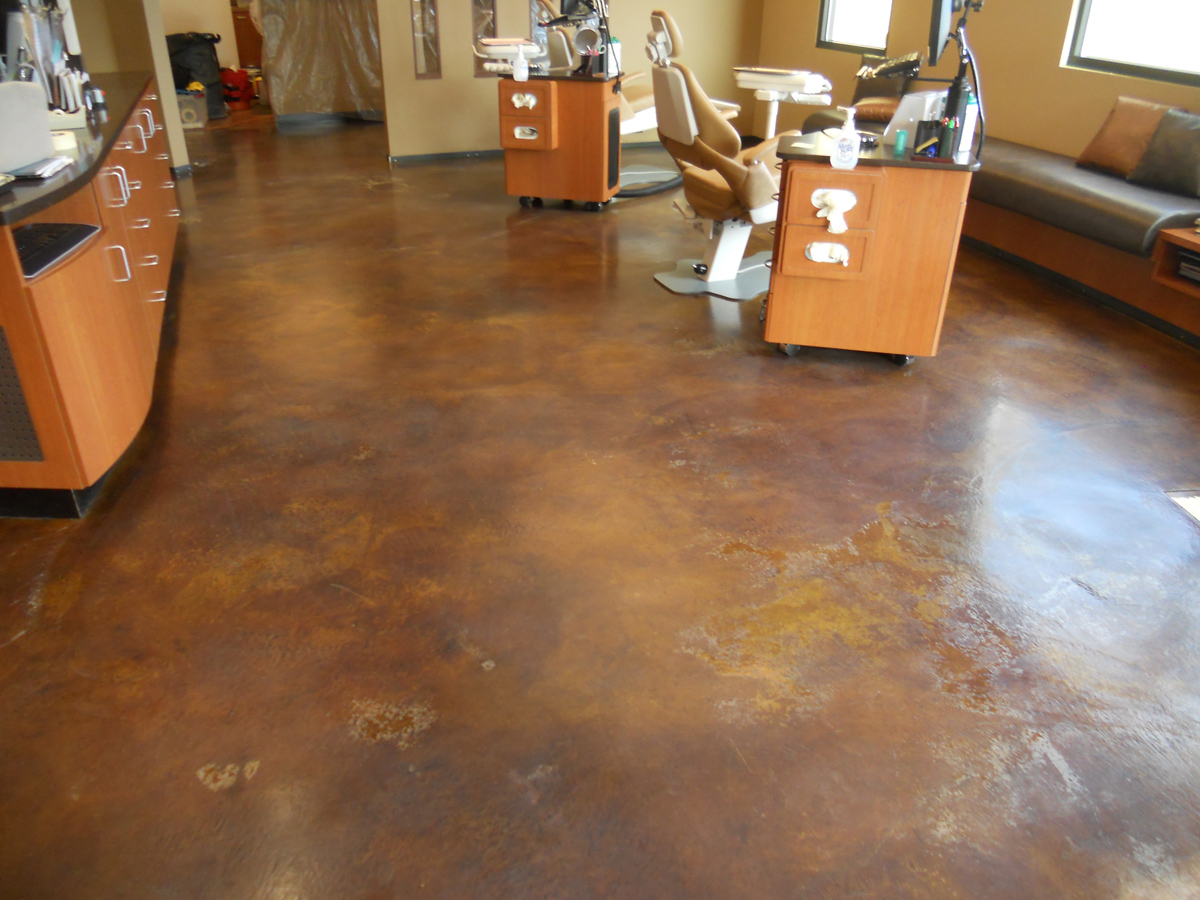
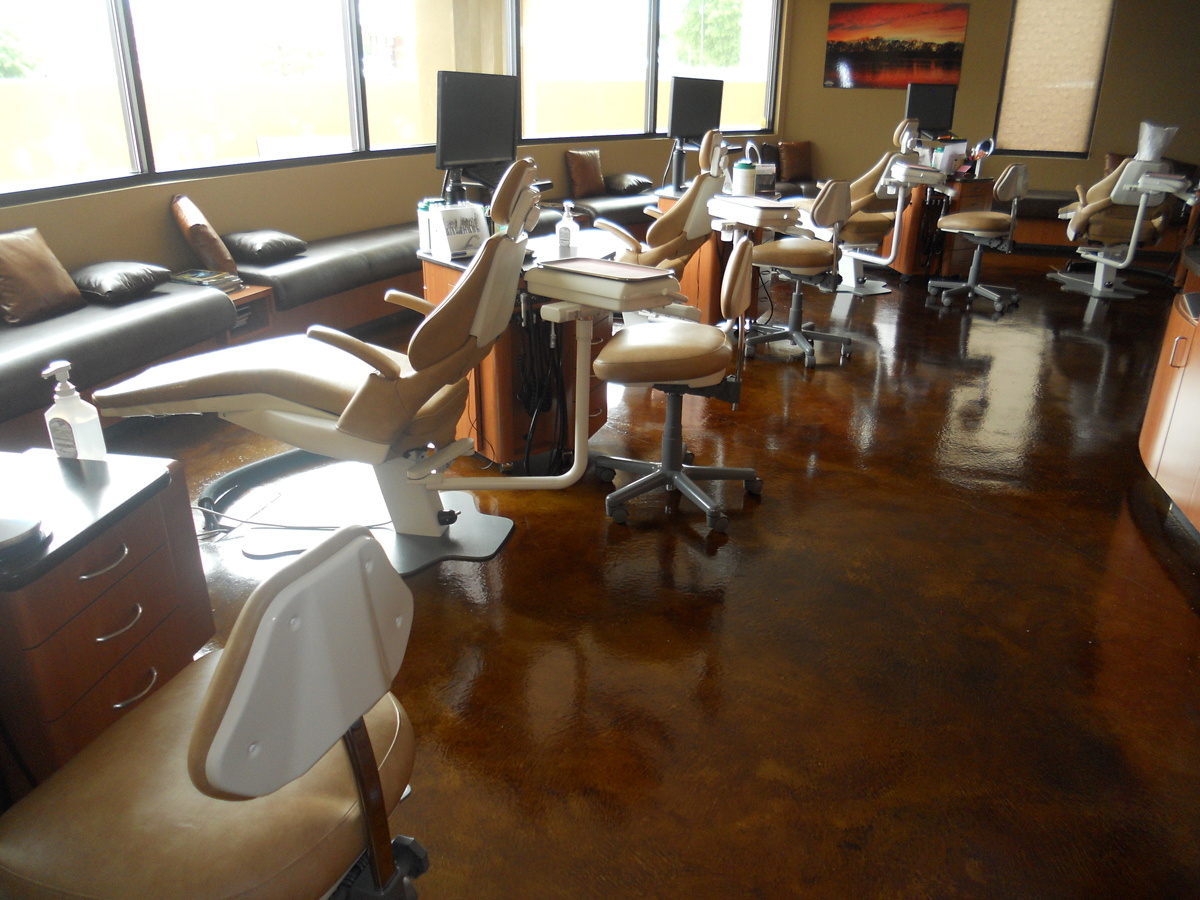
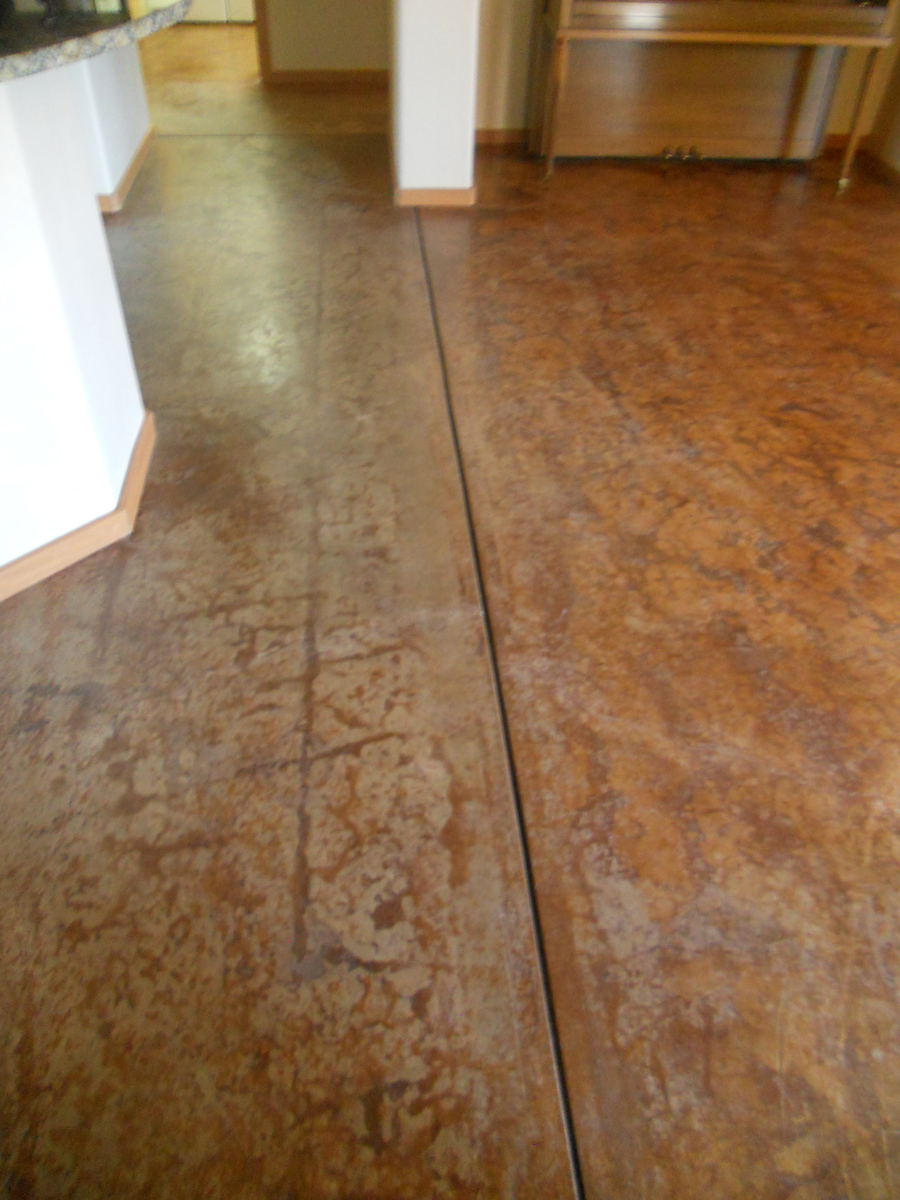
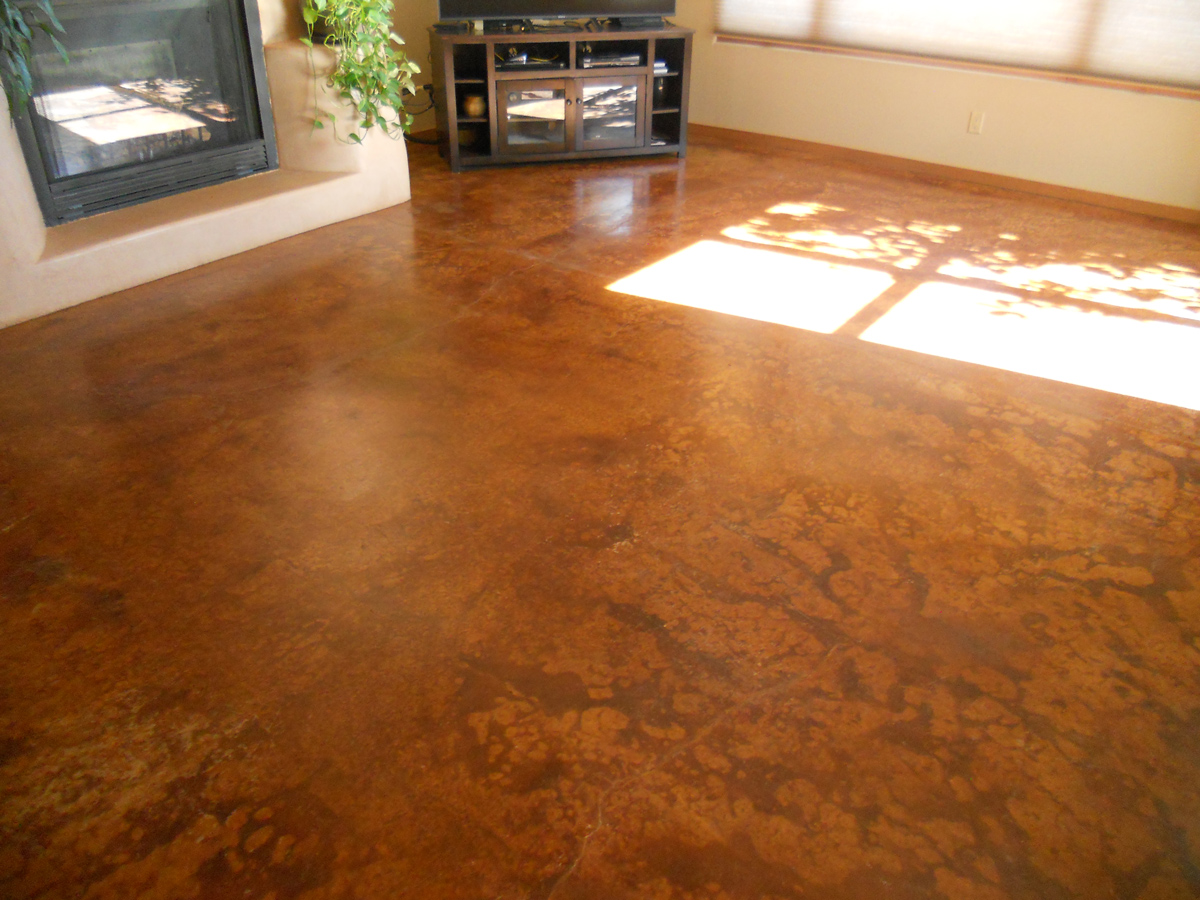
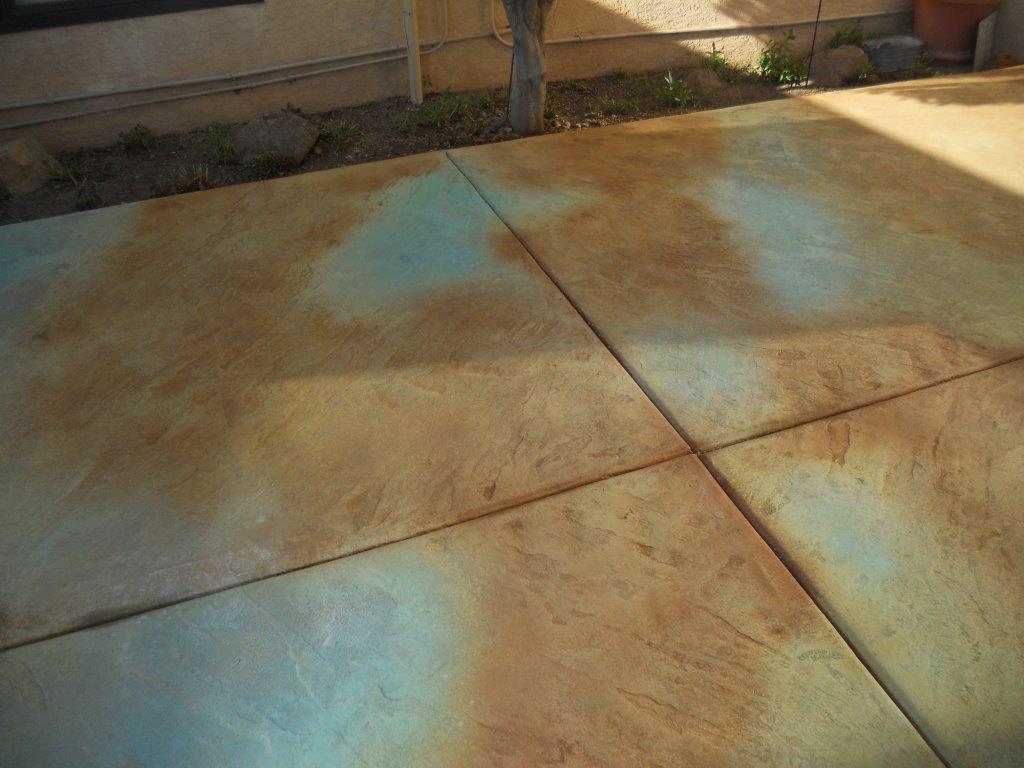
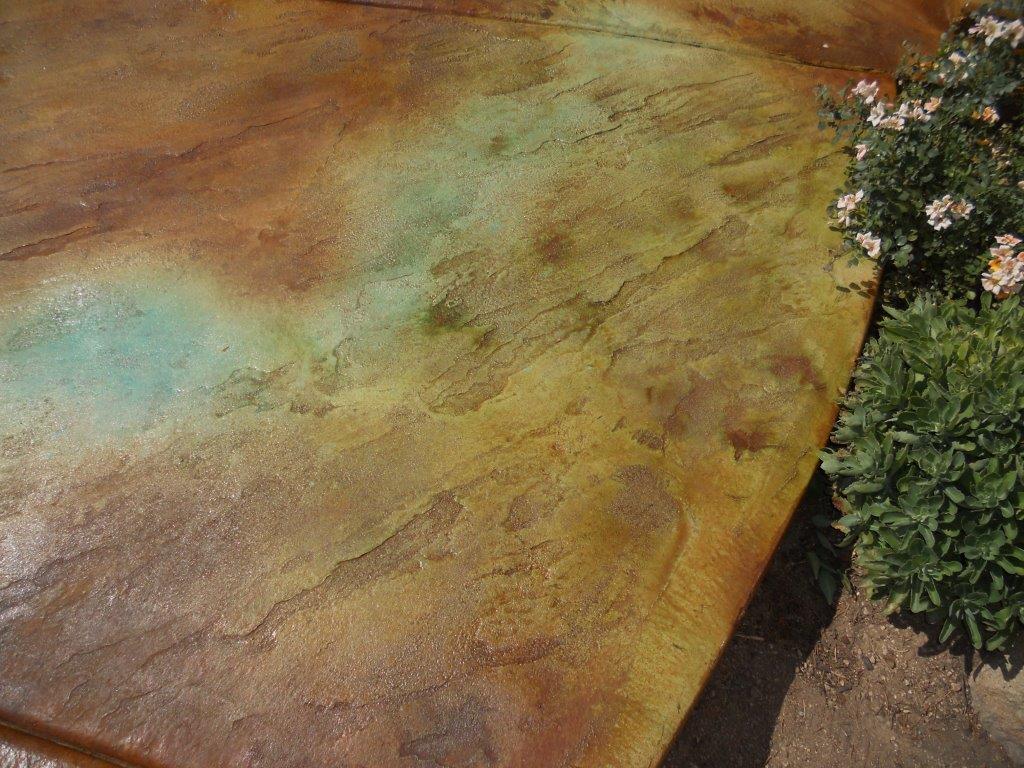
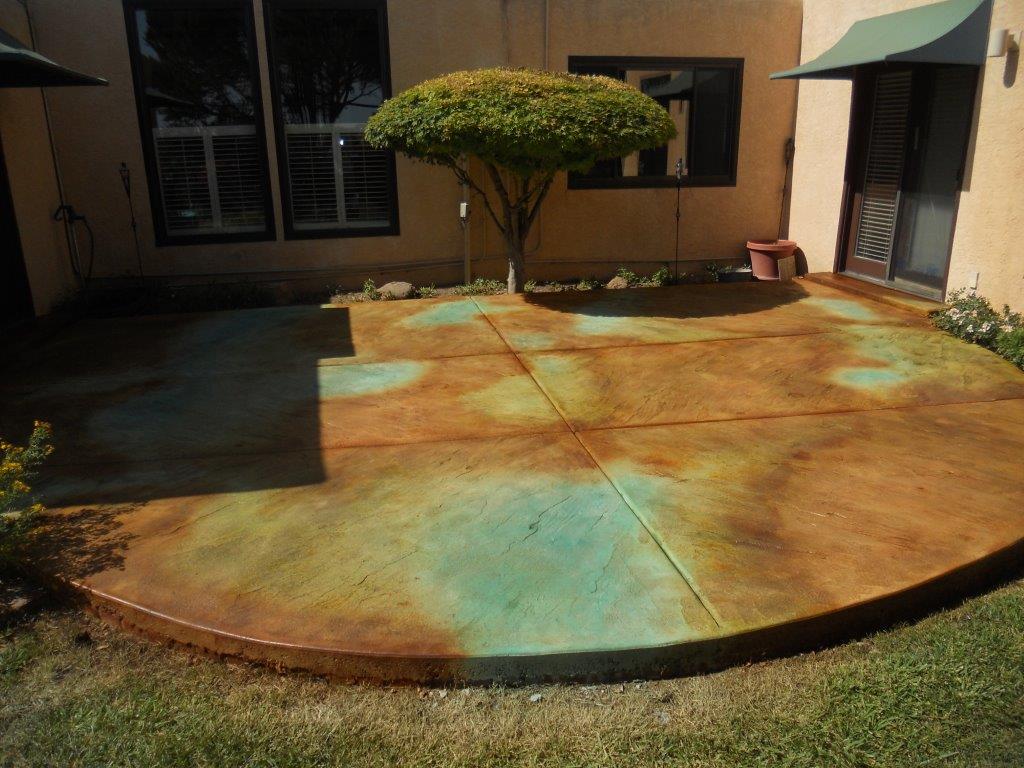
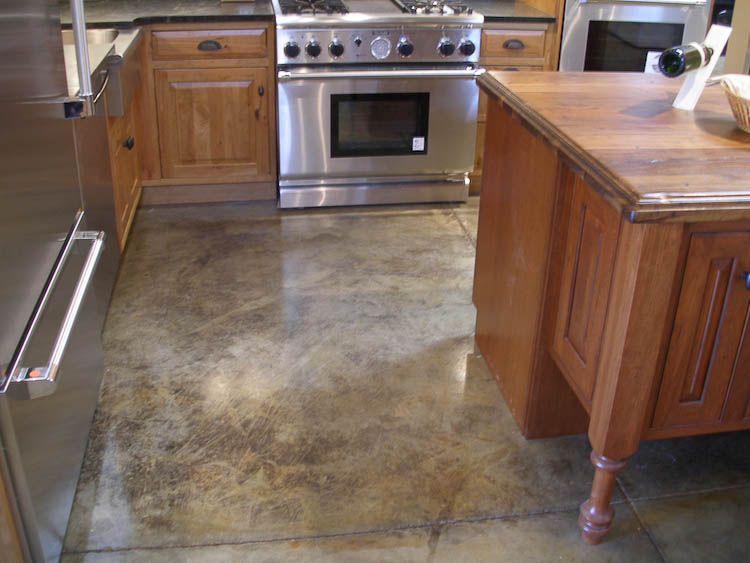
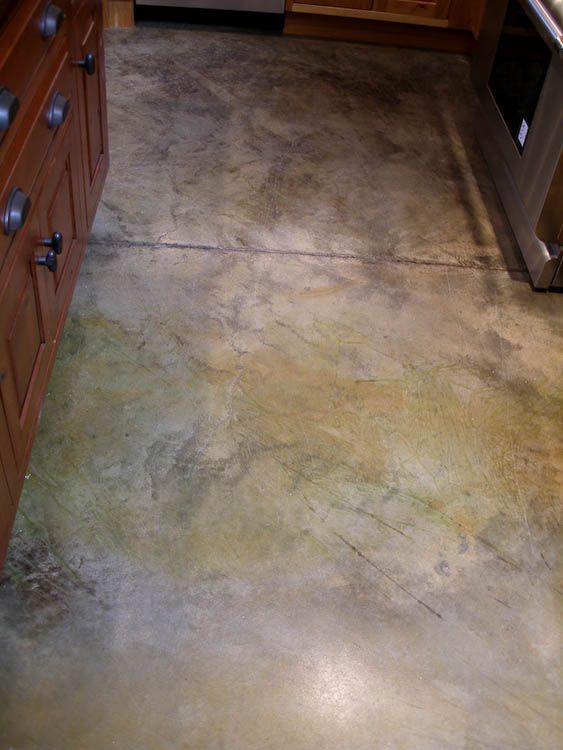
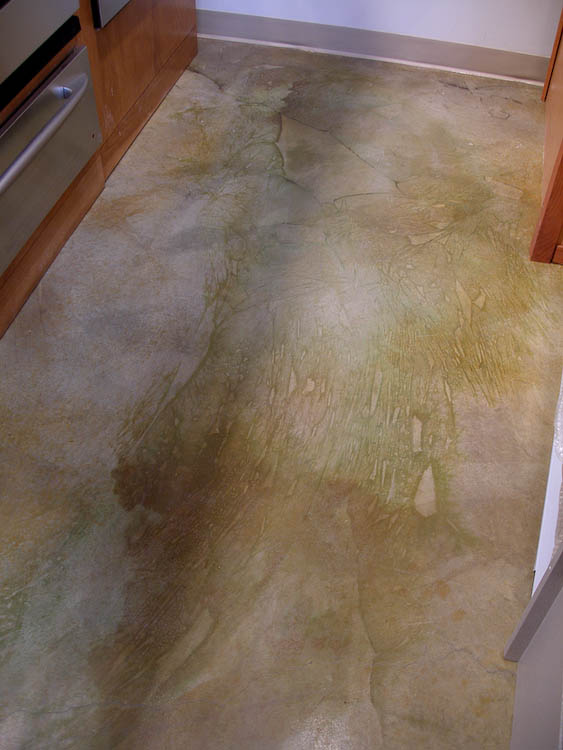
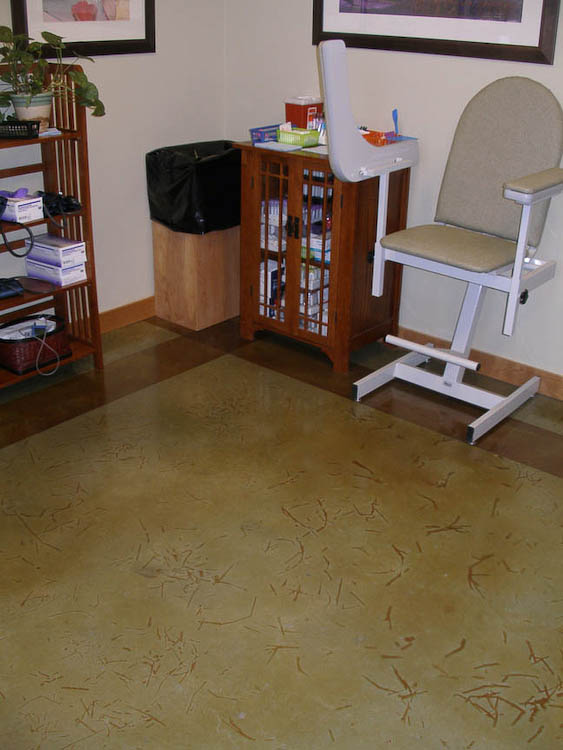
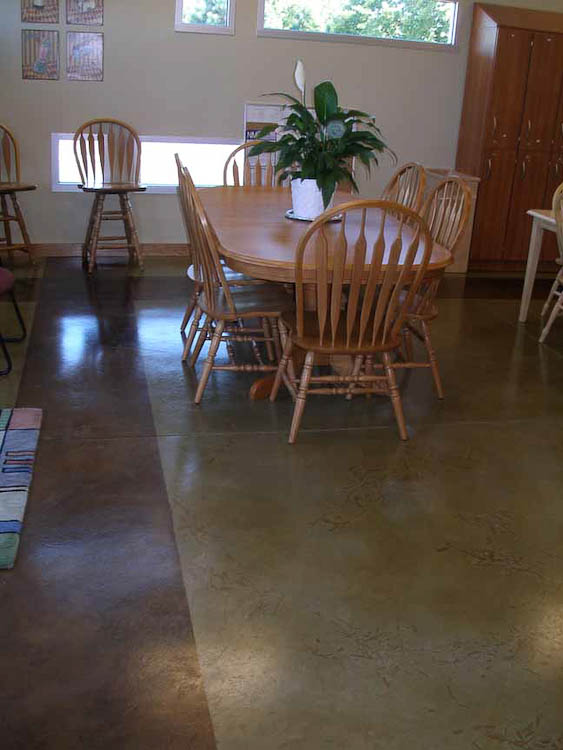
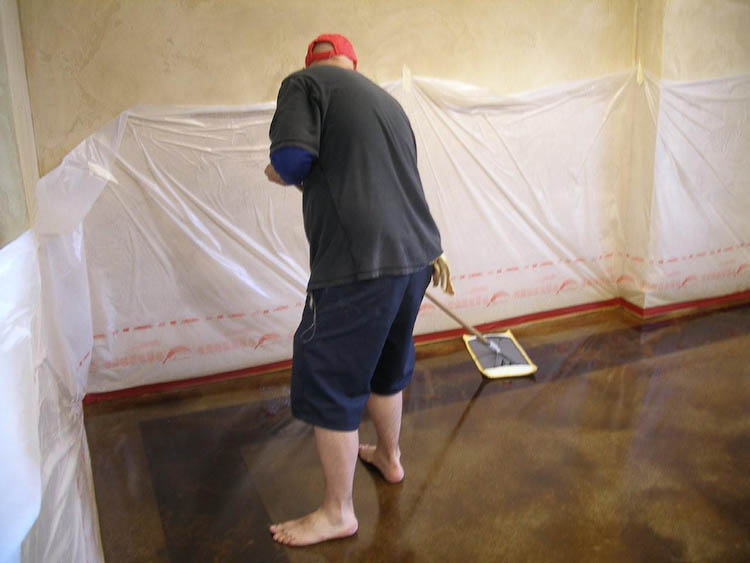
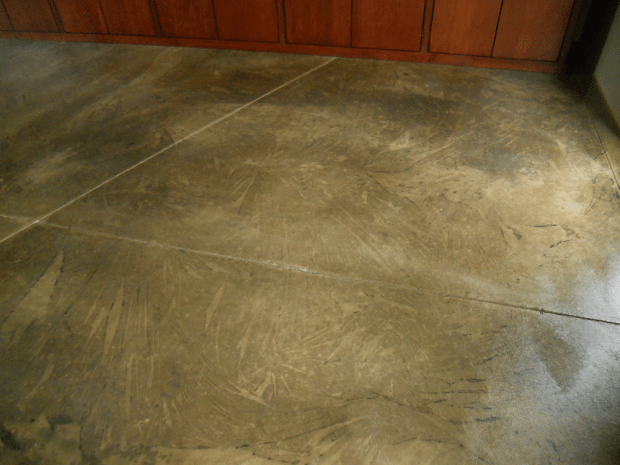
These photos show one of our favorite ways of making an overall pattern on the floor. Prior to staining we lay out thin painter’s plastic dropcloths the proper size and loosely rolled up, ready to be placed quickly into the wet stain as we move along. This is a great technique to use when we are mixing 2 or 3 colors “on the floor” (not in the bottle). It takes a good deal of extra time and labor, but we do not charge extra for this marblized look. Since most stainers do not want to hire multiple workers to stain a floor, this has become a Faux Real signature look. In large areas, such as this health center on the Alamo reservation, using plastic calls for three workers with stain sprayers and one on either end of the roll of plastic, for a total of five experienced workers.
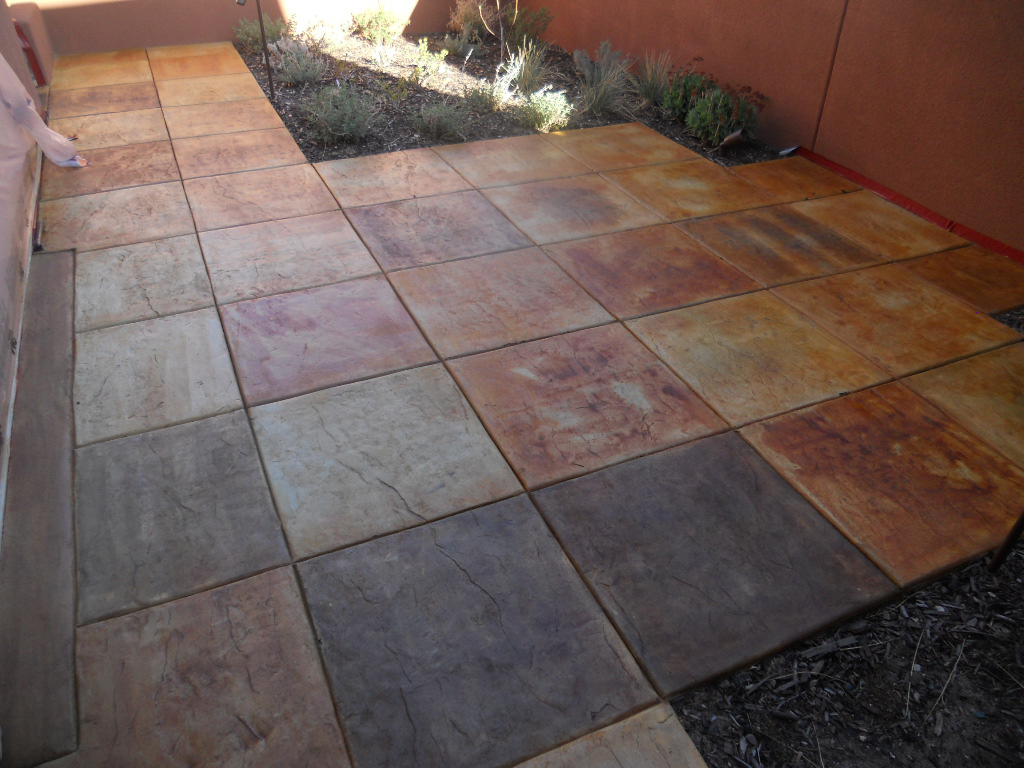
The chemical reaction between the acid in the stain and the lime in the cement forms a mild chlorine gas which lifts bubbles in the plastic as we pass on to the next area. Along with darker wrinkles which collect stain, this creates patterns resembling dragonfly wings or cell-like images across the floor. When we return to remove the plastic prior to scrubbing the residue, the surprise imagery makes us feel like children on Christmas morning!

When used with diluted dark brown stains and a touch of green here and there, we get what we call our Faux Cork effect. We almost always use texturing plastic when staining a remodeled floor, as it helps to disguise patched areas or dings and cracks in the slab, working them nicely into the design.


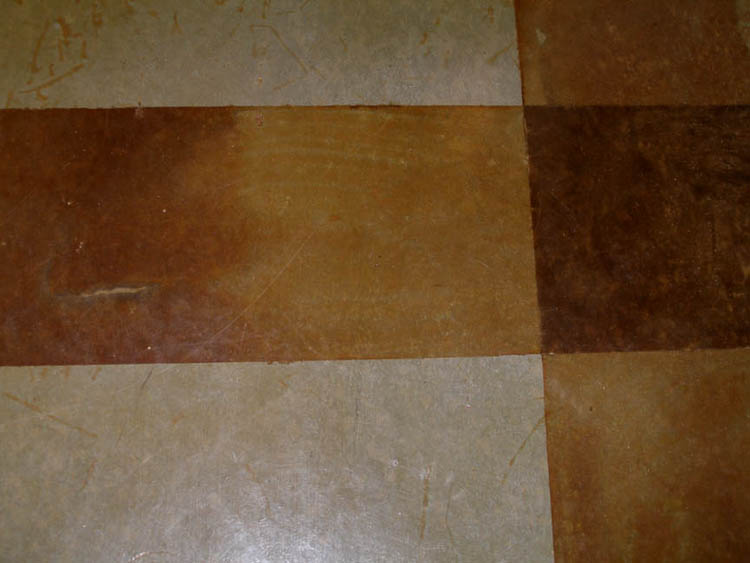
If clients want a simpler pattern, we can stain the floors in a light color and broadcast handfulls of dried corn kernels or straw which have been soaked in a darker shade of stain and allowed to partially dry out. The corn kernels create a faux granite effect, while the straw is calligraphic. This is particularly effective if taped-off wall borders in the darker shade are added.
Formal Designs Using Stencils

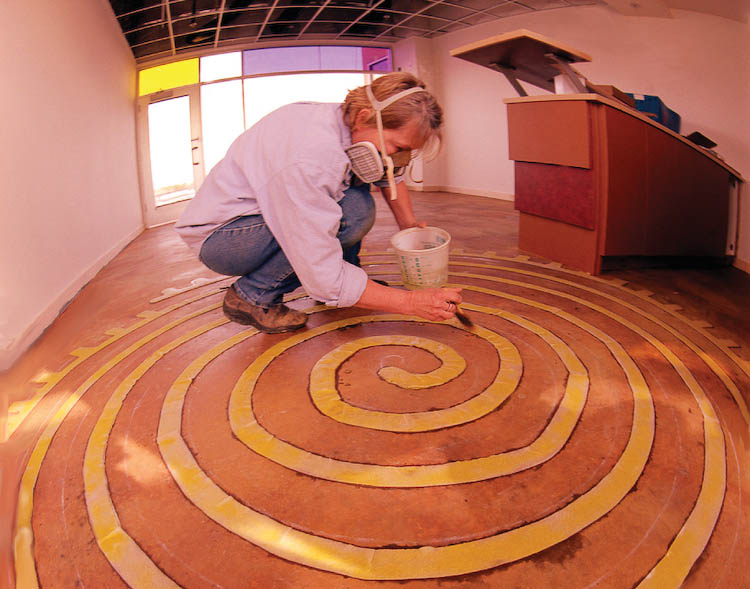
Sometimes our client wants a formal-looking entry design to mimic a wrought iron doorway or bannister. The best way to do these is in a darker color on a stained, as yet unsealed, part of the floor. We can order designs from a company which makes adhesive stencils for that purpose and we carefully paint the darker stain into the stencil. For this we charge a modest per-foot price plus the cost of the custom stencil. Circular designs look great in a rotunda. If multiple colors are desired, some areas can be etched back to gray concrete and a colorful dye applied into the pattern.

The largest and most detailed stencils we have ever done were for the Albuquerque International Balloon Museum. The entry featured an old-fashioned globe design and twelve etchings of antique “fantasy balloons” taken from 17th Century sketches of flying machines. Some of these had rope details less than one-eighth of an inch wide. With those stencils we had to etch away the stain on either side of the tiny masked-off line and I was amazed that the stencils held so well.

The most shading we have done in a logo was on the Gurkha Lounge entry for a private cigar club doorway (outdoors) in Albuquerque. This could not be done in situ so we stained and etched the Gurkha on a cement board working in our studio, then sealed it and placed it into a space we had blocked off when the new patio floor was poured.
We stained the entire figure with black stain, and then repeatedly applied gelled acid with a Q-Tip to remove layers of stain from the shapes within his body, moving gradually towards lighter grays and white highlights. The bright red-orange of the surround had to be painted in with artists’s oil paints diluted with our solvent-based floor sealer, using natural sea sponges to make it even. The saber was touched up with a subtle gold paint to maintain the antique look of the original etching. My assistant, Michael, and I worked on it for 2 sunny days outdoors and it was the most fun we’ve ever had on a design.
Freehand Designs


If our client wants a simple two-color design we can draw it out freehand and have it enlarged at a copy center. Once the outer border is scribed with a compass and the edges stained we can cut out the central figure from the paper and trace it onto the floor. We did this for a couple who had an antique piece of Mimbres pottery that they wanted reproduced in the front entry. We like using such low-tech methods whenever we can and are happy to pass the savings along to the client. The more striking we can make our floors, the more jobs we will get, so we encourage our clients to ask for special designs. Detailed lines cannot be done effectively on rough or “broom finished” concrete, so they are usually limited to indoor jobs, rather than patios.
Even a full-color logo can be enlarged upon a floor, if it is not too geometrically complex. After staining the background color of the floors at a counseling center in Santa Fe, we filled in the saw cuts where two hallways intersected and traced the logo in the center. By masking off successive areas of color we were able to paint in dyes thinned with acetone to bite into adjoining areas. We began with the rose, then sealed it with multiple coats of clear sealer sprayed on with an atomizer, so that we would not smear it while working outward towards the borders.
We had previously applied solvent-based sealer to all the blue-stained floors, but left the central area covered with rosin paper in anticipation of the three days of work it would take us to do the logo. When the logo was finished, we sprayed it with multiple fine coats of sealer and left it overnight before daring to roll on two thicker layers of clear sealer out to the edges of the hallway. Dyes penetrate concrete more shallowly than acid stains and can be easily smeared if not treated with caution.
Concrete floor dyes are not yet made to be permanent outdoors, since they will fade after five or six years’ exposure to UV light. The use of concrete dyes can greatly expand our color palette and since they are have the translucency of acid stain, they harmonize well with their surroundings in a way that flat, opaque paint would not.


In this case we had a client who had lived in Africa and wanted to dedicate a separate room to their collection of African folk arts. We were given three curved steps down, each a different width, upon which to create faux “tiles” with African designs but with turquoise accents added. I found some Kenyan fabric designs I liked in a book and we adapted them to make repeating hand-painted “tiles” on the risers which could be done in a neutral color on our already-stained steps. We used artist’s acrylic paints, which work very well under our clear acrylic sealers. The red tape in the photo is covering a hot air vent which has yet to be installed. The bottom step proved to be the most difficult as we had to lie on our tummies with neck cocked back in order to hold the brush steady. Four hours in this position created some amazing muscle aches.
We relish a challenge! Don’t hesitate to bring us your wildest ideas. We can usually find a way to make them real – and this is how we expand our range. It is one more reason to hire Faux Real LLC.