Garden Mosaics


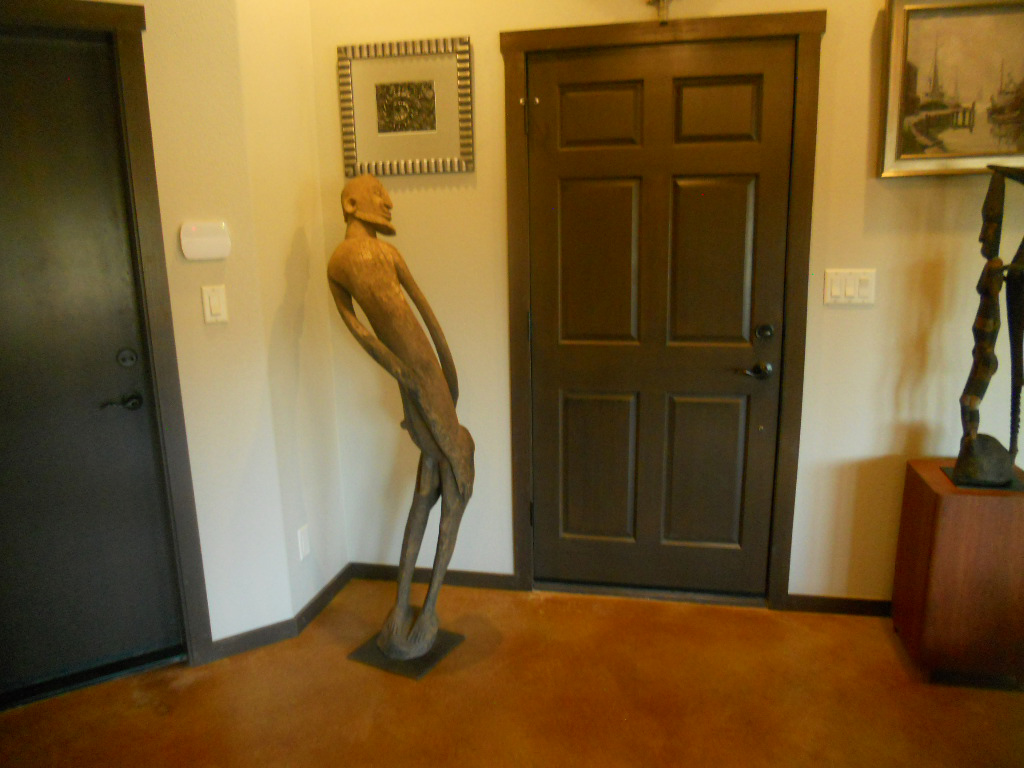
Photo #2 Hall First Mosaic

Photo #4 Edge View of
Mardi Gras Day
Discovering Mosaics
In 2007 I was limping around the house in pain, but had a terror of surgery and kept putting off a total hip replacement. I needed to find an art form that did not call for squatting on the floor stretching large canvases and standing for hours while painting them. One of my former concrete staining students had begun casting concrete countertops. Counters look great when colored glass enters into the mix and is exposed later, when the surfaces are polished. My friend had scavenged ten buckets of laser-cut stained glass scraps from a local company that was making wall panels and windows. He gave me four buckets of these negative shapes. (See Photo #1)
What artist can resist free materials? I bought an excellent book by Sonia King, called “Mosaic Techniques and Traditions” (Sterling Publishing, 2003). It covered all the basic mosaic skills, including how to cut glass and mirrors, how to use nippers to shape broken pottery, and the importance of choosing a final grout color which unifies the artwork. I wanted a key and leash rack for my front hall, so that became my very first mosaic piece. The circular frame hanging above it incorporates a polished ‘baby moon hubcap,’ which has long been my entry hall mirror. (See Photo #2).
I soon discovered the only stained glass supply store in Albuquerque, run by two women my age and called “Hot Flash Glass.” I had been smoothing the cut edges of my tesserae by laboriously filing them against a grinding stone. At Hot Flash I discovered the Gryphette Diamond Grinding Wheel—fast and electric—and I was off and running!
My second large piece was an acid-stained tabletop, cut from a circular piece of 1/4” thick cement board. I glued it to a larger circle of plywood and used the glass scraps to make what I thought of as flag designs all around the edges. This morphed into a wall piece 41 inches in diameter, which I hung with mirror hangers in my dining room and call “World in Flux.” (See Photo #3).
Adding glass or pottery to a concrete board rapidly makes it too heavy to hang or even to lift alone. Fortunately, my Kiwi friend, Roy, had shown me years ago how to make a lightweight concrete tabletop by covering 2” thick house insulation foam with a layer of fiberglass mesh topped with a thin layer of troweled-on concrete overlayment (used in the trades to conceal or patch badly damaged concrete). This gives me the perfect lightweight support on which to make mosaics. I can even carry the composition right around the edges, which eliminates the need for costly framing. (See Photo #4)
This has become my standard technique for garden mosaics, which have so far survived five freezing New Mexico winters and broiling summers, mounted on a cinderblock wall, and showing nary a crack. (See Photo #5 detail of Poppies).
I finally got my new hip installed in October of 2016, and am now completely mobile, but I think I’m hooked for life on mosaics!

Photo #1 Negative Shapes

Photo #3 World in Flux

Detail of Poppies Mosaic in Garden.
Gallery of Mosaics

Misfolded Proteins Stained Glass & Pottery, 44.5×23 inches

Garden Mosaic in situ – Broken Pottery, 47 x 21 inches

Poppies for Scott – Pottery, 47×21 inches

Birches in Snow, 24×24 inches

Moroccan Bride II- Stained Glass, 16×17 inches

Village in the Tyrol -Pottery, 32×24 inches

Native Cloak, – 26.5×24 inches

New Mailbox

N.Z. Shells, Stones & Pottery, Stolen in 2012

Calcite Cavern- Stained Glass, 15 x 16 inches

Beech Grove Stained Glass & AGT, 24×24 inches

Spring Break-Up Stained Glass, 16×24 inches

Raw Silk AGT Commission for Susan Murphy

Raw Silk (dusk)- 34×23 inches