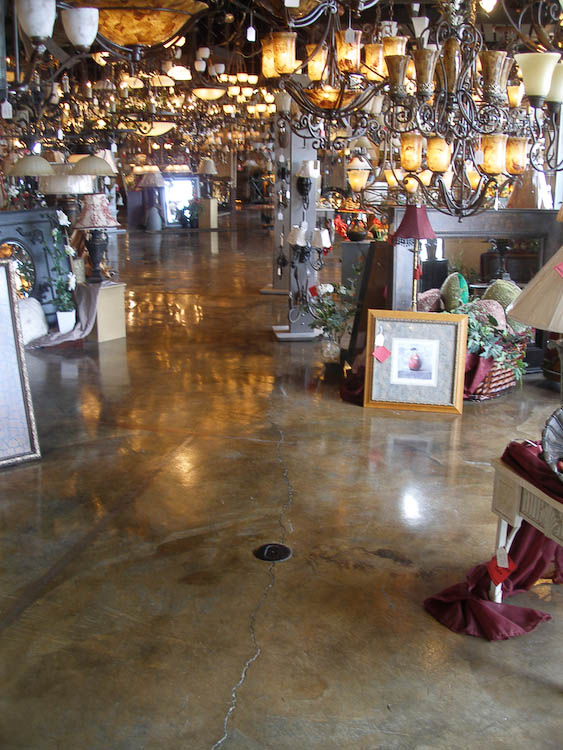
 Last spring we began a job on a new log home being built by Precision Craft, an Idaho builder, in the wilds of the Gila National Forest in Southern New Mexico. The clients were a veterinarian and his wife (an award- winning animal wood carver). They lived on a farm on the east coast and began planning their retirement in New Mexico with a land purchase near the village of Mimbres in 2007.
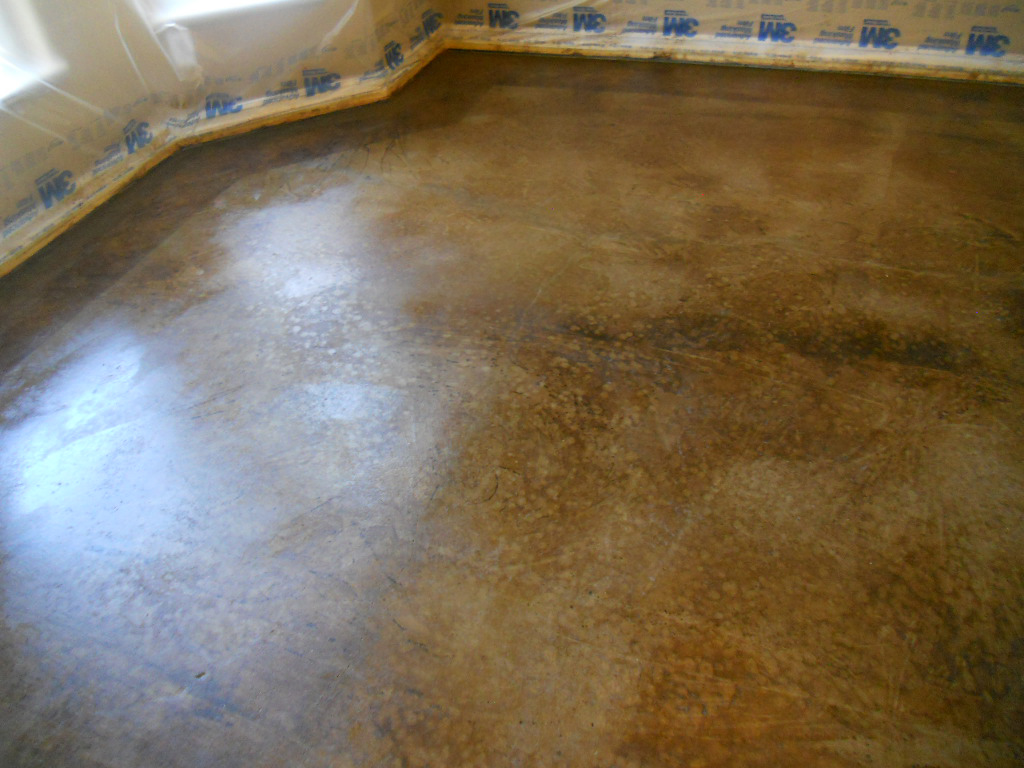
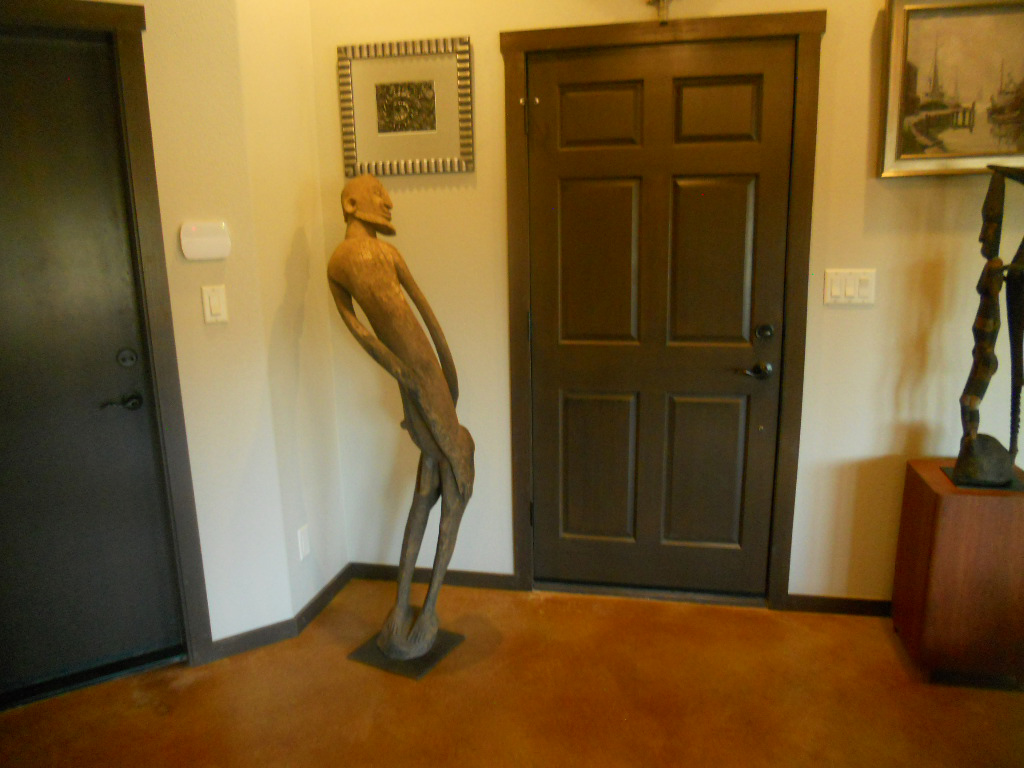
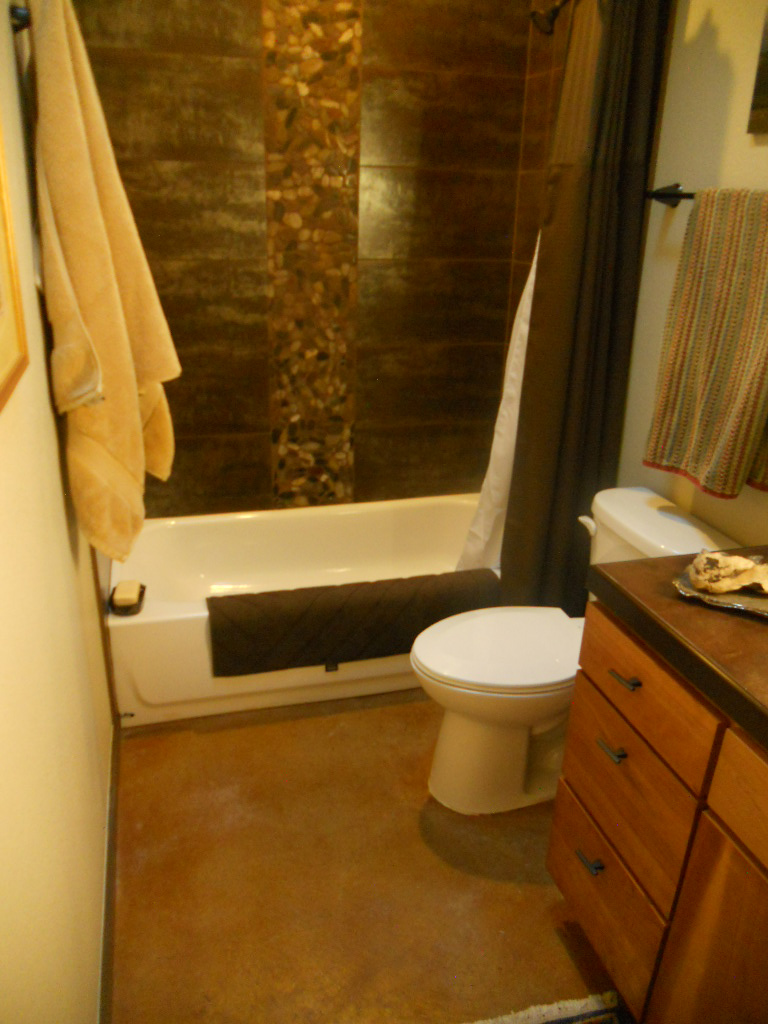
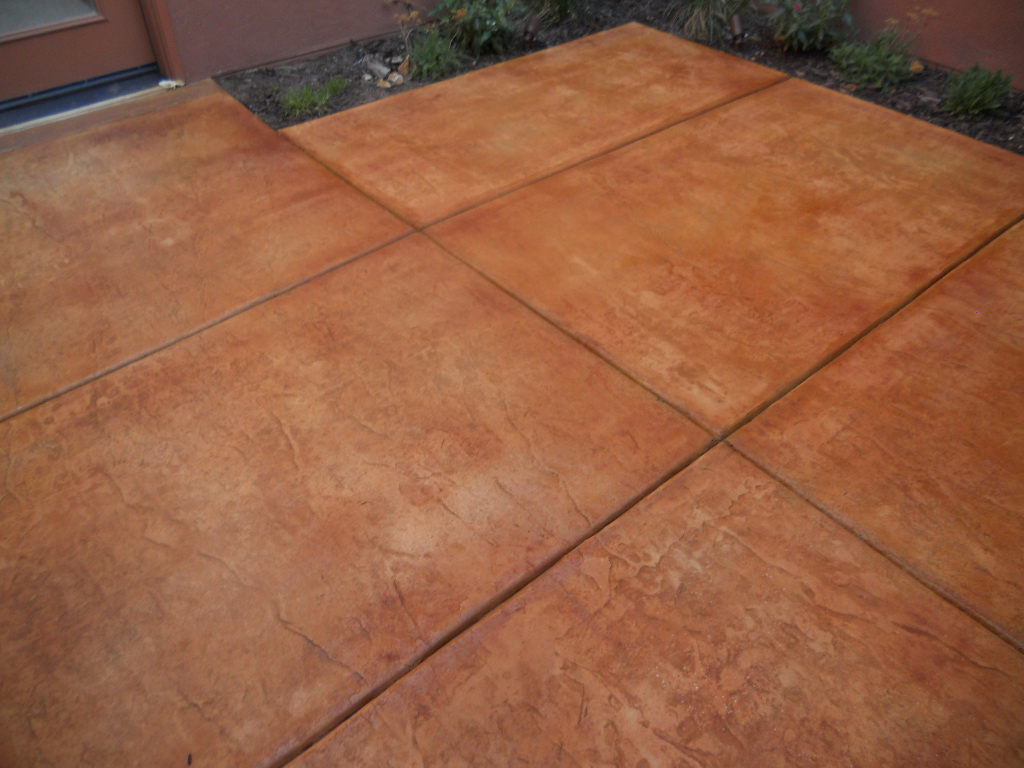
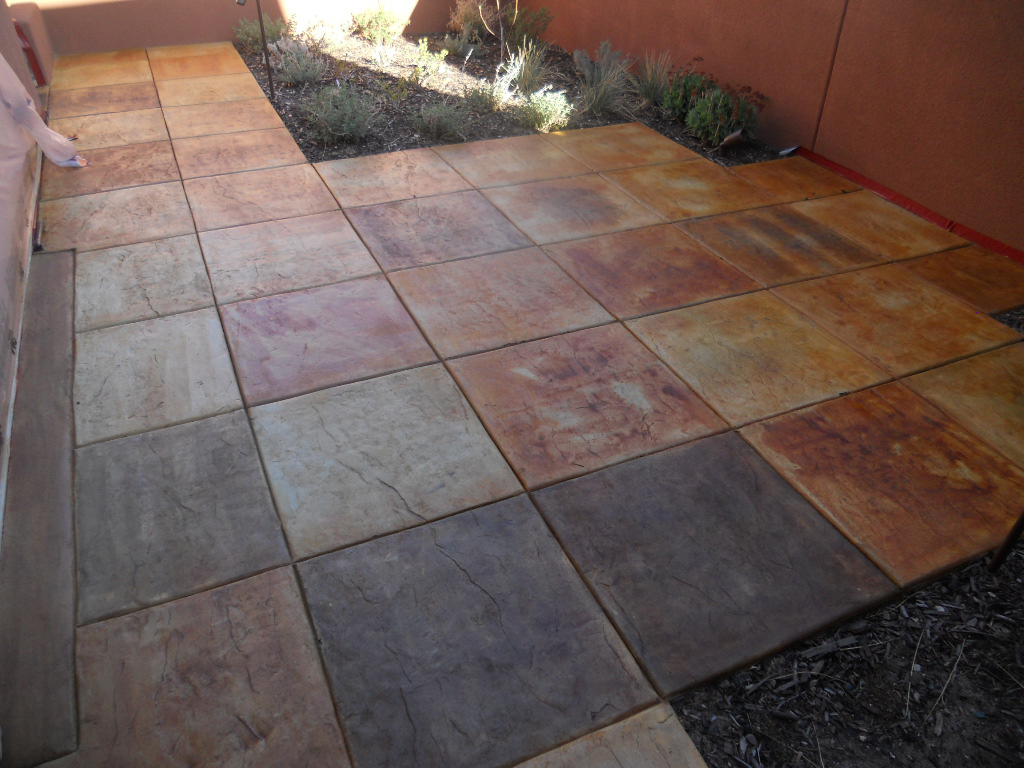
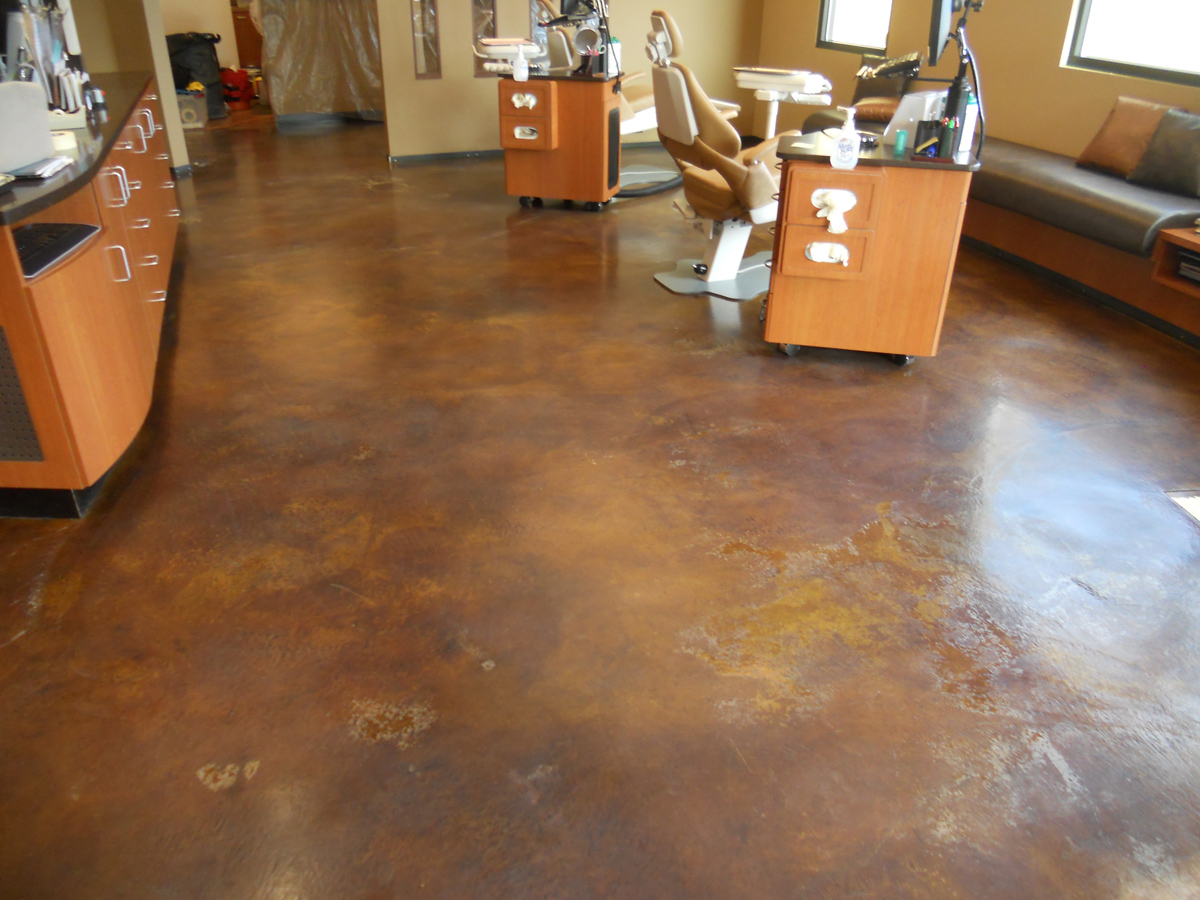
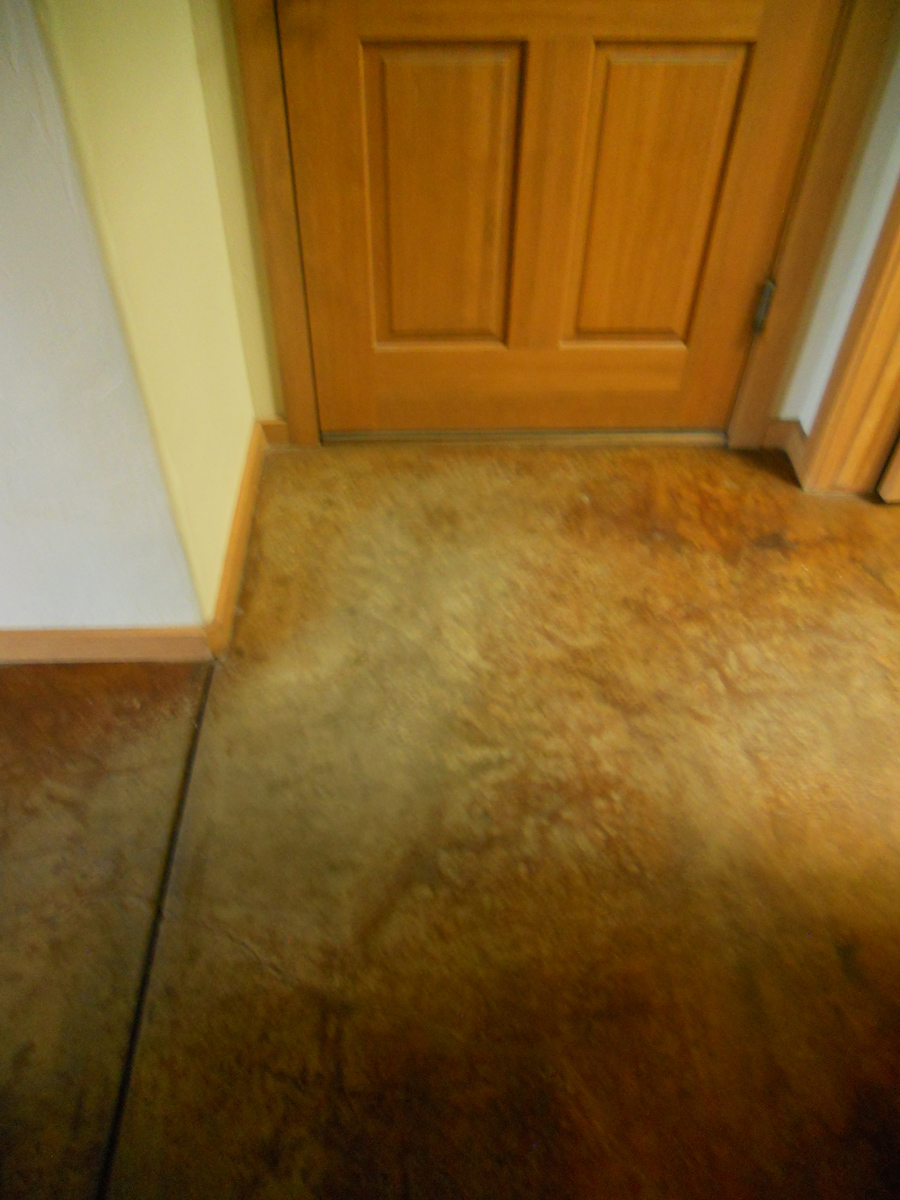
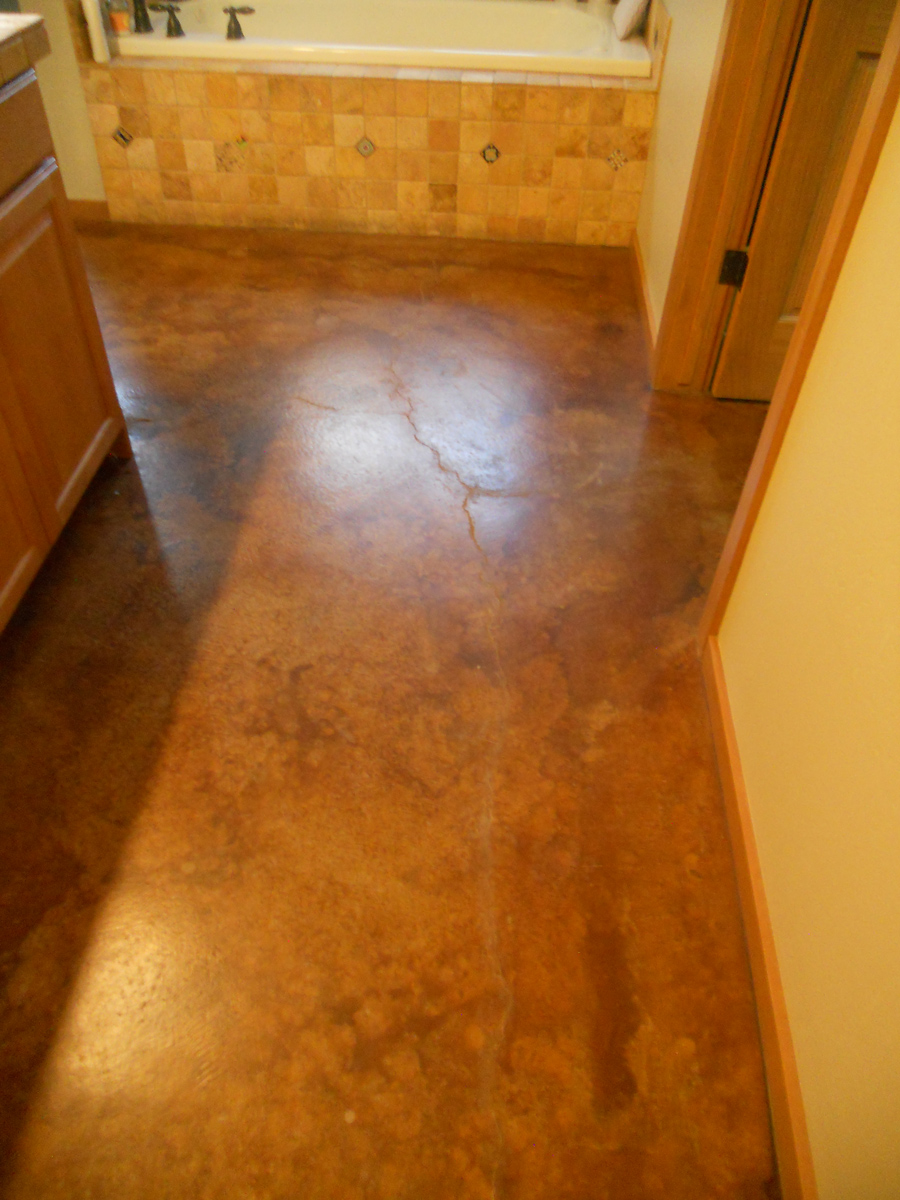
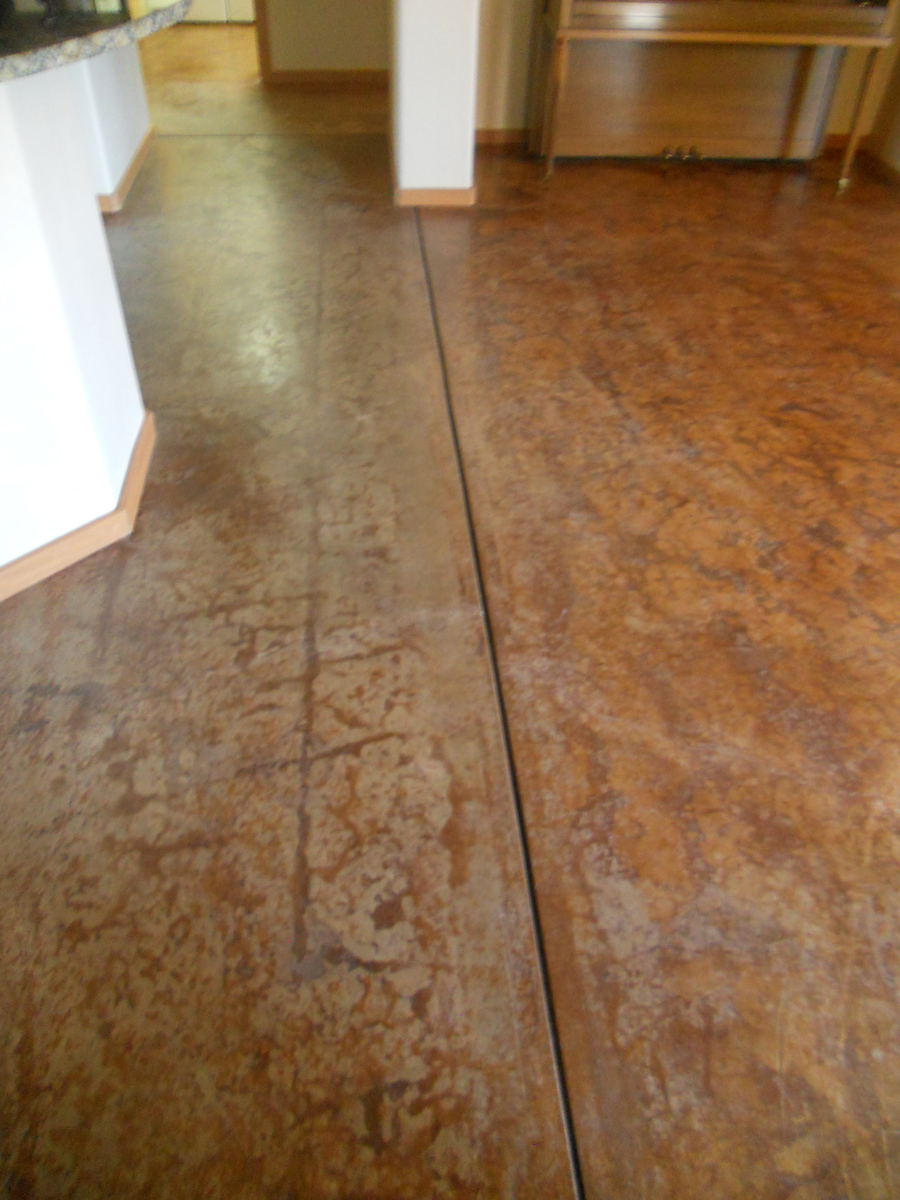
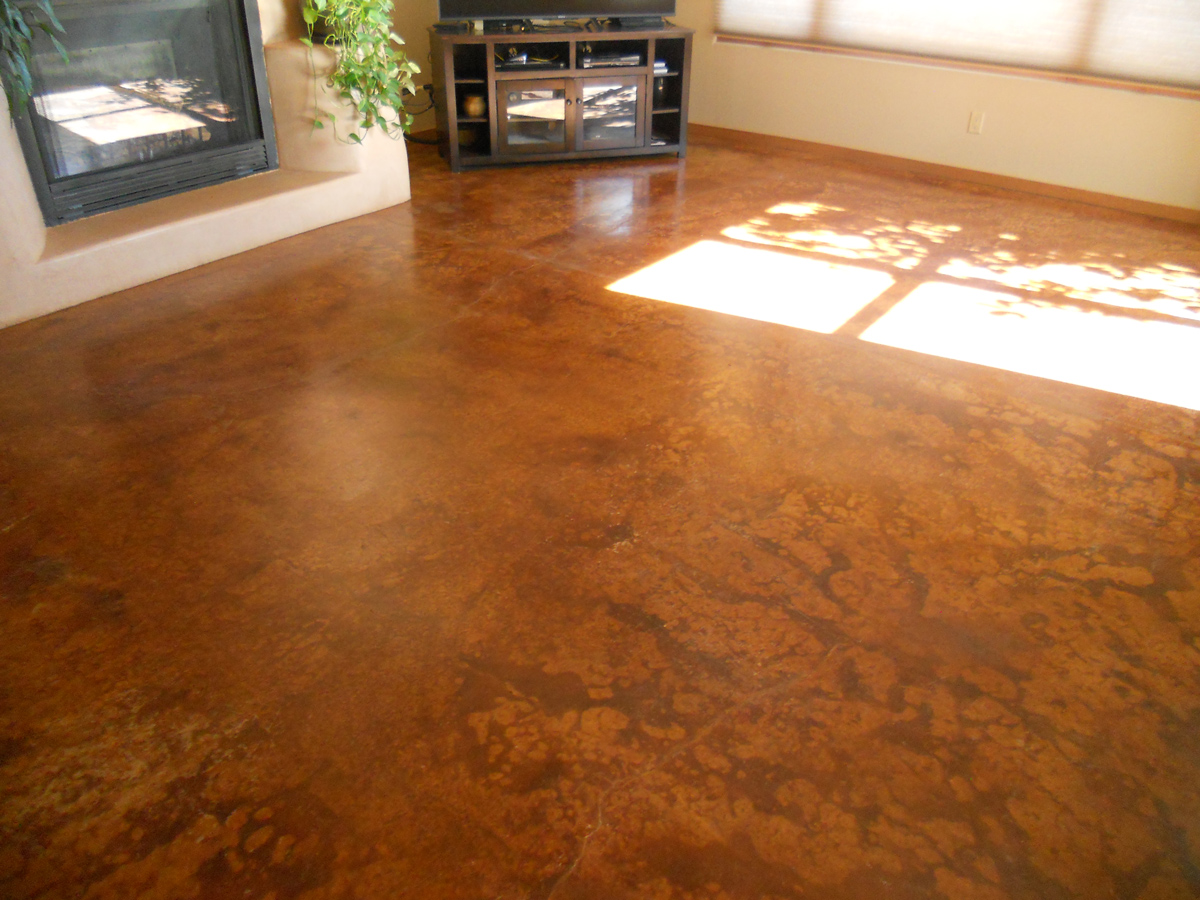
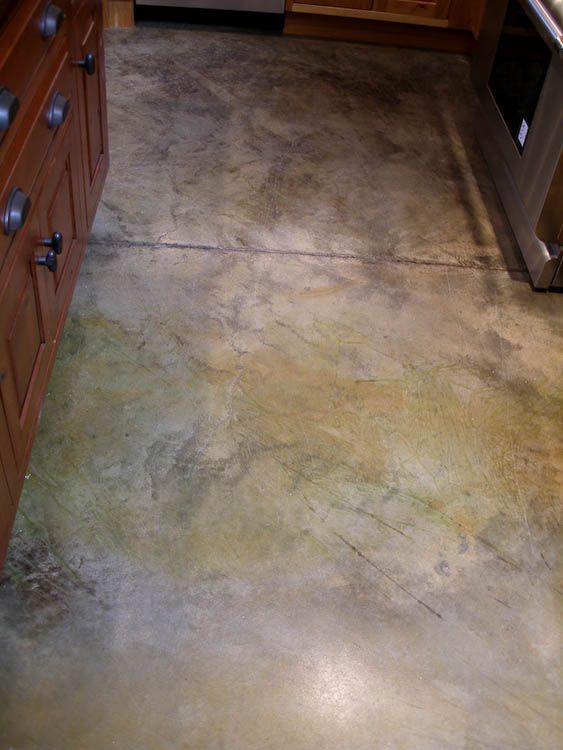
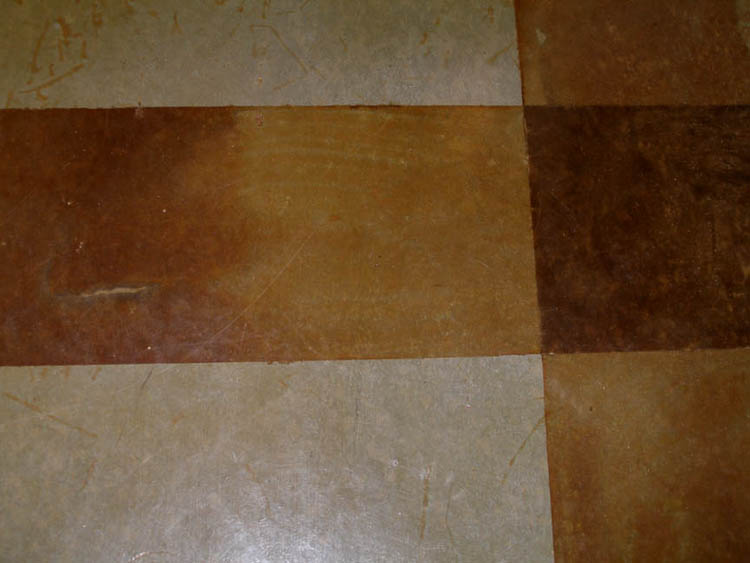
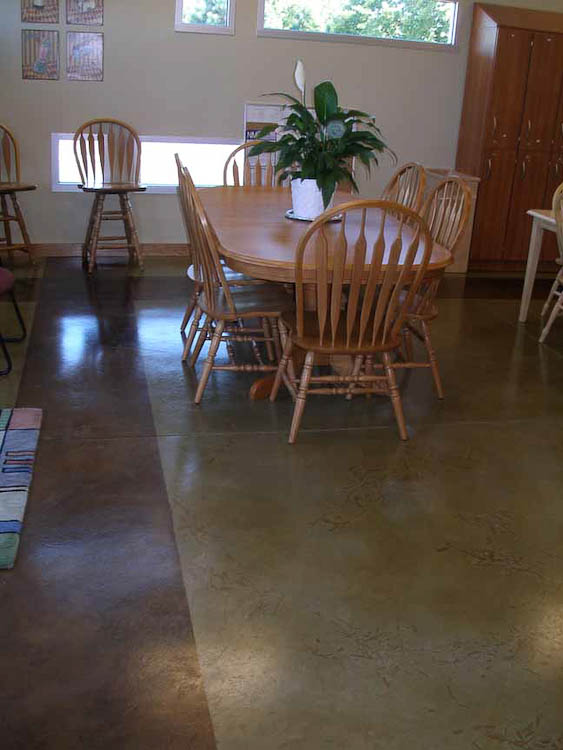
I met with them in 2007 and again in 2010 to help flesh out the details of their floors. They wanted the ground level floors stained a variegated medium brown, just a bit darker than the log walls and rafters. That was easy – they chose a mixture of 2 parts Scofield’s Antique Amber to one part Padre Brown, one of our more popular stain blends.
The jobsite was a 5.5 hour drive into very scenic country near Lake Roberts. I went in the winter to see the new slab and do stain samples. I met with the clients on this visit and found out that they had an ancient piece of Mimbres pottery featuring a leaping rabbit, which they wished to have reproduced on the entry rotunda floor. The rabbit on their bowl was scrawny and had odd appendages. Once back at home, I was able to find other examples of antique Mimbres pottery done with a curved rabbit placed over a crescent moon. I felt that this fit much better within the circular border of their design and got the client’s permission to change it, incorporating elements of their rabbit with some others.
 I centered my drawing of the design on a 12” by 12” piece of Bristol board (heavy paper) and took it to a copy shop to be enlarged. We had measured the entry area by the front door and decided that the finished logo should be about 30 inches across. I had two copies made, in case we decided we wanted the design a bit larger
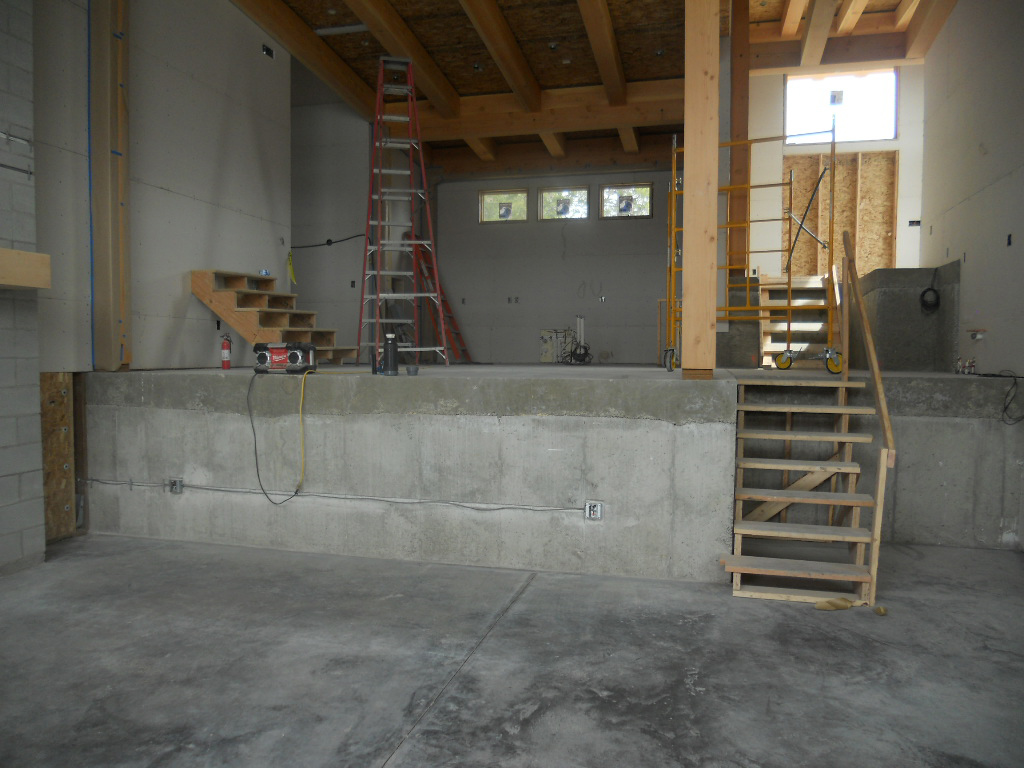
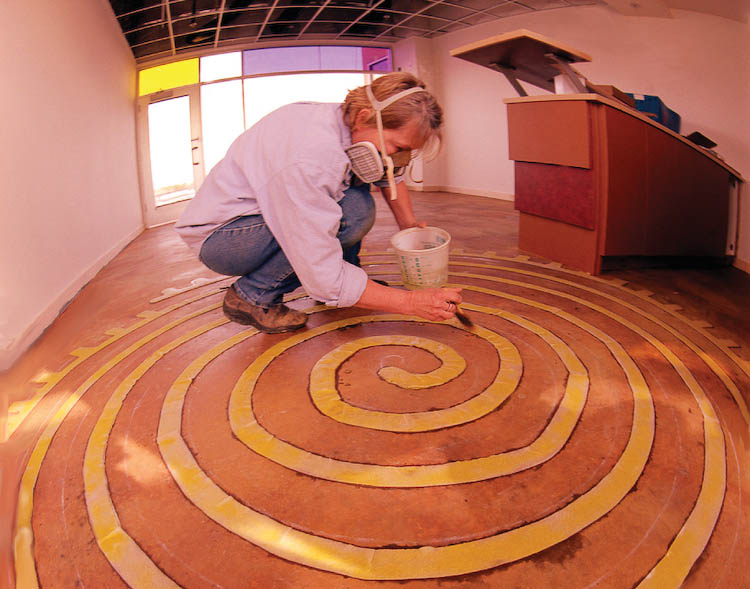
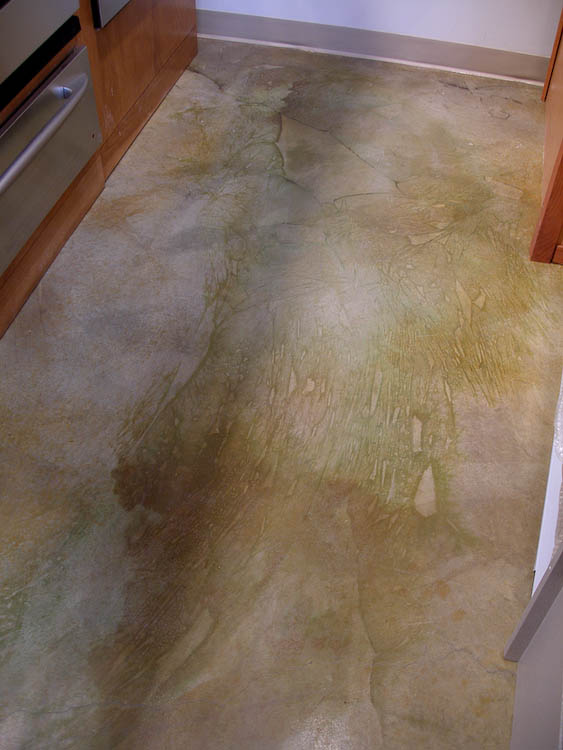
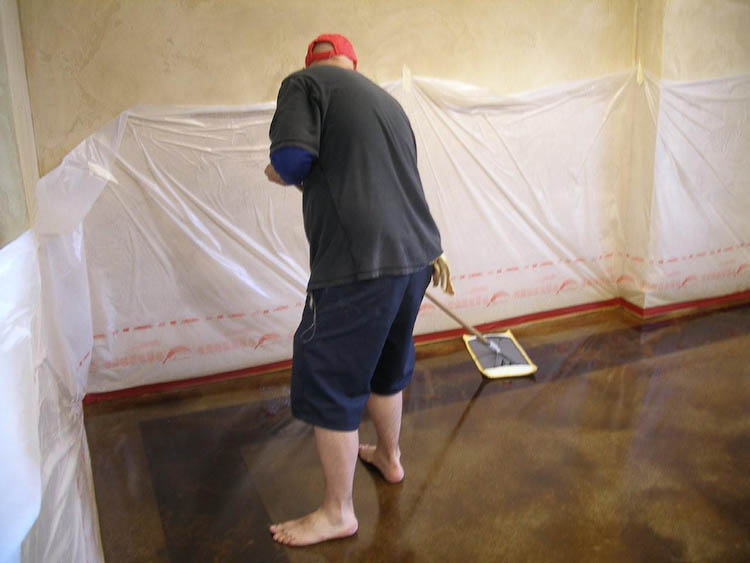
 Faux Real began work on the house in March. After we had cleaned the floors, filled cracks and holes and stained all the concrete, except for the masked off entry circle, we scrubbed the floors and let them dry overnight. The next morning we sprayed a light stain within the circle, then scrubbed it and dried it with a hair dryer. My assistant, Michael, began the logo by laying the paper template within the circle and tracing around it with a soft pencil. The design featured concentric circles, so he traced the largest one first, then cut that one from the edge of the template and outlined the next circle — and so on down to the zig-zagged inner border.
![]() Mike applied our solvent sealer with a small brush to each area which was NOT going to be stained with Dark Walnut stain, using the clear sealer as a resist. This took a lot of care and patience, as one drop of sealer splashed in the wrong spot would create a flaw. Fortunately, Mike has a hobby of making model figures with small painted details, so he was well suited to this job.
Mike applied our solvent sealer with a small brush to each area which was NOT going to be stained with Dark Walnut stain, using the clear sealer as a resist. This took a lot of care and patience, as one drop of sealer splashed in the wrong spot would create a flaw. Fortunately, Mike has a hobby of making model figures with small painted details, so he was well suited to this job.
 The rabbit was relatively easy to cut out and trace, once we had him placed within the circle where we wanted it. We did not think the contrast was strong enough after one staining with Dark Walnut, so we stained the design twice. A bit of dark stain leaked through our sealer the second time, but that, along with the crack in the floor, added to the antique look of the artifact. Most prehistoric Mimbres pots are found cracked and are glued back together.
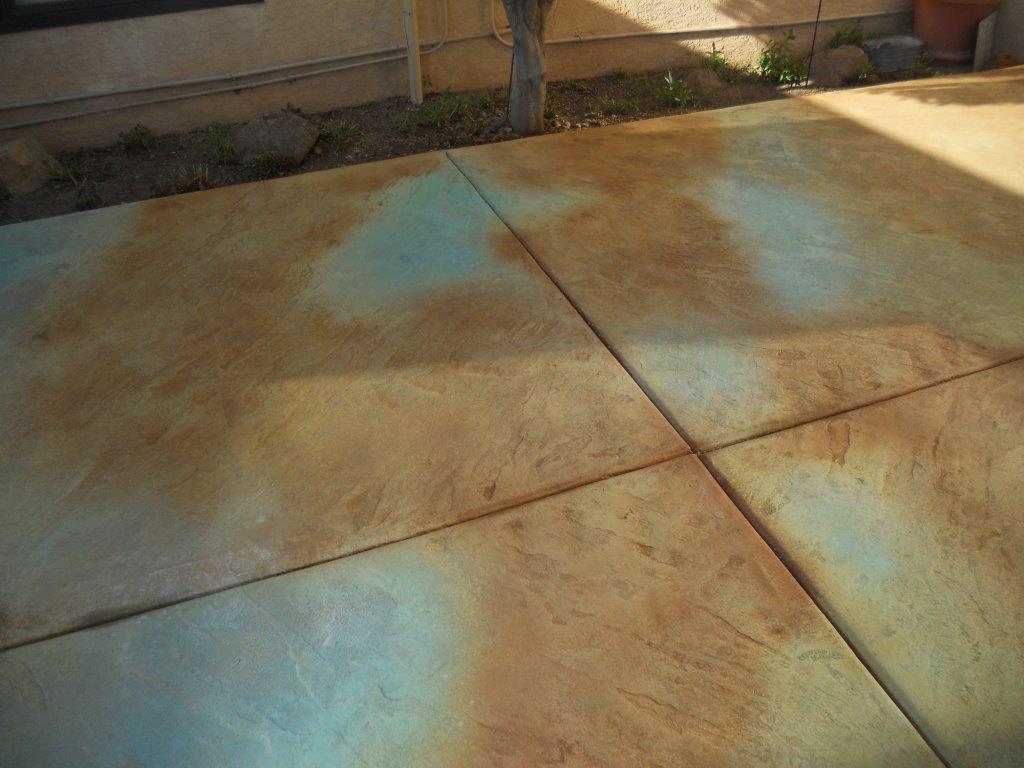
 This log home also featured a sunken den off the main floor, which was to be carpeted in a dark chocolate color. The den was going to be filled with artifacts and animal sculptures from the owner’s travels in Africa. They envisioned multicolored zig-zag designs on both the treads and the risers of three stained steps going down to the den. The steps had been poured and finished differently from the main floor slab, but in the end their slightly darker stain color did not matter. I liked the idea of decorating the vertical risers of the steps with a simple faux tile pattern, but not the treads. In the end, the clients agreed that leaving the treads undecorated made a better transition down to the den as they matched the floors above. Once you enter the den and turn around to face the stairs–then you see the African designs painted on them, so it is a more subtle effect.
I considered doing a repeating design and ordering a Flatoo (plastic stencil) for each step riser from Tammy at Surface Gel Tek. However, each step was roughly troweled, curved at the ends, and of a slightly different height! I felt that there was no easy way to do these designs with two contrasting colors of stain. It would actually be simpler to paint a series of designs-in-a-square over the concrete stain with arthist’s acrylic paint. As we went along, we could adjust the number of “tiles” to expand a bit or contract so as to accommodate the varying stair lengths.
 I had recently hired a young man named Dru, who had worked many years for a mural painter and had experience with freehand painting. I got a book of African designs from the library and did some samples for the client’s wife to okay via e-mail. The trickiest part was working out the placement of the “tiles,” since she also wanted a few small tourquoise accents. I cut a template for the tile placement in a repeating pattern out of file folder material. This we could tape as a guide across the top of the step and keep in place while we drew the borders of the squares with a soft pencil. The danger when drawing a series of squares freehand is that they will gradually get larger or smaller. The template forced us to keep them evenly spaced.
 I sketched out six sample tile designs and Dru and I began painting, altering them as we went along. It would have been too tedious to use exactly the same designs in rigid repetition! Anyway, I had noticed from folk art books that no two designs were ever quite the same. We thought that the variations of line width and the imperfections lent some charm. We got more creative as we went along, but we stuck with certain “rules” which we deduced from the study of the African designs in our book. E.g., they used a lot of squares, triangles, slashes and dots in their motifs, but very few curves.
 It took us about 5 hours to paint the upper two stairs. The next day I had to paint the lowest stair myself, whilst lying on the concrete slab on my stomach and propping my head up with my left hand. It was quite uncomfortable, although I enjoyed doing the patterns. The bottom step took me eight hours, since Dru was needed to help Michael with floor sealing in the main part of the house.
Our final task was to seal the painted stairs several times, take photos to send back to the clients on the east coast and then pray that they liked them! (Our clients were very happy). I took a few pain pills for my sore neck and slept in the back seat as the crew drove us home with the trailer.


Recent Comments