
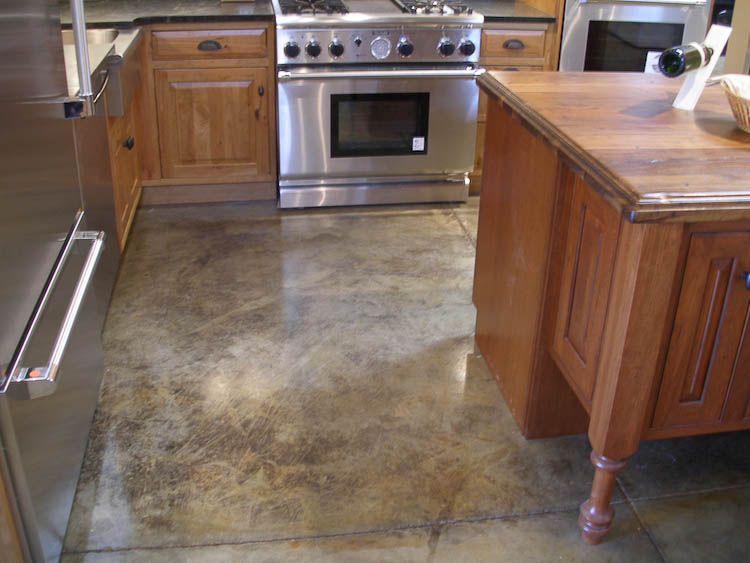
This is the double globe design selected by the balloon museum’s curator to go in the center of the entry rotunda. The brown color inside the globe was our original terracotta floor stain. A large Flattoo in eight separate sections was laid across it so that we could etch through the slots (all the white lines) with etching gel to create the design. One side effect of laying a sticky plastic template on our freshly stained floor was that when it was removed, a good deal of our terra cotta stain came up with it. That, along with seven years of heavy traffic, is why the browns look paler inside the map than outside.
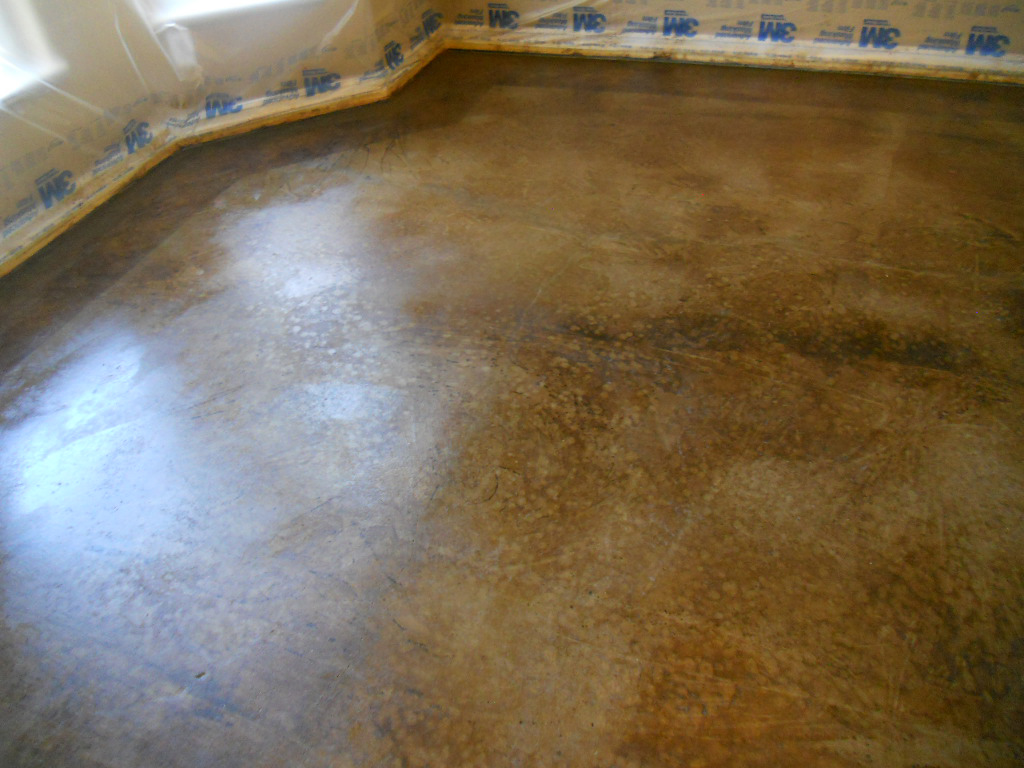
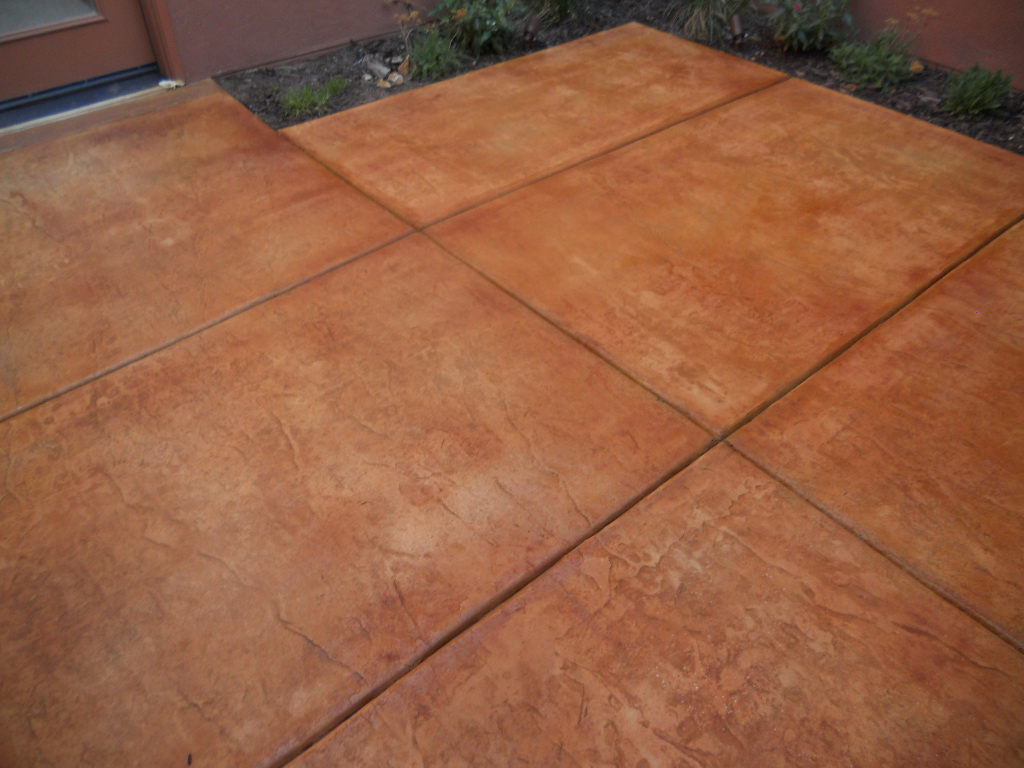
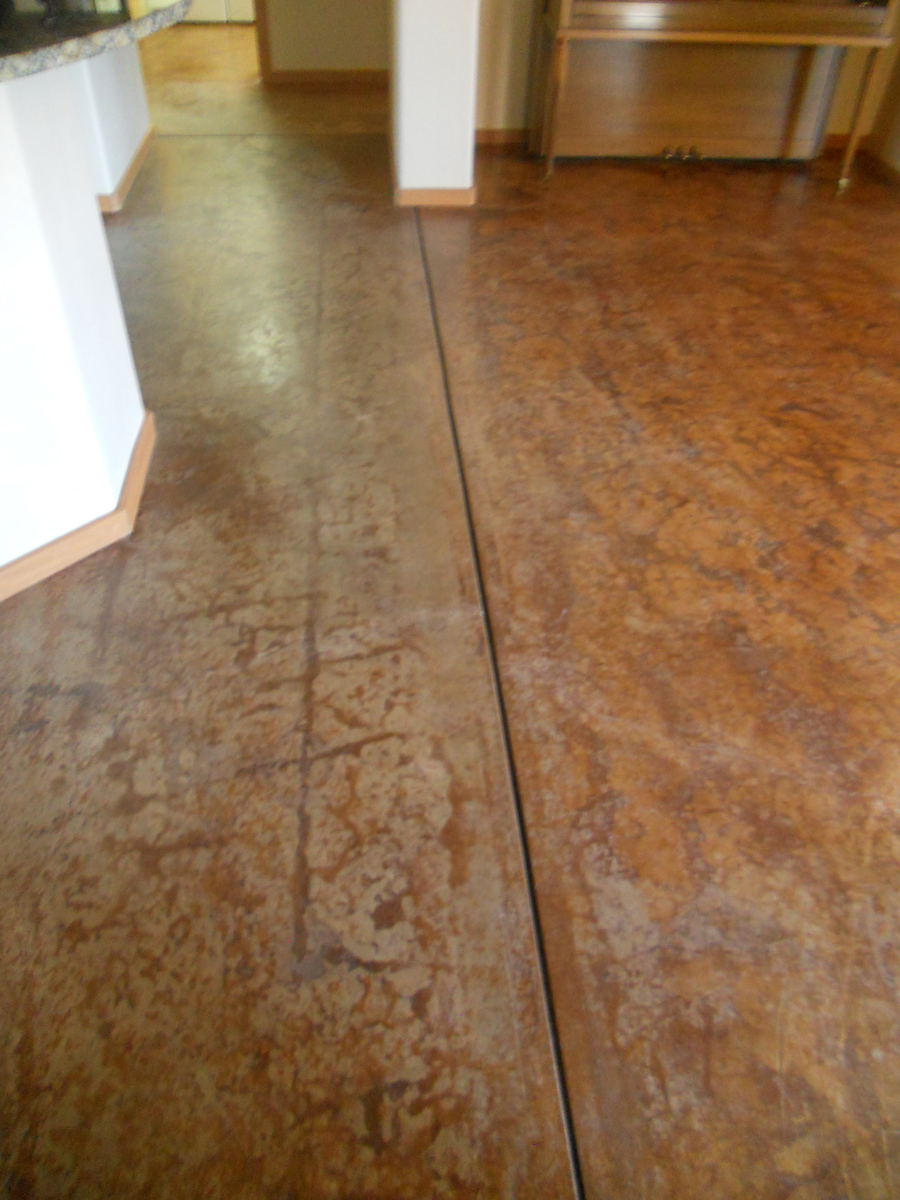
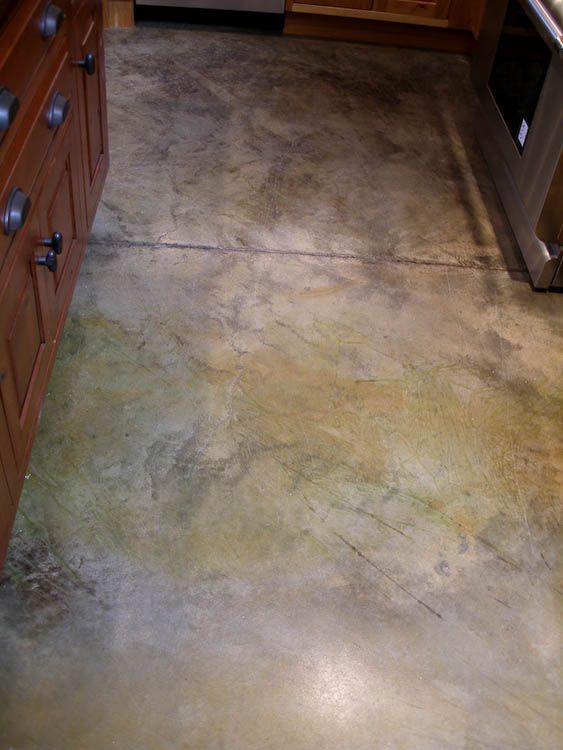
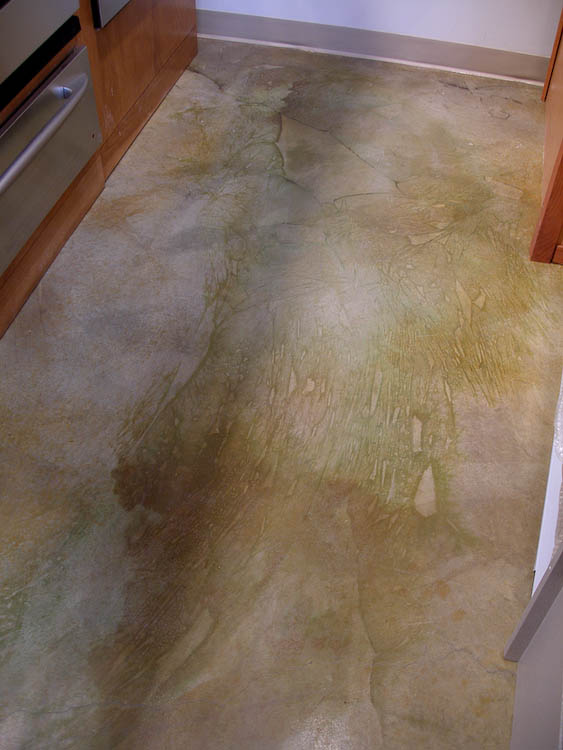
 We should have etched the whole floor before staining to give it more tooth, but we had no time for an extra step on that deadline. The entire museum floor was too slickly troweled, but we noticed that the blue-green areas we stained showed much better penetration and wear-resistance than the terracotta areas. This close-up shows the chipping up of both brown and white lines which happened with heavy traffic across the entry.
We decided to order a new Flattoo from Surface Gel Tek and use the same technique of painting with artist’s oil paints dissoved in Decra-Seal that is outlined in the previous blog, Part One.
 Step 1: Our first step was to apply a thick layer of Uni-Stripp by Increte Systems to one globe area, cover it with aluminum foil, and let it melt through the layers of final finish, sealer and stain for about 30 minutes. We then scraped up the gooey residue with wide razor scrapers and scrubbed with TSP and a heavy stripping pad on the floor buffer. The second globe area was also stripped.
Step 2: We used an acid-water solution (one part muriatic acid to five parts water) to scrub the globes again and etch into the terracotta areas, trying to make them more even with the white lines which were fairly deeply etched during our work in 2005. We were not able to remove the shadow outlines of our previous work, which meant that we would have to align the new Flattoo over the old design VERY carefully.
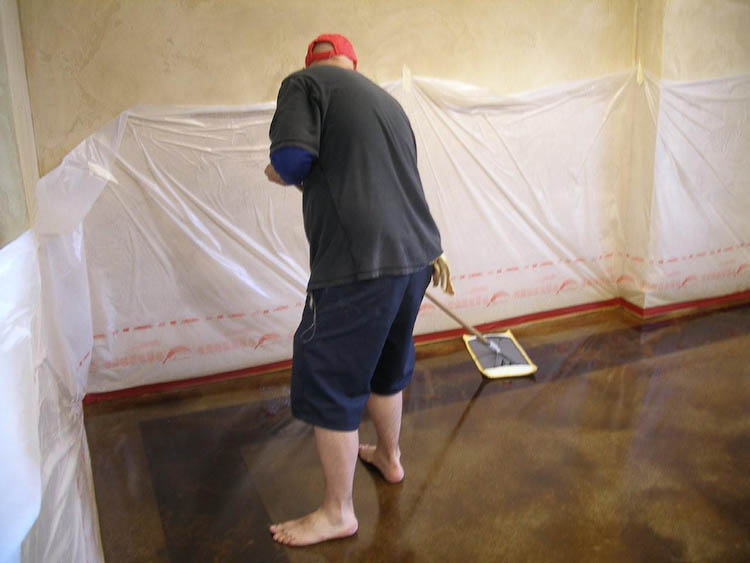
We neutralized the concrete with a hand scrub of TriSodiumPhosphate in water, rinsed, and let the floor dry.
 Step 3: We mixed raw sienna and burnt sienna oil paints with a touch of white very thoroughly into a small amount of Decra-Seal on a flat white palette, using a curved palette knife. It is important to get every blob of paint thoroughly dissolved and mixed into the sealer. This was then poured into a larger beaker of clear sealer until we had a color we could brush into the concrete across both globes with a soft bristle brush. We applied two translucent layers until the color matched the surrounding acid stain on the floors. We allowed some variegation of hue across the globe to make it look more stain-like.
When the background fill painting had dried we brushed on a clear coat of Decra-Seal to strengthen the coating. These were allowed to dry overnight and the area cordoned off from traffic.
Step 4: The next morning we arrived with a new double globe Flattoo in eight sections. Each two foot strip had to be carefully aligned with the one above it and sometimes stretched a bit to align with the shadow pattern below it of the older design. There were a few areas where the new pattern was off by 1/8th inch from the old one, but in the end it was not noticable. Laying down the Flattoo was by far the most difficult part of the job and took three of us about 4 hours on our hands and knees.
 Once the stencil was down we only had to mix the dark brown paint into sealer for the outlines of the continents and some translucent white paint for the latitude and longitude lines. These could be fairly quickly painted into the gaps in the stencils with small and medium sized brushes (called “filberts” and “flats” by artists). This dried fairly quickly and one worker could begin to remove the Flattoo bits at the top, even before we finished painting in the outlines of the continents.
We held our breaths to see if lifting off the sticky sections of stencil would also lift off any of the sealer and paint beneath. Since it was a solvent-based acrylic sealer and had had overnight to dry, not a bit came off!

Step 5: Removing all the stencil bits took two more hours. They had adhered well and we used an Exacto knife with a thin blade to gently get under one corner before we could peel the section off with our fingers. Some flat-nosed tweezers also came in handy.
Step 6: We had just enough time left that day to put clear sealer into a PreVal sprayer and spray 4 more coats of clear Decra-Seal over the double globe design to protect it for a week.
When we returned the following Monday the map area looked fine. We dusted it well with microfiber cloths and applied two coats of Terra Glaze final finish.
A new janitor has been hired and trained to look after the floors of the balloon museum. When I returned six months later I was surprised at how wonderful the floors looked under several more coats of final finish.


Recent Comments