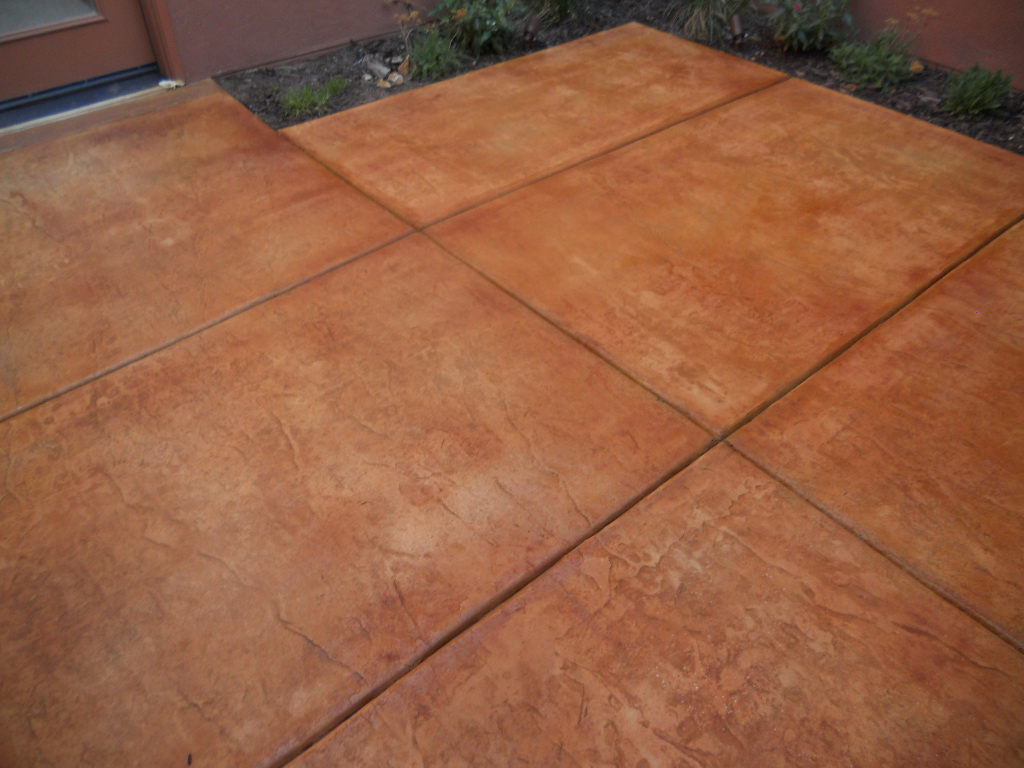
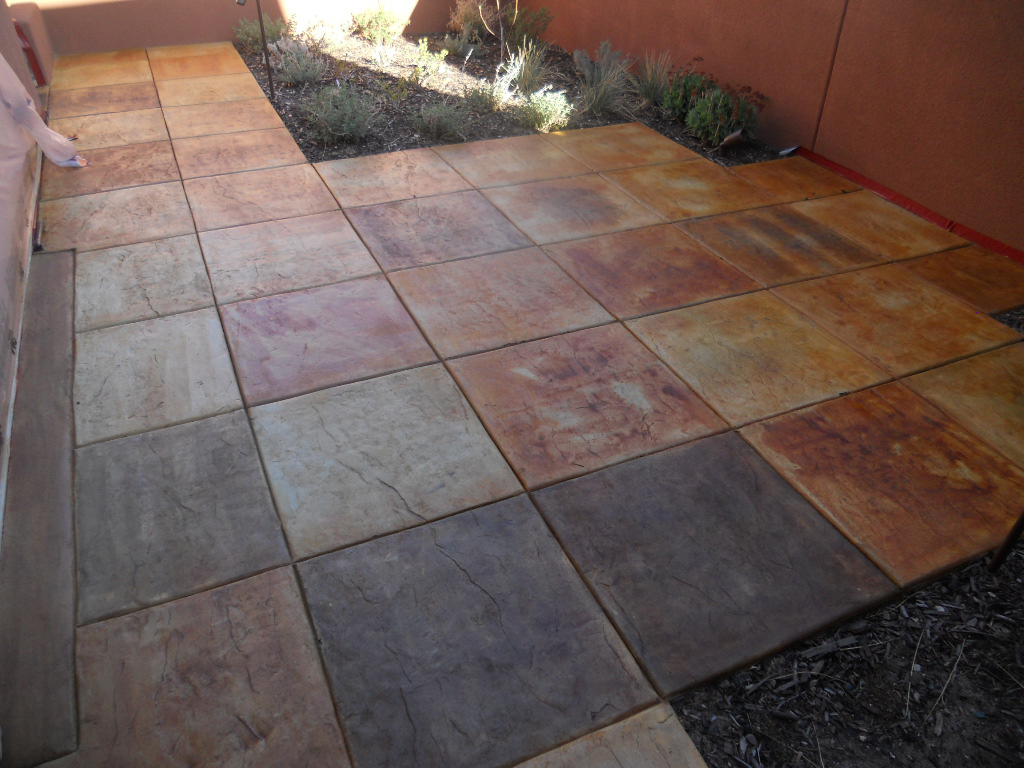
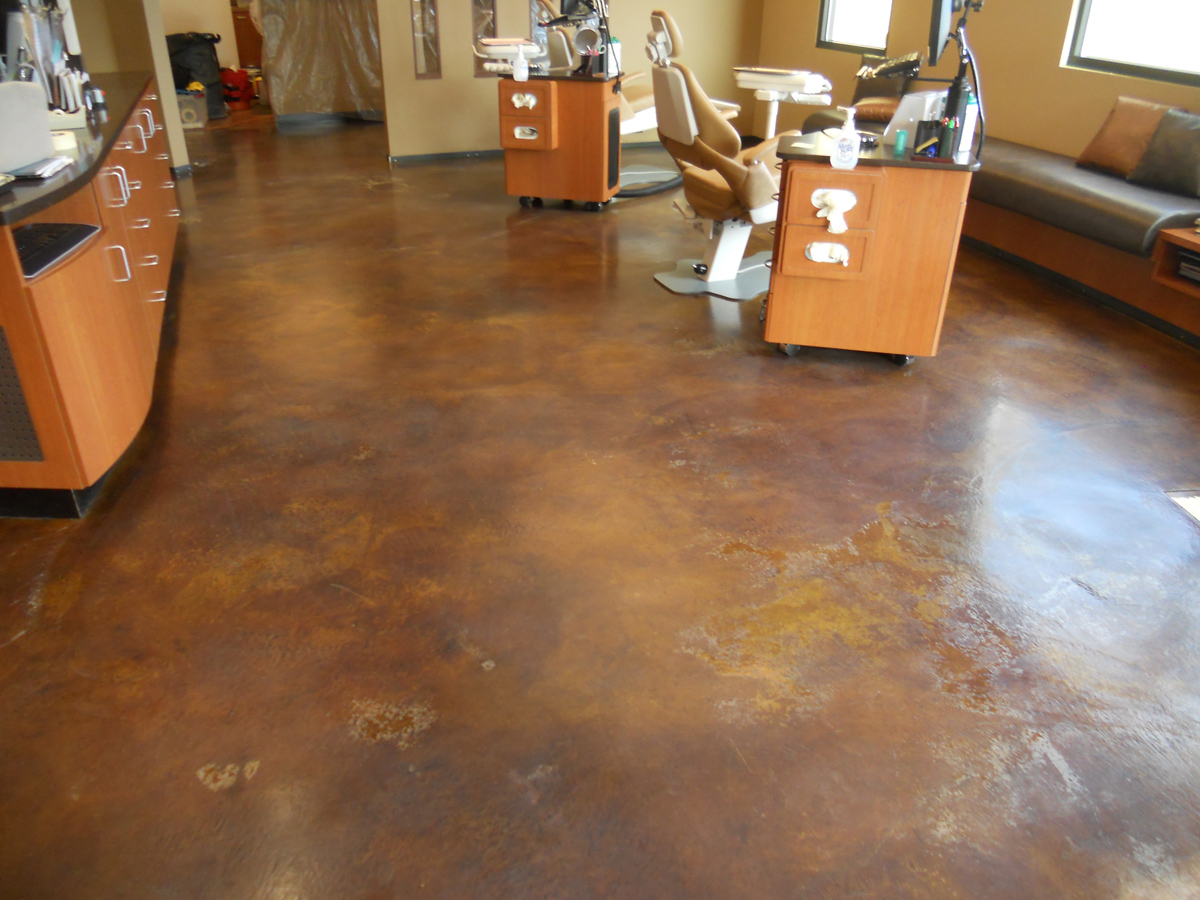
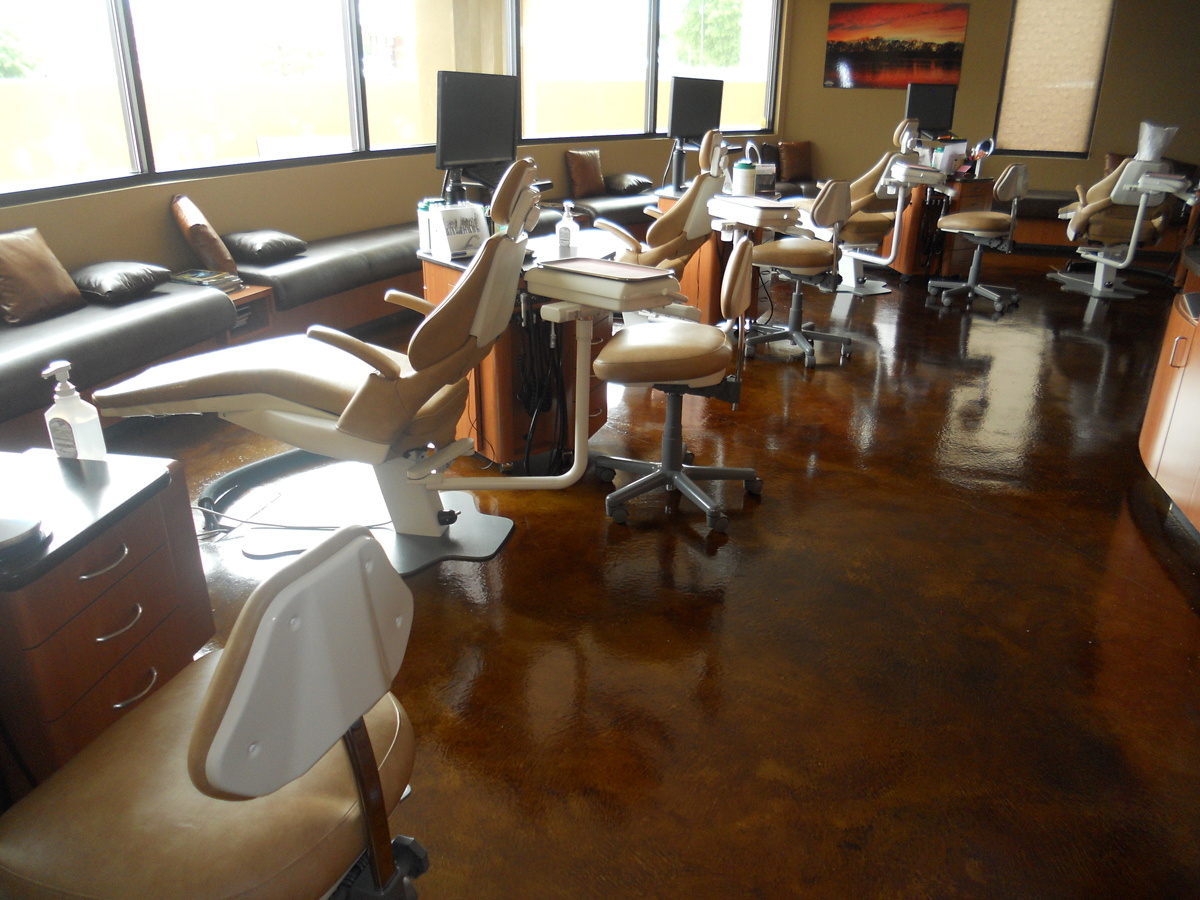
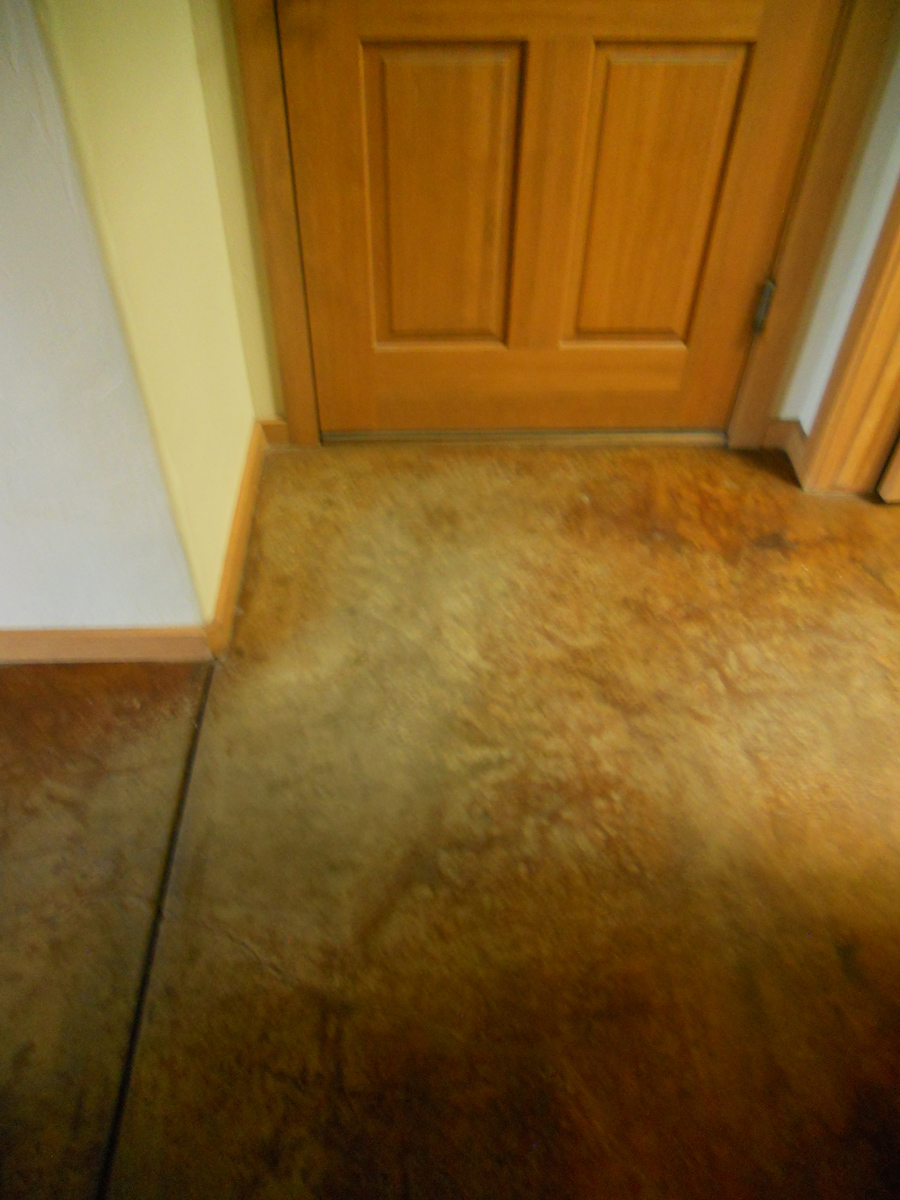
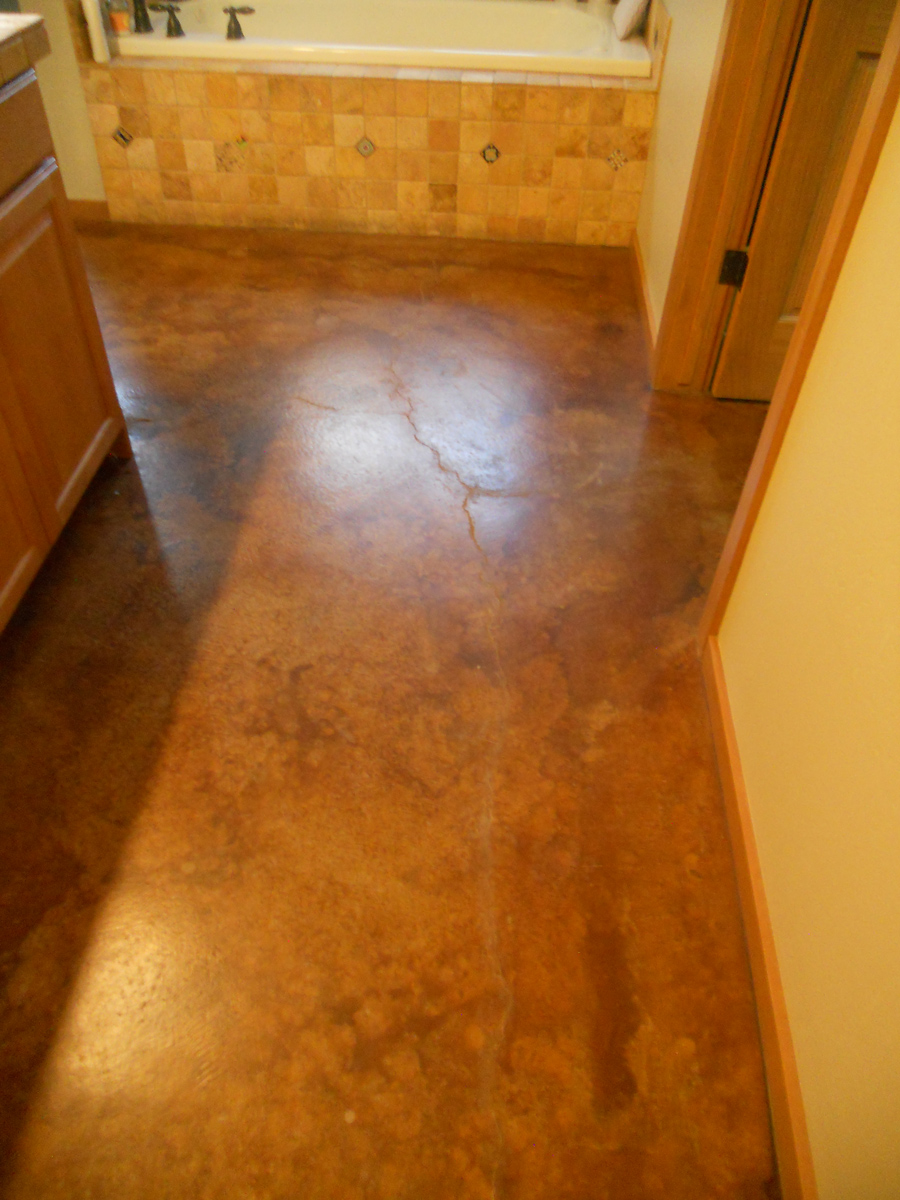
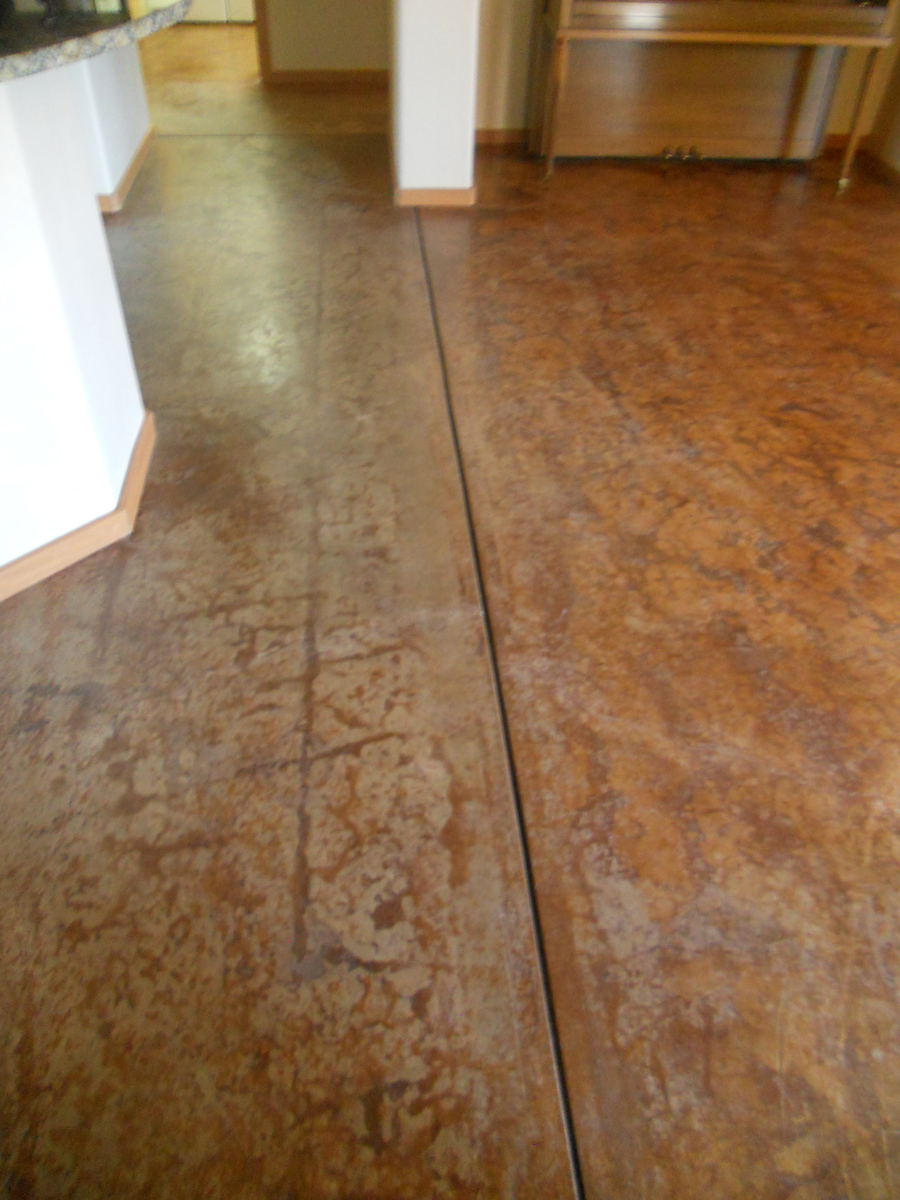
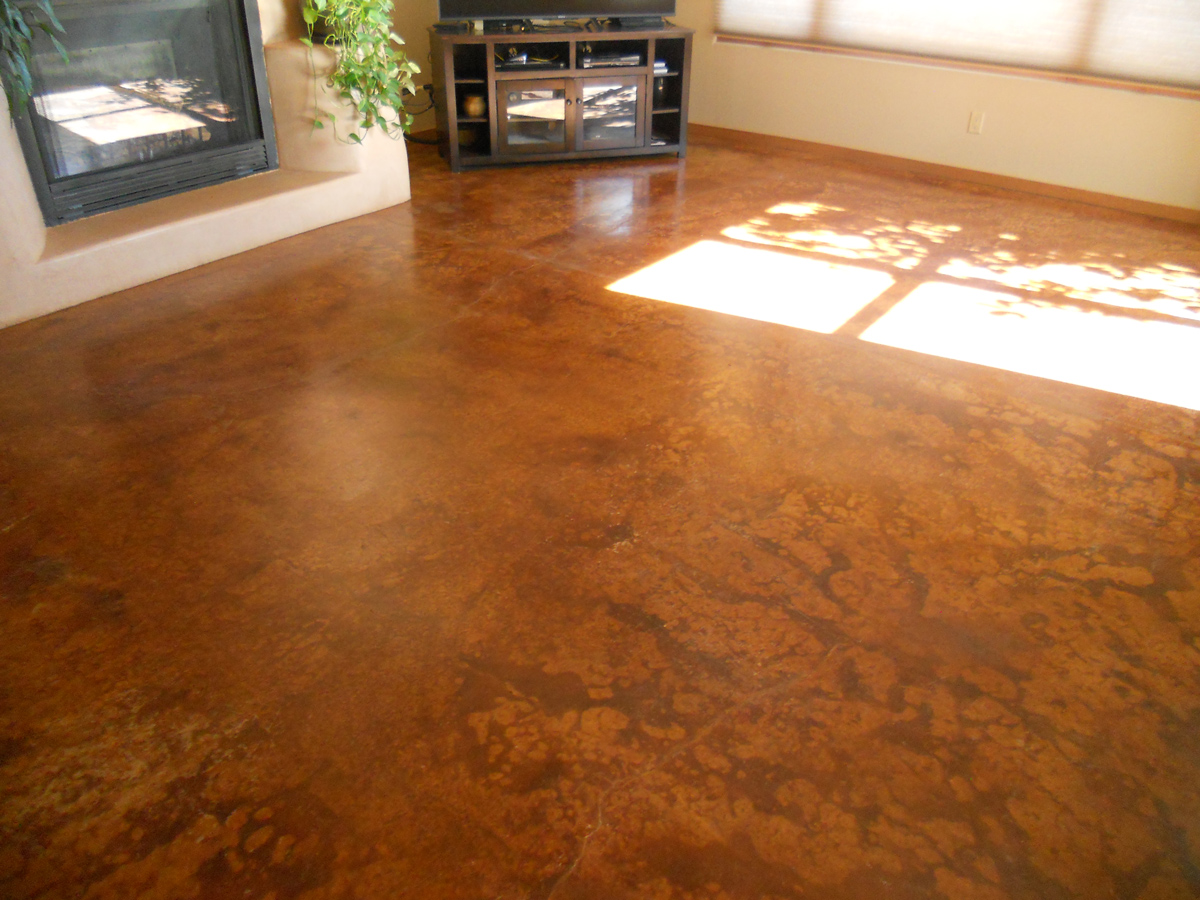
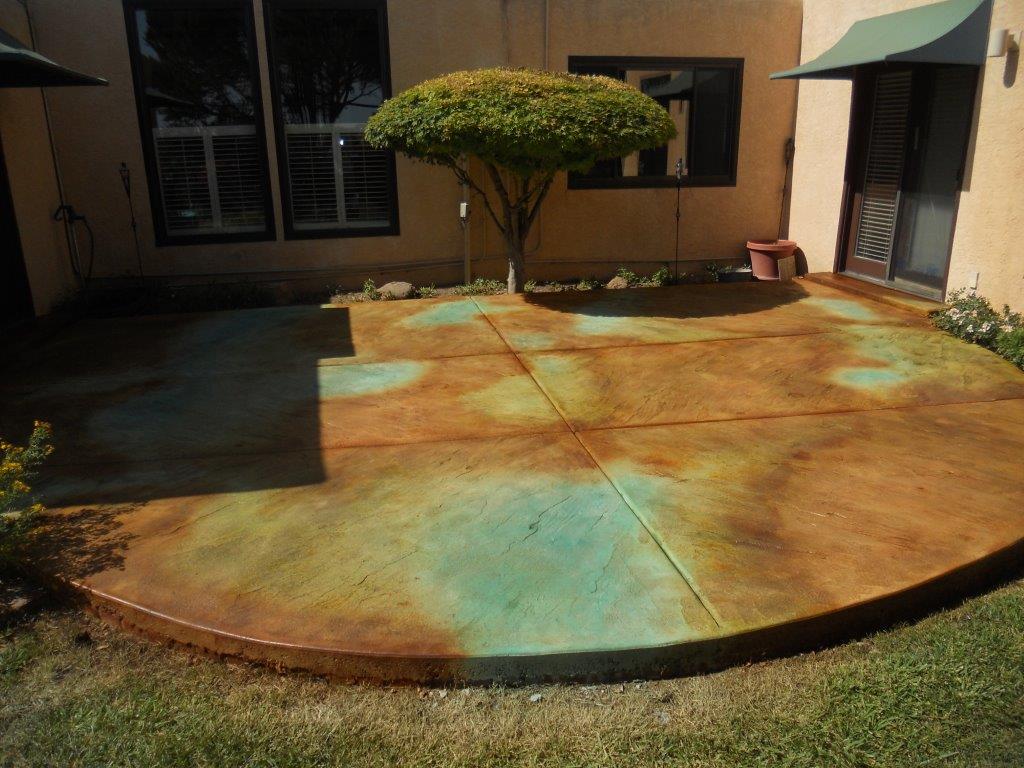
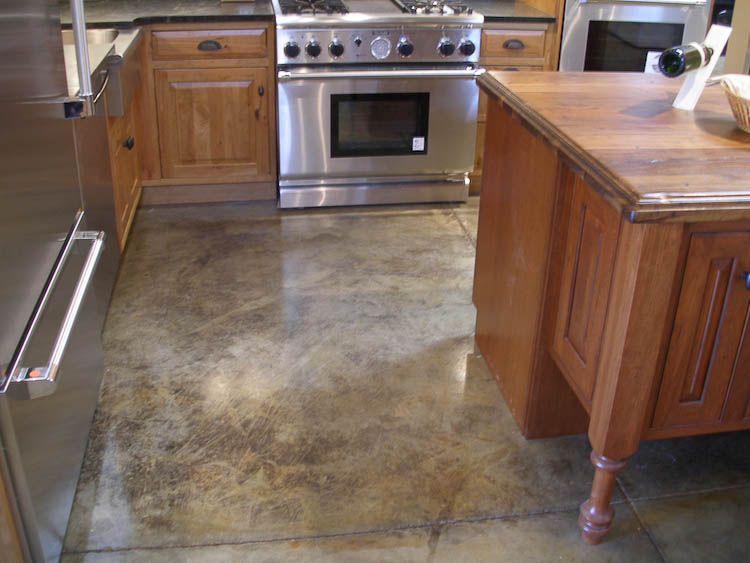
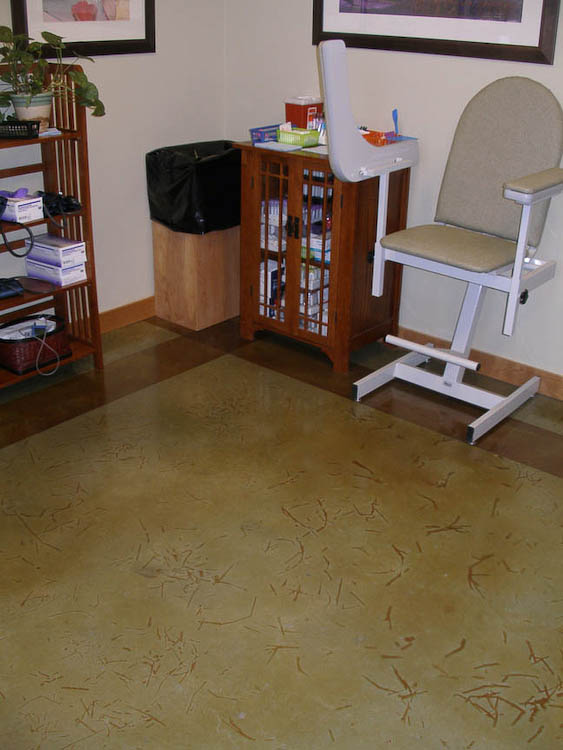
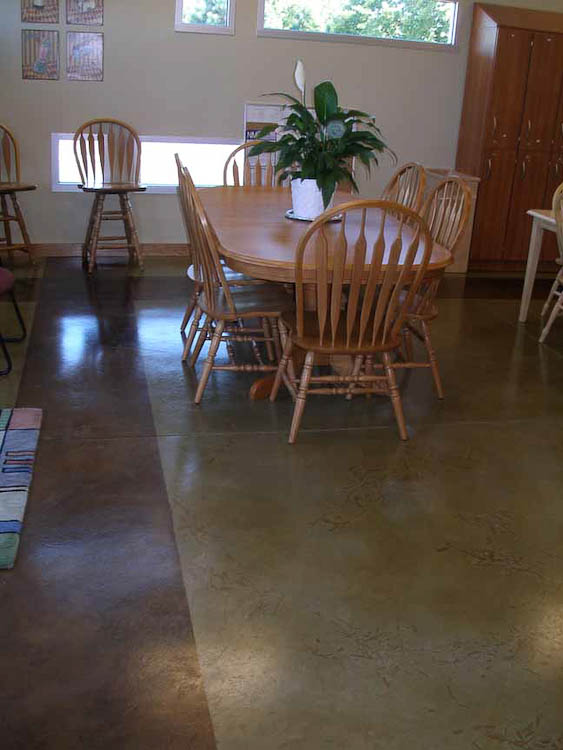
I hate to see public floors we have done fading away due to high traffic and poor maintenance. However, in this long recession we are finding that the neglect of the janitorial staff can be benign for our bottom line. In the past two years we’ve had some profitable calls for what we call “Floor Preservation Work.” This is not just on jobs we originally did, but on jobs done by do-it-yourselfers who knew enough to stain their floors quite well, but then ignored maintenance for years.
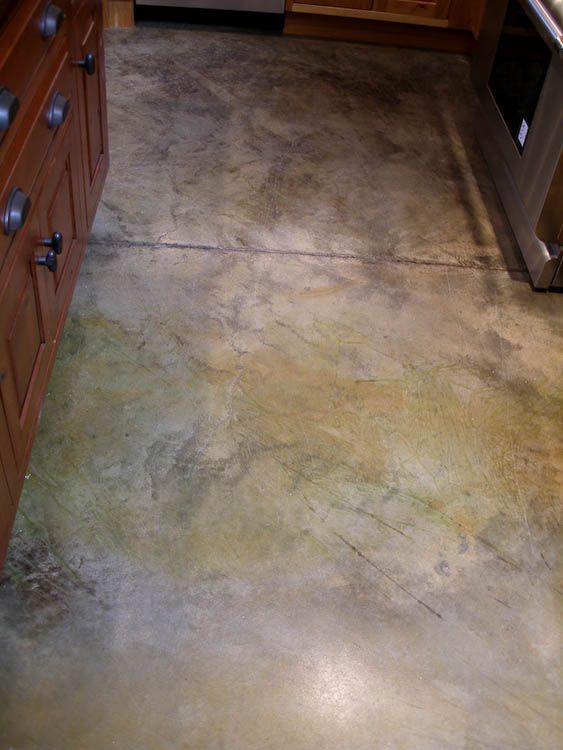
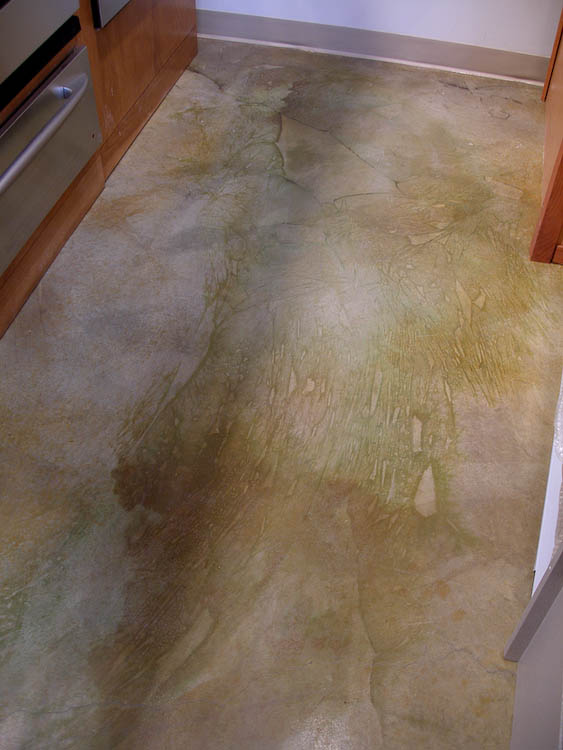
If you’ve ever tried to re- stain the worn gray spot on an old acid-stained floor, you know that it doesn’t work. Even though you’re looking at a blot the size of a throw rug, which certainly looks like bare concrete, there is no way you can get acid stain or even colored dyes to take on it. That’s because there is still a good deal of invisible sealer left in the pores of the slab.
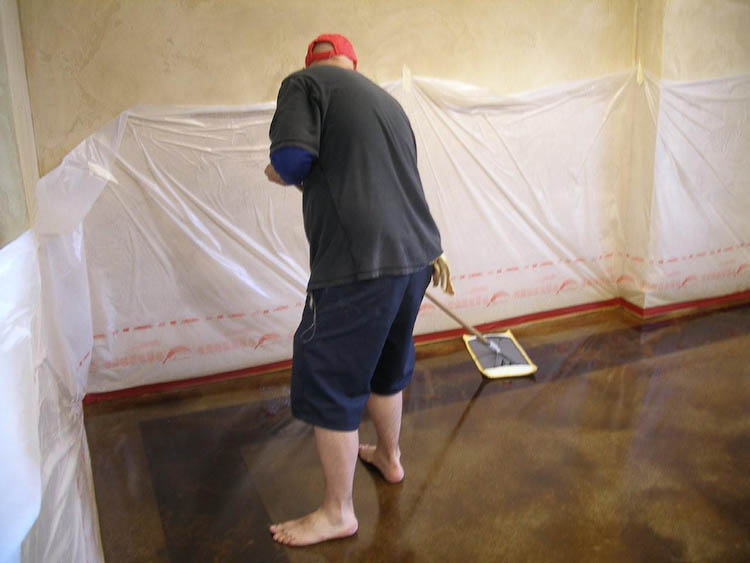
We gave up trying long ago, and switched to concealment. If you’ve seen my videos, you know the process: we use artist’s acrylic paints and clear gloss medium to mix colors which closely match the background. We usually mix these on a white plastic plate (our palette) and dab the paint thinly over the gray area with a barely-damp natural sea sponge. The addition of clear medium to the paint makes it somewhat translucent. We avoid the use of pigments containing opaque white as much as possible, which also helps our faux spots look stain-like.
If the first color match is not quite right, we can apply another thin layer of adjusted color, letting the first layer show through. Most stained floors are a mottled combination of
closely related colors, in any case. When the acrylic paint dries (in about 10 minutes) we go over it with two coats of Terra Glaze final finish, and when that’s dry, our faux-painted areas meld into the background and appear to be part of the original floor.


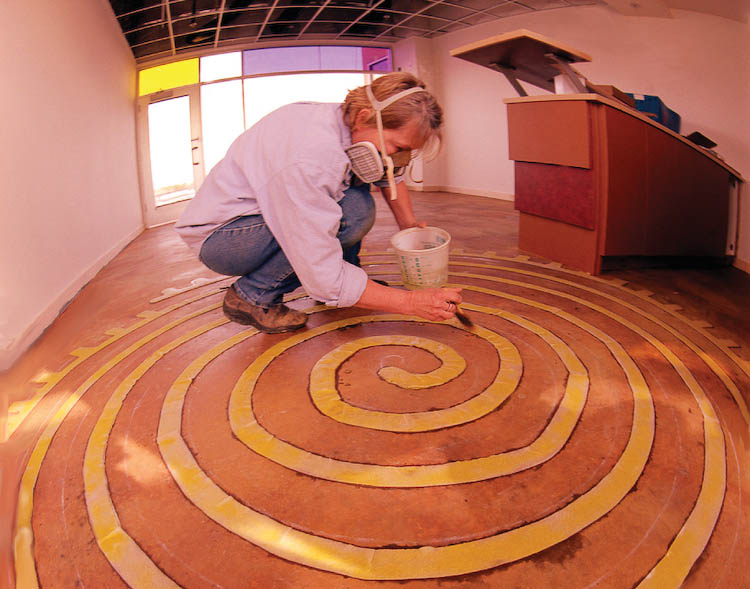
In 2005 we stained the floors of the Albuquerque International Balloon Museum using plastic stencils by Surface Gel Tek (called “Flattoos”) for 13 fantasy balloon designs placed in circles around a large double-globe image in the entryway. Here are two examples of etchings made in the 1700’s when dreamers had the concept of being lifted up into the air in some manner, but had not yet worked out the technology of hot air ballooning. The curatorial staff chose 13 such designs and Tammy at Surface Gel Tek was able to simplify them somewhat to fit into 24-inch diameter circles which would look like etchings. Here is the cupola design we originally etched into the concrete floor in the entryway.
In the spring of 2012 we were called in to survey the badly scuffed areas and suggest some repairs. In high traffic regions near display cases we could no longer discern what the original image had been. The museum had been hosting not just ballooning enthusiasts, but troops of scouts, high school proms and even dog show parties to raise extra money. The janitorial staff had lost our maintenance instructions and contributed to the damage by buffing the floors weekly without adding any fresh layer of final finish or polish! After seven years of such treatment I was surprised to see any legible designs left at all. Part of the challenge was that the Board of Directors did not want to close the museum down for even one day for us to do repairs. The museum was closed to the public on Mondays, and we would contract to accomplish the job in several months of Mondays.
The plain worn areas were treated via our usual routine. We divided the museum into sections of about 800 square feet, scrubbed the entire section, faux-painted worn gray spots in the manner described above and then applied two coats of acrylic final finish (Terra Glaze by Spartan Chemical) to the whole section. The refurbished sectionwould then have overnight to dry before thundering herds of visitors came through the next morning.
 The tricky part was how to restore the complicated Flattoo designs in the entry? Fortunately, Tammy still had the original designs she made for us, and the dimensions. After a good deal of talking on the phone and plotting out the fastest possible procedure, we decided we would restore just one or two medallions each Monday. We would use a paint and sealer stripper called Uni-Stripp by Increte Systems to remove everything inside the circle, acid etch the circle down to raw concrete to give it tooth, neutralize the cleaned area with a TSP scrub and let it dry. We would then adhere a new plastic stencil over the circle and paint in the design to restore it. This would have to be done the opposite way to how Flattoos are commonly used. (In 2005 the entire medallion was stained dark rust brown, the Flattoo was applied to protect each tiny line in the design and the whole brown background was etched away using a gelled acid to remove color, which left a dark line drawing on a light background).
 This time Tammy would create the same stencil, but she would weed out the lines and a few colored areas in the drawing. The larger sections of the Flattoo would protect the light gray background color. With a small sable brush we would paint in a yellow-orange color for details like flags and shadows, and a dark brown for edges and guylines of 1/8th inch or less. This would give the medallions more colors than we had time to achieve when doing the original etchings. This is a photo of the restored bicycle medallion. The shot was taken before we faux painted some of the white spots surrounding the medallion. Applying (medium tack) masking tape around the medallion while working on it invariably lifted some finish and stain from the floor.
Acyrlic paint does not flow enough to make tiny thin lines and it would cling to the edges of the Flattoo and get pulled up later when the stencil was removed. I discovered that we could use oil paints blended into our solvent-based clear floor sealer (Decra-Seal by W.R. Meadows). This would dry rapidly and stay in place when we removed the Flattoo sections surrounding the painted lines. We could seal the white, porous background of the medallions with Trojan Masonry Sealer (by Envirosafe Mfg.) in order to waterproof and keep the background white.
 We wanted to protect each medallion with layers of a penetrating solvent-based acrylic sealer, but that would have the effect of darkening the raw concrete unless we waterproofed it first. Fortunately, we are working in a very dry climate and our waterproofing sealer could cure in an hour. The multi-colored designs we made using paint-in-sealer became more legible than the originals, since we could create higher contrast. They also have more layers of protective sealer and finish, so we expect them to be more durable over time.
 Once the oil-painted lines and the white background had dried, we could put our solvent sealer into a PreVal spray bottle (with some lacquer thinner to atomize it) and spray two or three coats on the finished medallion. After waiting an hour for those to dry, we could spray two or three more thin coats, cordon off the area so the staff would not walk over it on their way out the door, and feel okay about leaving the medallions for another week of public traffic. The following Monday the solvent sealer would be completely cured and we could apply two coats of Terra Glaze final finish to the medallions we had done the previous session.
It took us even longer to figure out how to restore the double-globe design in the center of the entry, but we managed that by working on a Sunday holiday as well as a Monday. I will describe that process in my next blog, Benign Neglect – Part Two.


Recent Comments