A Cigar Lounge Logo
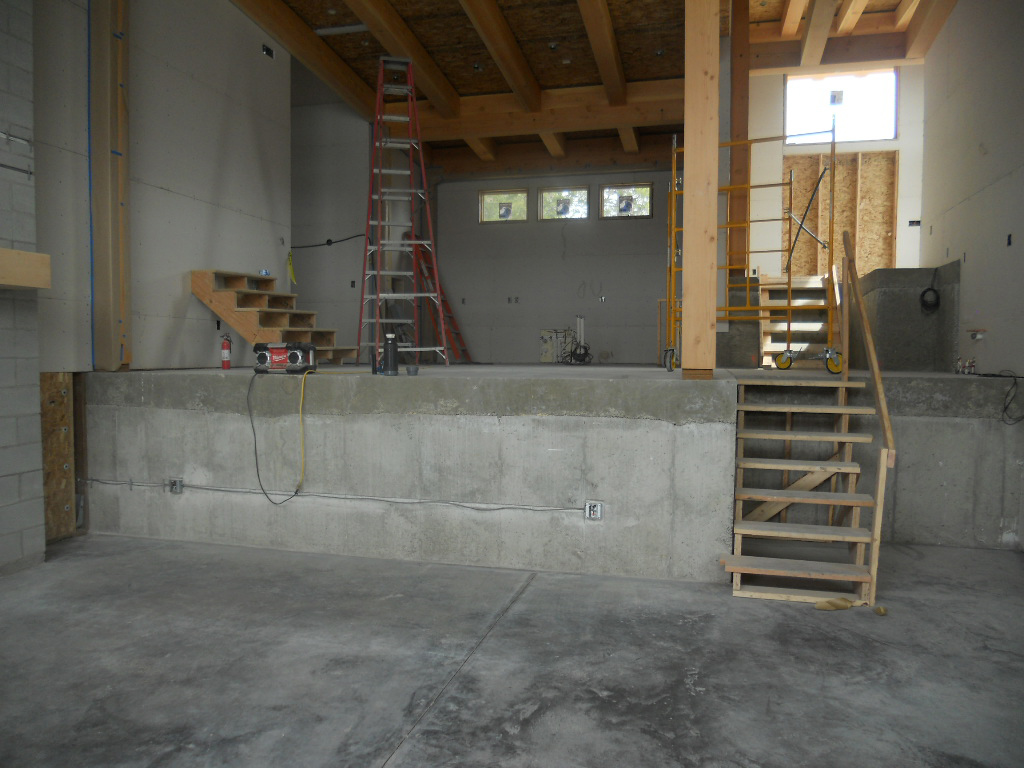
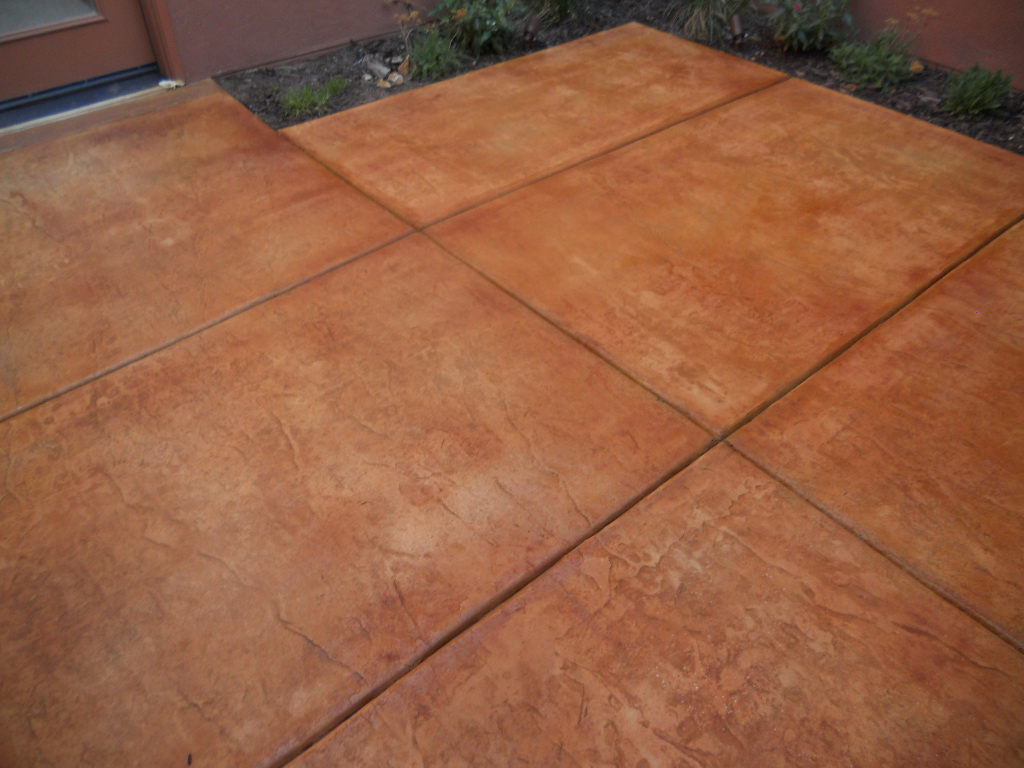
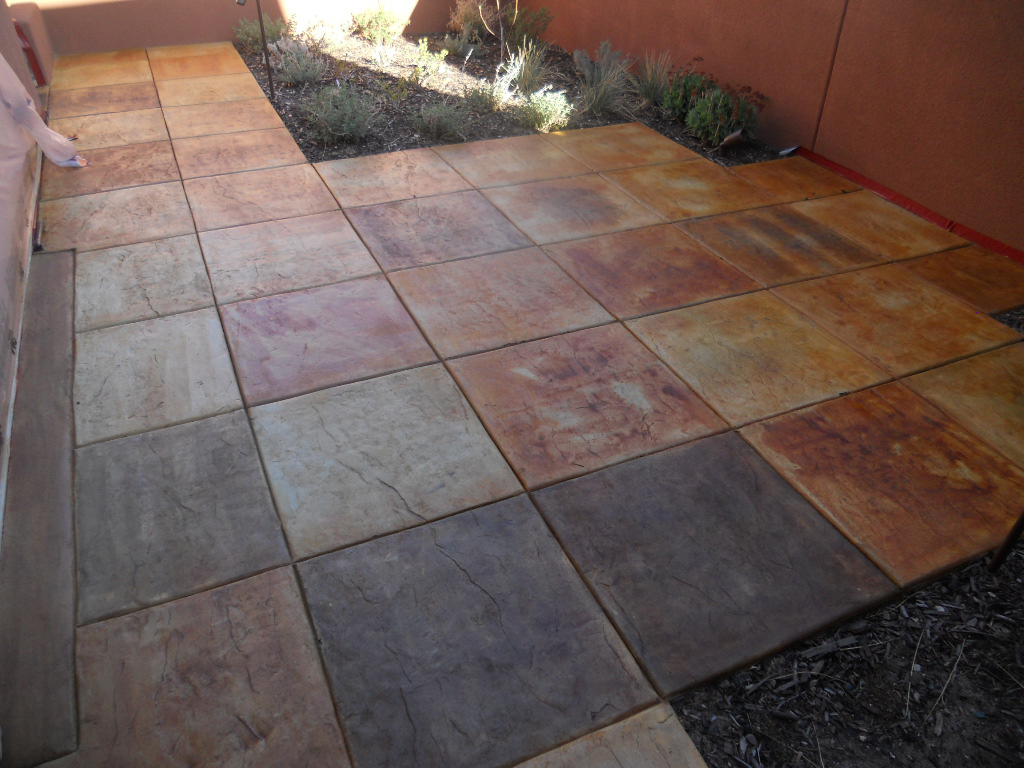
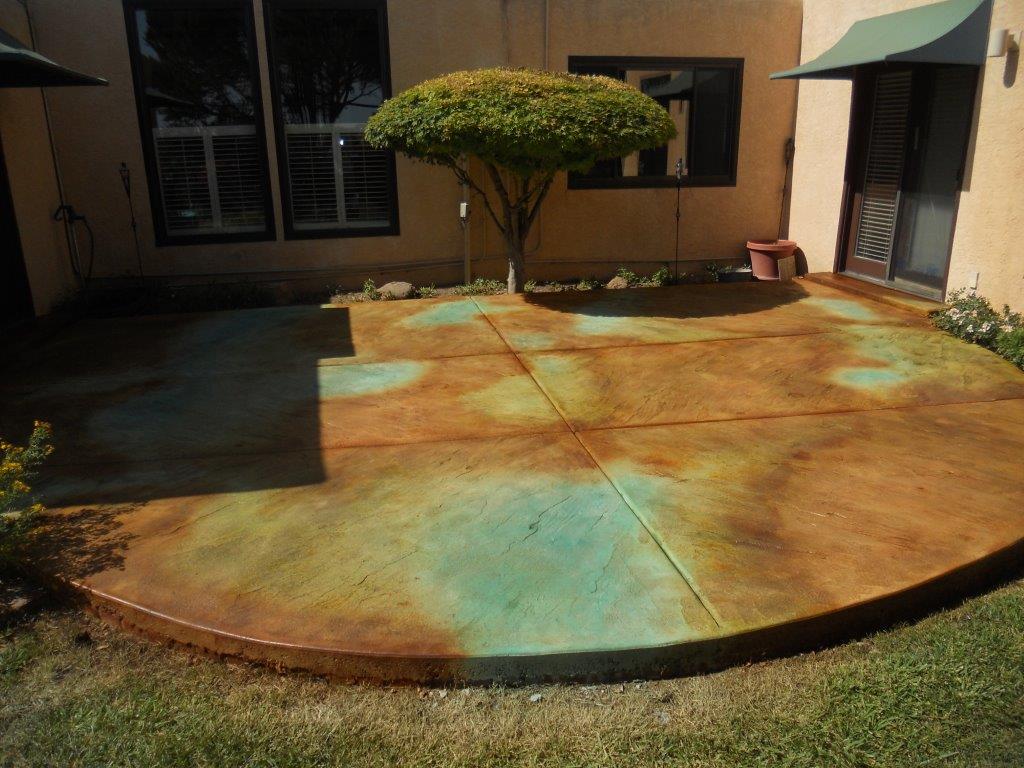
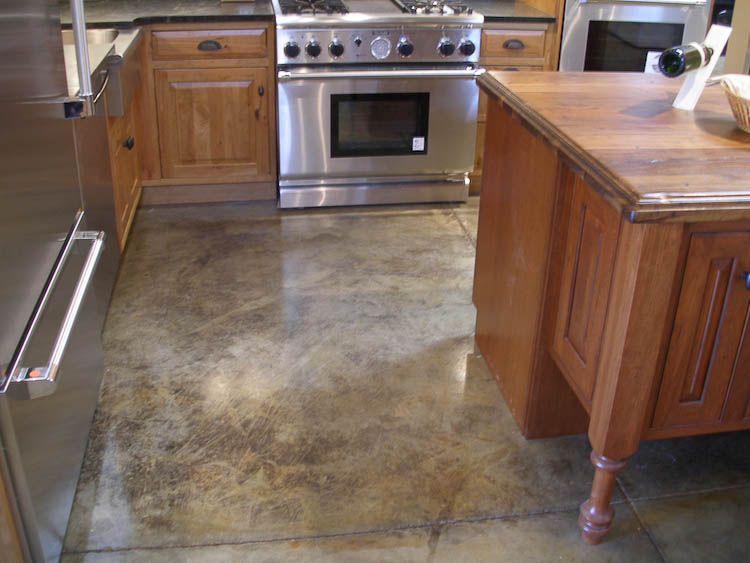
In July of 2012 a local cigar store called Monte’s contacted us about the covered patio which was the entrance to their store. It had twenty-year old pitted concrete with a cracked step and improvised wheelchair ramp. The owner wanted to demolish the slab, pour new concrete, and include a shiny new logo on the floor at the entry to his Cigar Lounge door. Photo A. shows the entry during demolition.


I had never heard of a “cigar lounge” before. It proved to be a dark-panelled English style men’s club upstairs above the cigar store. It made me think of the club in “Around the World in Eighty Days” where David Niven hobnobbed with representatives of the nobility. (In this cigar club women are allowed, but I never saw one there). Each member has his own key card for the door and can gather around couches and small tables to smoke cigars, read newspapers and watch TV. Drinks and the best coffee in town are served by a nubile young woman, while the men happily puff cigars and discuss solutions to the world’s problems.
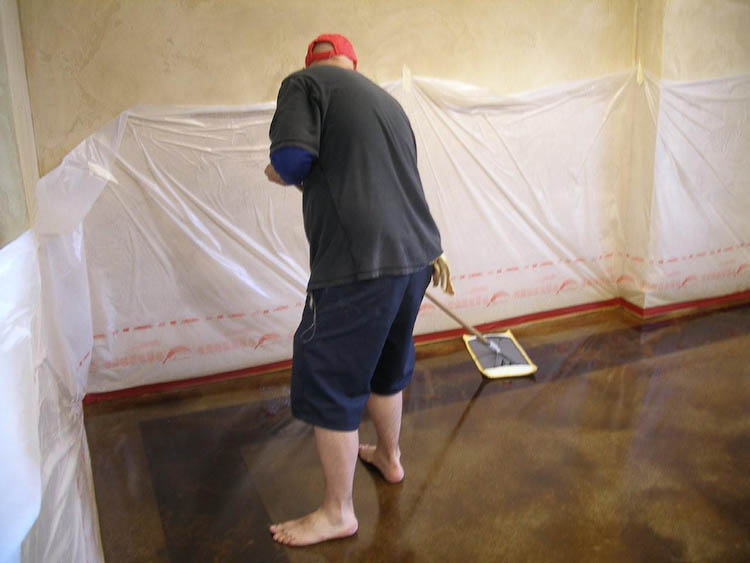
We found a subcontractor, T & V General Construction, willing to demolish the old slab and pour new concrete in the entry. The work had to be done at night after the shop and lounge had closed. Fortunately there were electrical outlets nearby and a window to a basement where a hose could be rigged up for water. Unfortunately, our work was halted in mid-stride by an irate neighbor from across the street complaining about jackhammer noise at 9:00 p.m. One week later we started again, armed with a Noise Abatement Ordinance Waiver saying that we could work during certain early evening hours.
Our company was to provide the logo work and stain the new concrete once it was a month old. We bagan by cutting two Hardibacker boards 3 feet by 4.5 feet and covering them with a layer of Super Flowcrete (a commercial overlayment) and two fine layers of a smooth and reactive microtopping (Roy’s formula) . When the boards had cured we took the second-best one and wrapped it all around with heavy plastic. We gave this to our concrete placement guy to drop into position at the Lounge entry door, so we would have a correctly- sized depression into which to place the second board upon which we were creating the logo.
We knew that the Gurkha design would be time-consuming and that we would not want to be working on it at night on our hands and knees. I had never before glued a board into place in a slab with Liquid Nails, but could see no other solution.
I called Tammy of Surface Gel Tek to see if we could think of a way to do shadings of black and white which might give the look of the original etching. She had a hunch that it could be done by staining the entire silhouette of the logo with black stain, then using an artist’s flat “fan brush” and a mild gelled acid to etch away the highlighted areas more than the shadowed areas. Intrigued by this unique problem, she enlarged our design and did the staining and etching herself during a workshop demonstration. It worked very well and she proceeded to make a Gurkha Flattoo for us and gave me careful instructions over the phone.

C

D
I decided to complete the Gurkha figure first and add the lettering below once the background color had been painted in. Our first step was to trace the outline of the entire Flattoo, so that the placement of the logo on the red background would be as it was on the original design. We masked the outline of the Gurkha by brushing on a band of liquid latex rubber, so that no black stain would crawl beyond the silhouette. (I have previously written about the many uses of liquid latex mold builder). Photos D. E. & F. show the first stages on the Gurkha.
E. Seal Around Silhouette of Gurkha
G. Apply Flattoo over Stained Area
Photo G. shows us pressing the plastic stencil over the stained Gurkha silhouette. CTammy’s Flattoo could only give us outlines of the main areas of the design (e.g. the Gurkha’s hat, his sword, his hands, and the buttons on his coat). All the fine interior shading would have to be done by us using the original design as a guide and eyeballing the removal of black in gradual stages. Tammy warned me that we might have to etch five or six times, wiping the fan brush on a damp sponge between passes with the gelled acid, in order to get the whitest highlights. This proved to be the case. This gradual approach kept us from making any rash mistakes, however.

F

E
It took my assistant and me four hours working on the board to complete the etching on the Gurkha figure. I
only stopped once to remove my mask and take a photo during this long process. Photo H. shows the figure about half- way done. We started at the bottom of his jacket and hat, generally working upwards to the crucial facial area which we knew would be the most difficult. His hands turned out to be the trickiest, since they had so many shades of gray and parallel bends.
When the Gurka figure was done we washed it with a damp sponge and let it dry overnight. The next morning I painted in his sword with gold lacquer paint (semi-translucent) so that the dark accent lines would show through. Once it had dried, I masked off the white background area of the board and sprayed the Gurkha several times with our solvent-based clear acrylic sealer (Decra-Seal by W.R. Meadows) diluted a bit with lacquer thinner and put into a Pre Val Sprayer to atomize it. I waited an hour between coats. No way was I going to risk brushing a solvent sealer across our work.

G

H

I
The next step was to mix some red-orange oil paint into a pool of Decra Seal and apply it by brush to the entire background. The first coat showed brush marks. I let it dry and applied a second coat with a slightly damp sea sponge which evened it up nicely.
When the background paint-in-sealer had dried overnight, my assistant returned and we laid down the lettering segment of the Flattoo and painted dark brown and gold into the letter openings. The brown was artist’s oil paint mixed well into Decra-Seal, while the gold we used straight from the jar, as on the sword. We had to do two coats with a tiny brush on the gold sections, since one coat did not adequately conceal the red background.
After staining and sealing the entry slab with dark brown, it was finally time to pry out the placeholder board and replace it with our finished piece. I had not thought to paint the half-inch vertical sides of the Hardibacker board with red paint; when we put it into place, some white edges could be seen from certain angles. I used my touch up acrylics and a small flat brush to paint the edges of the board once it was glued down. The concrete around the “placeholder board” had shrunk back just enough to leave room for us to do this.

J

K
I had sprayed the finished board five times with sealer using the Pre Val at home. However, when we began to brush a final coat of sealer on the board in place, we smeared a tiny part of our logo. We sprayed many more coats of atomized sealer on the board and gave it longer to cure. We returned one night a week later and were able to brush two more coats of full strength Decra Seal on the logo board. At this point it probably has about ten layers of clear solvent-based sealer on it.
The cigar shop owner was happy with our work and placed large foot-wiping mats outside the patio entrance. Installation was completed in late August. As of this writing, some seven months later, I am happy to report that the logo board has suffered neither visible abrasion nor cracking.


Recent Comments