We recently had two separate clients who wanted the drama of black floors throughout their homes. I hope this does not signal a new trend towards black floors. We usually try to talk people out of this by showing them how attractive black stain can look when it is diluted in half with acid water to a variegated gray-brown color. The problem is that it’s a constant struggle to keep black floors looking decent. Each dusty footprint and every bit of sand which blows in through the door will show up white against the dark background. We warn client s that they will need to dust mop their floors daily. However, both parties were adamant and chose the darkest of the samples we did for them.
During our first job, set in a splendid high valley in Colorado, we discovered even more problems which crop up with black floors, creating a good deal more work for the staining crew. I will take problems and solutions in the order in which they occurred.

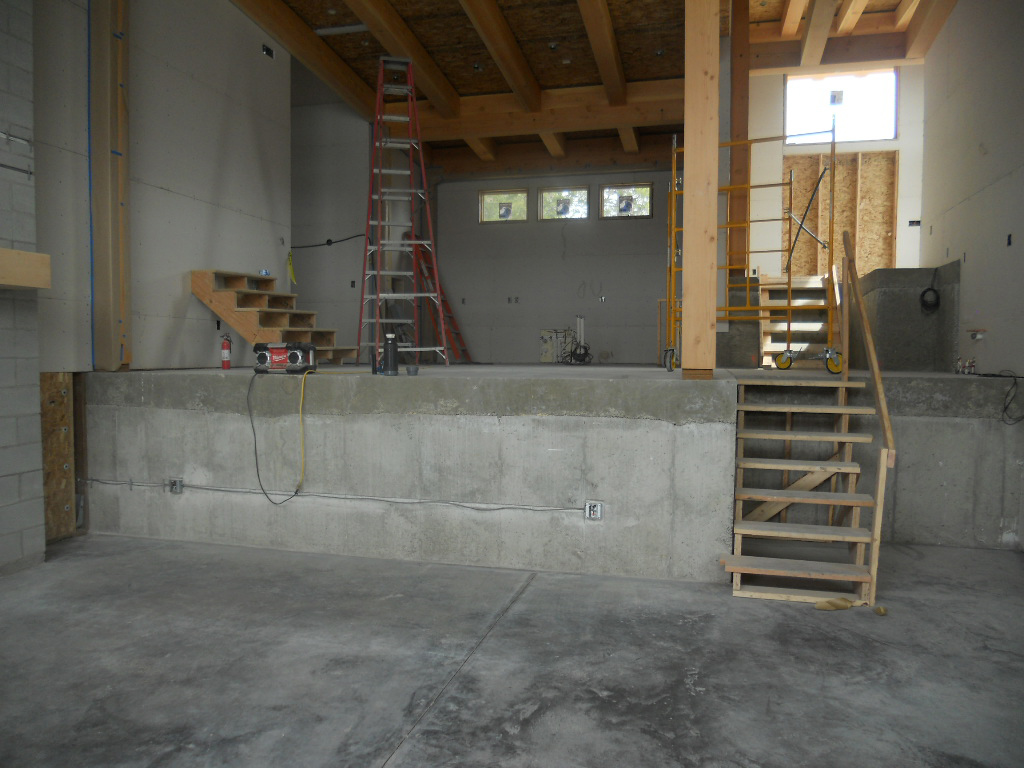
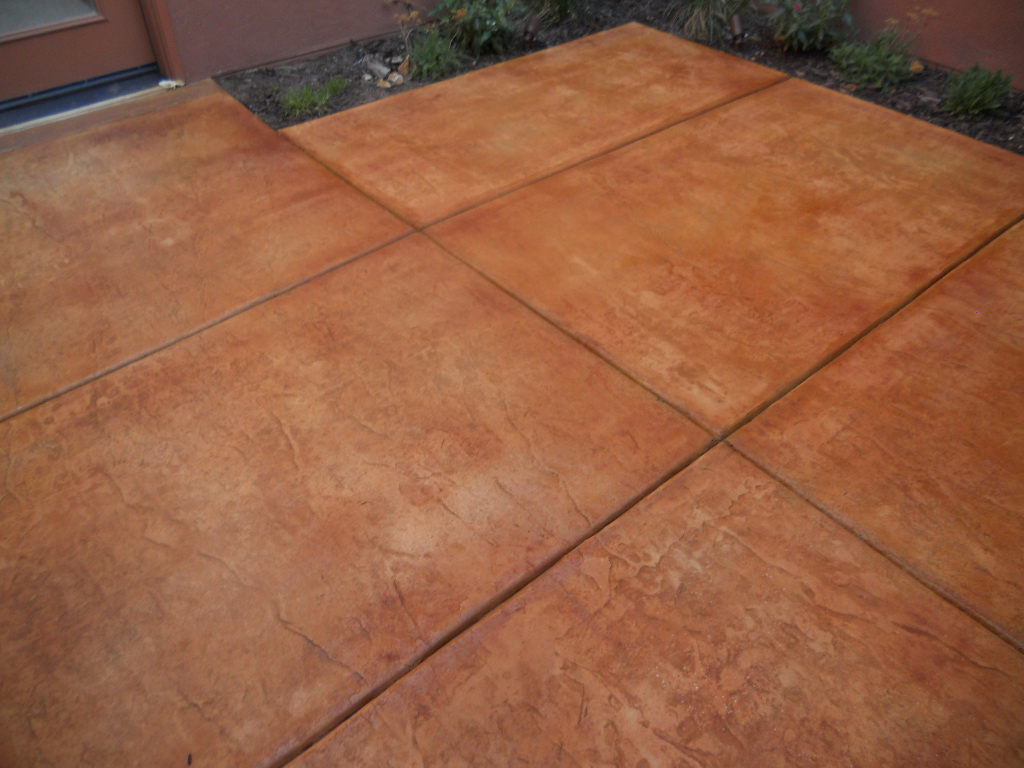
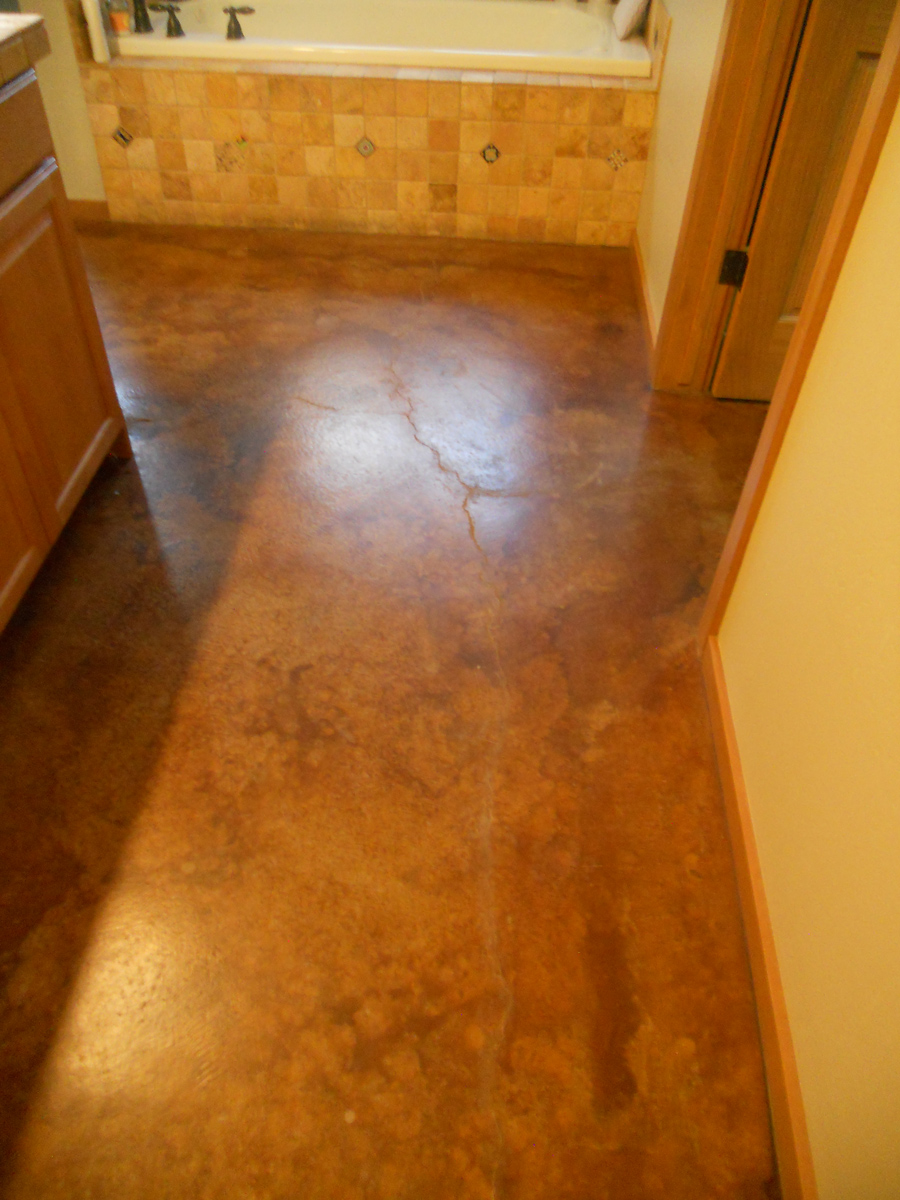
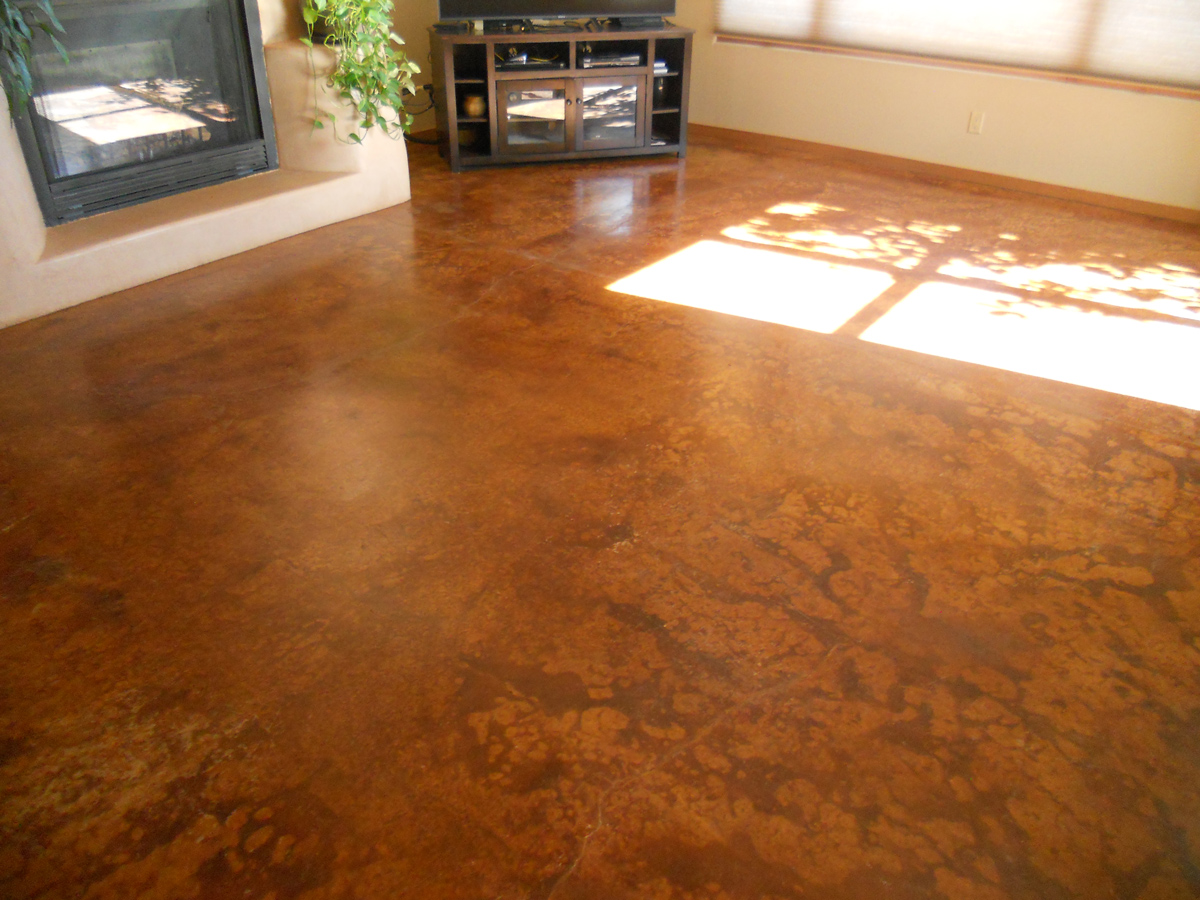
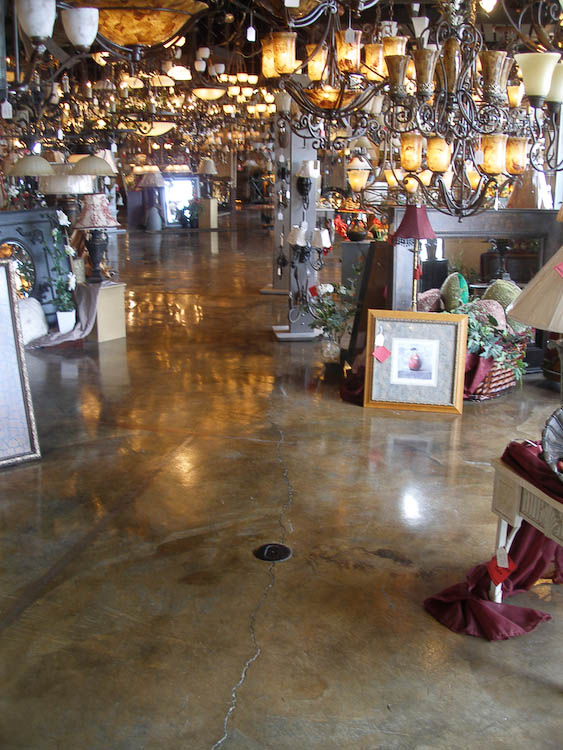
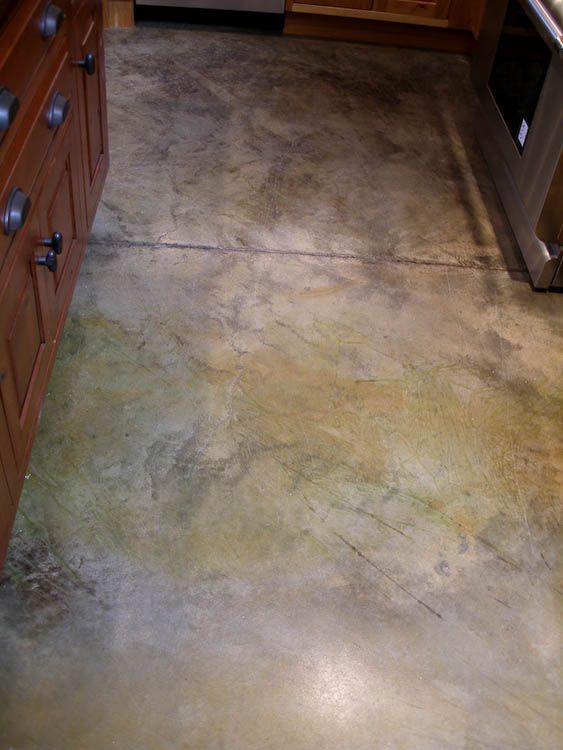
Photo A
First, no matter how well we sand and scrub a slab in preparation for staining, we find that the stain usually pulls back from the cracks in the slab, which emphasizes them and makes them look wider than they are. Photo A shows how this effect is heightened when the color chosen is black. We find this happens more often with the large cracks we have filled, but also with hairline cracks which we do not fill. If you have seen my DVD’s you know that we use tiny syringes to inject the cracks with concrete glue prior to filling and take every care NOT to smear glue on either side of the crack, since we know that the glue will repel our stain. The edges along cracks DO take stain, but it is usually several shades paler than the rest of the floor. My hunch is that when a slab cracks, it lifts a tiny bit along both sides of the crack, causing the wet stain to roll away, like water down the sides of a mountain range.

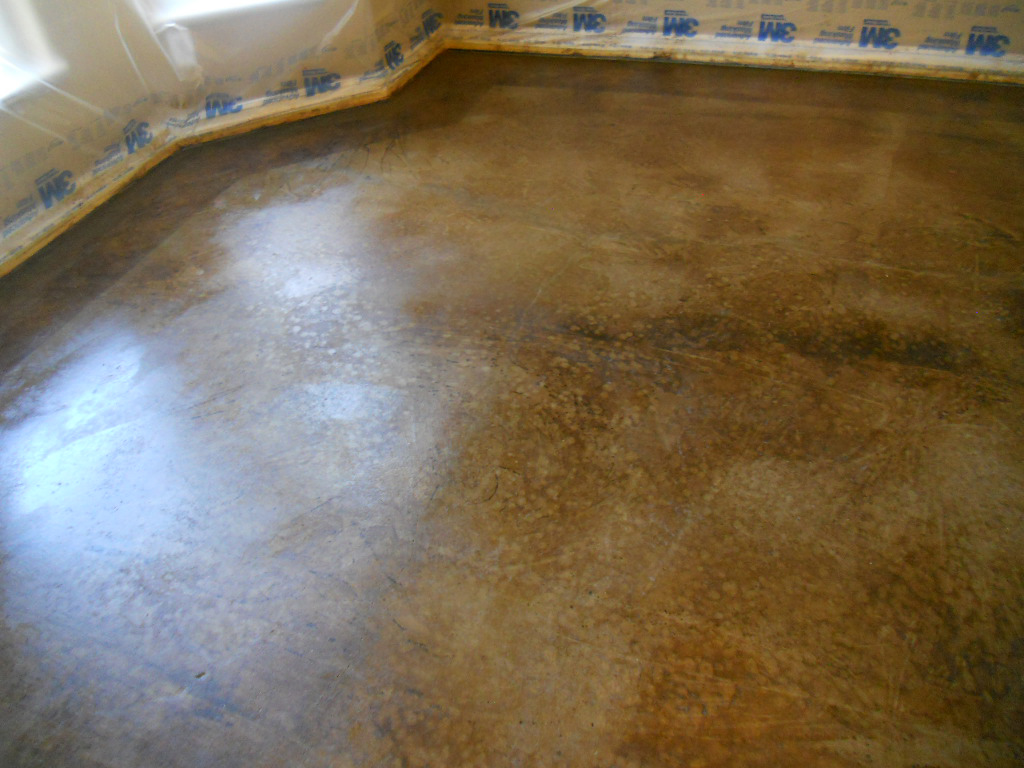
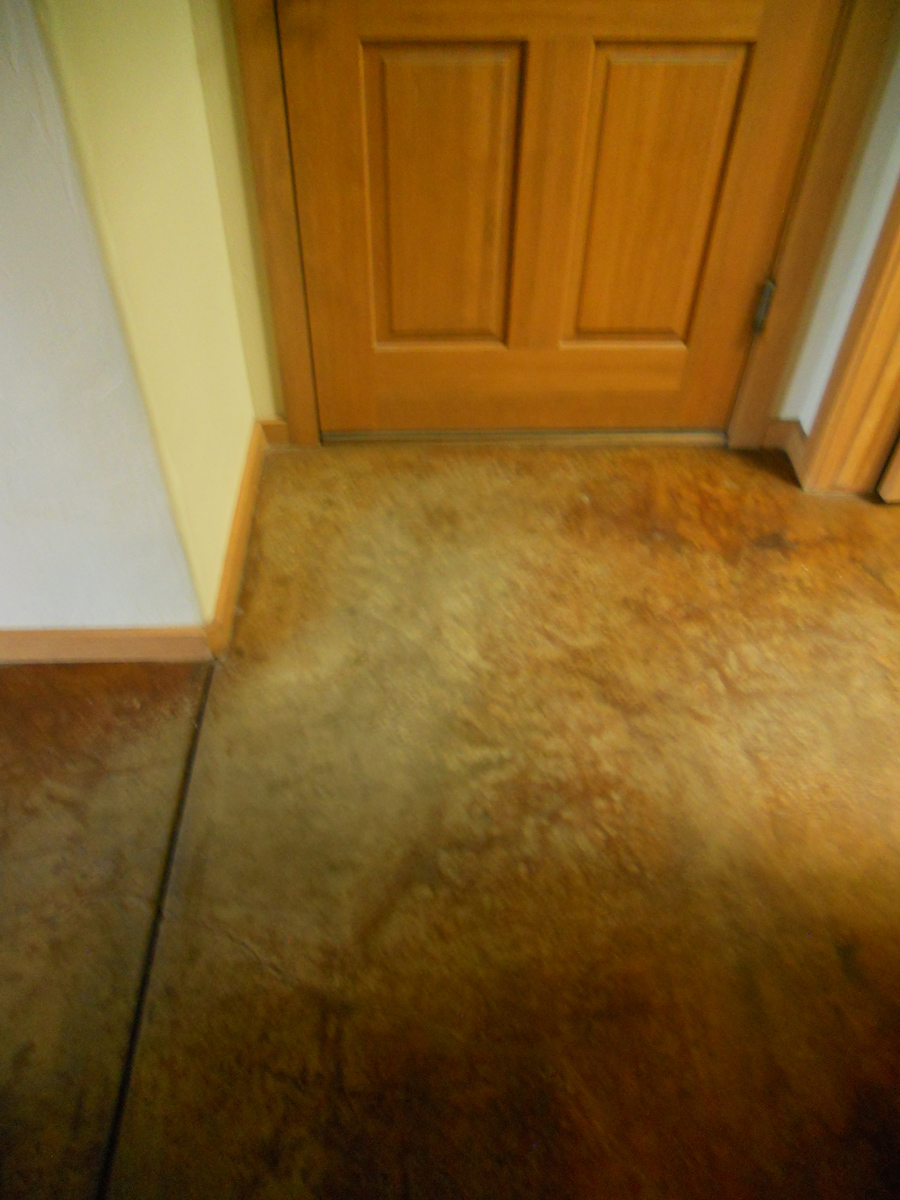
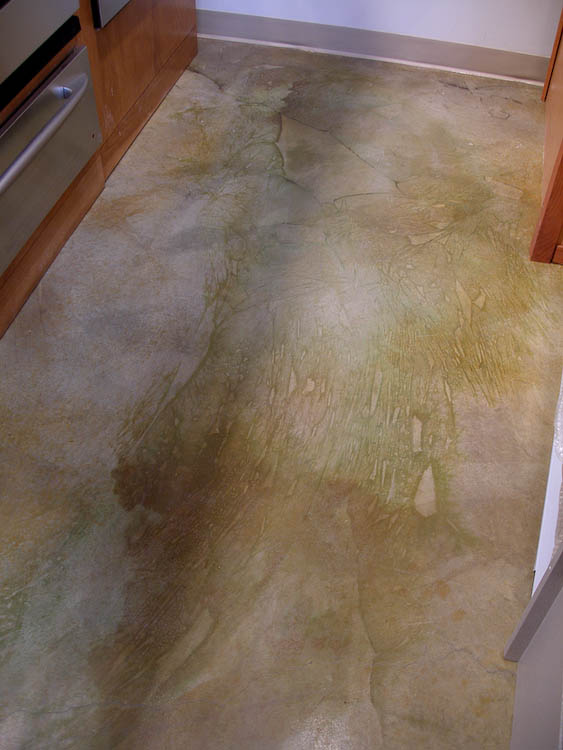
Photo B
In this residence we applied two coats of solvent-based acrylic sealer and left the site for four months while plasterers and stone masons finished some walls and countertops were installed. The builder protected the floors wall-to-wall with rosin paper and laid sheets of cardboard over the entire area. This prevented damage by abrasion to the sealer but there was still a thick layer of dust under the paper which we needed to clean up when we returned to apply the acrylic final finish. Photo B shows how the floors looked when we got back to the site.

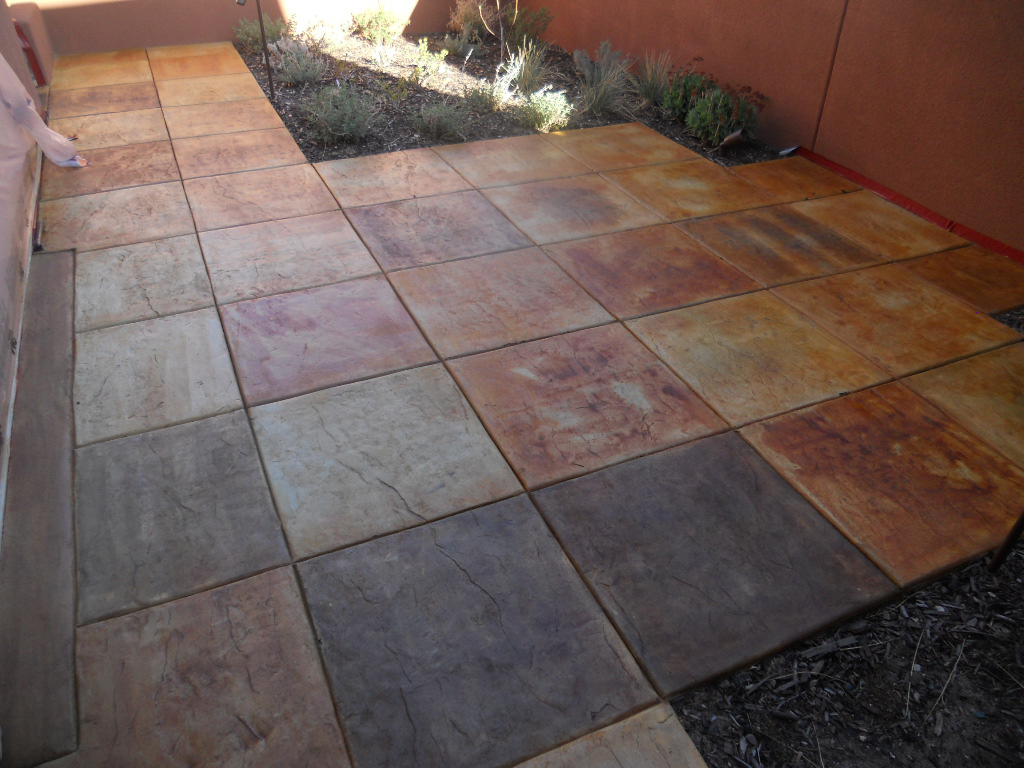
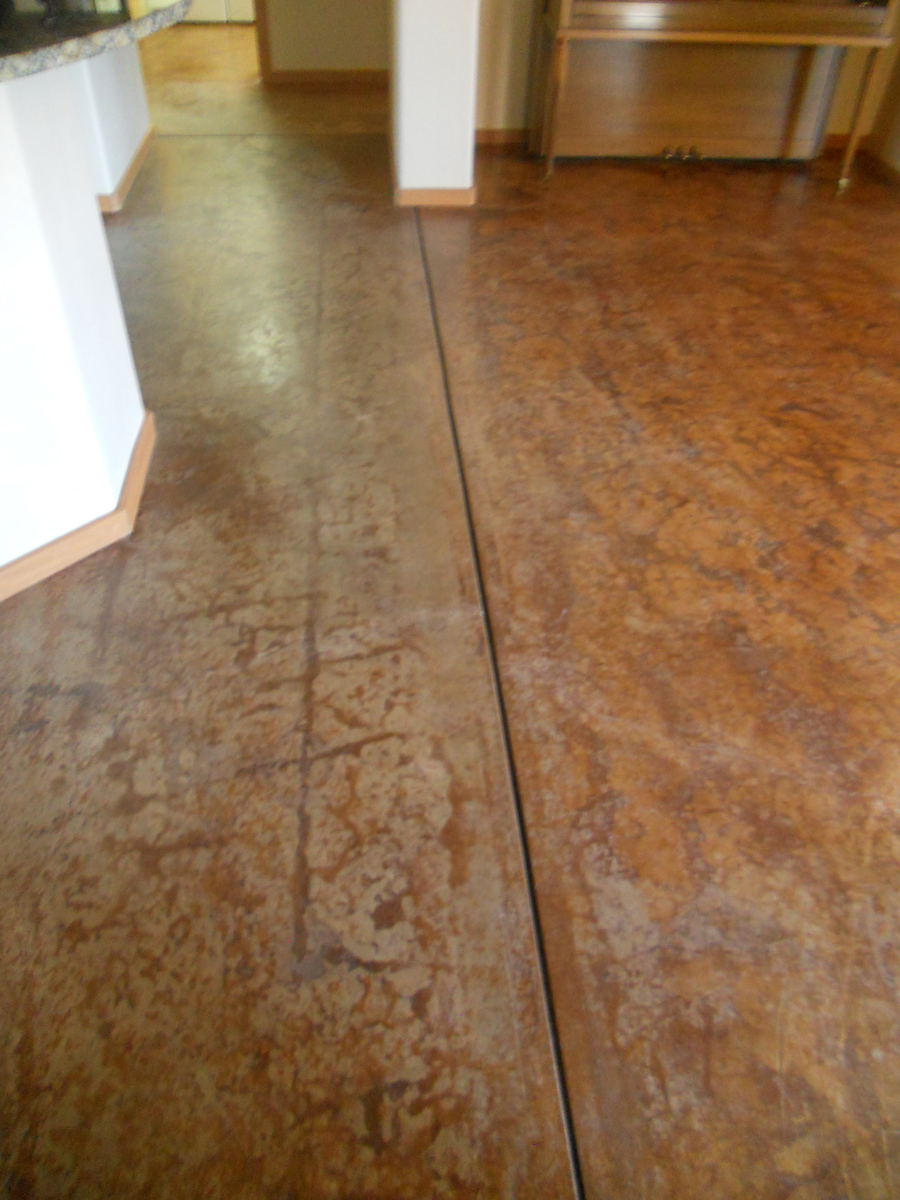
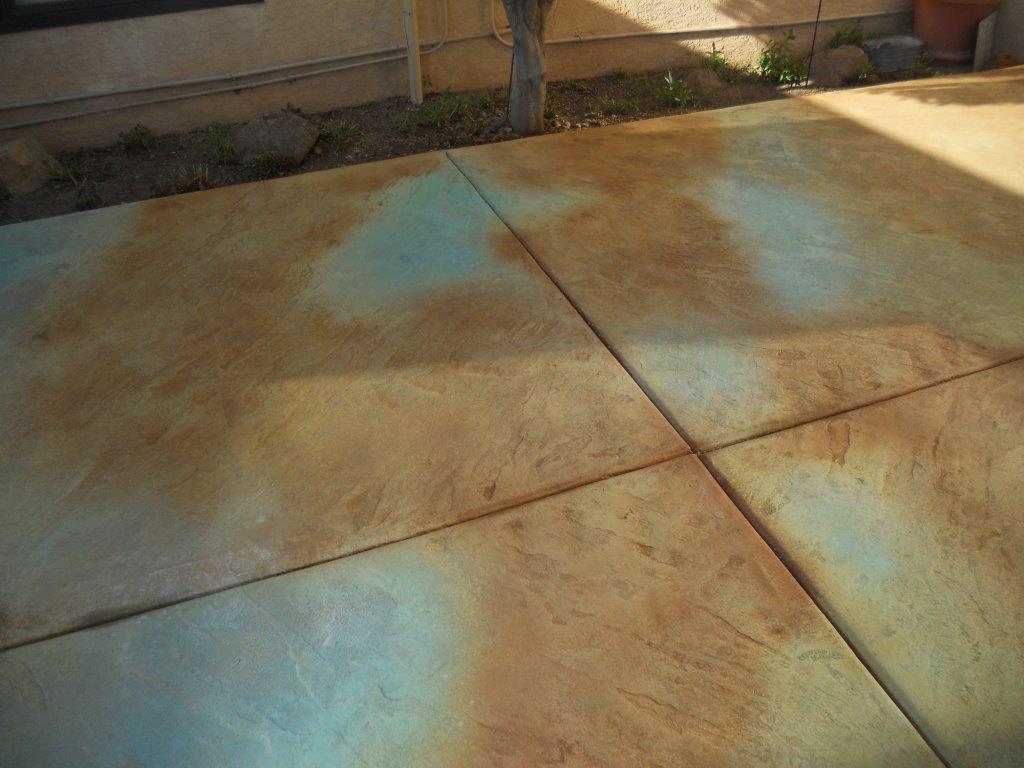
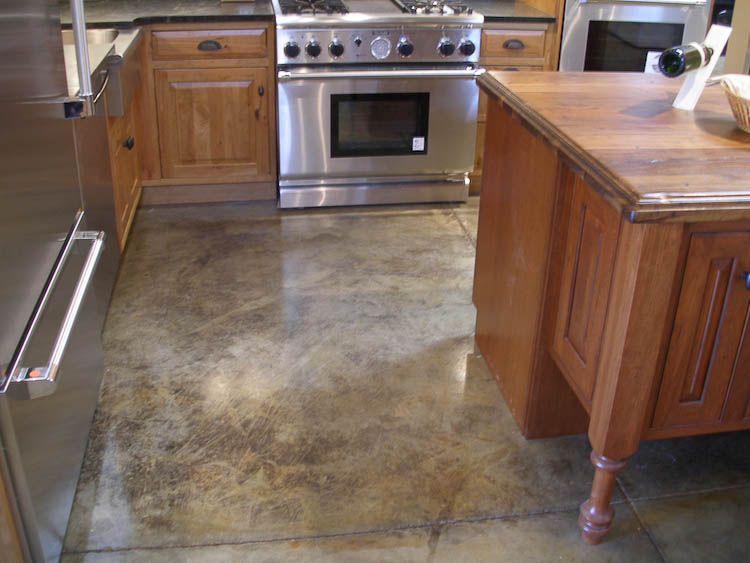
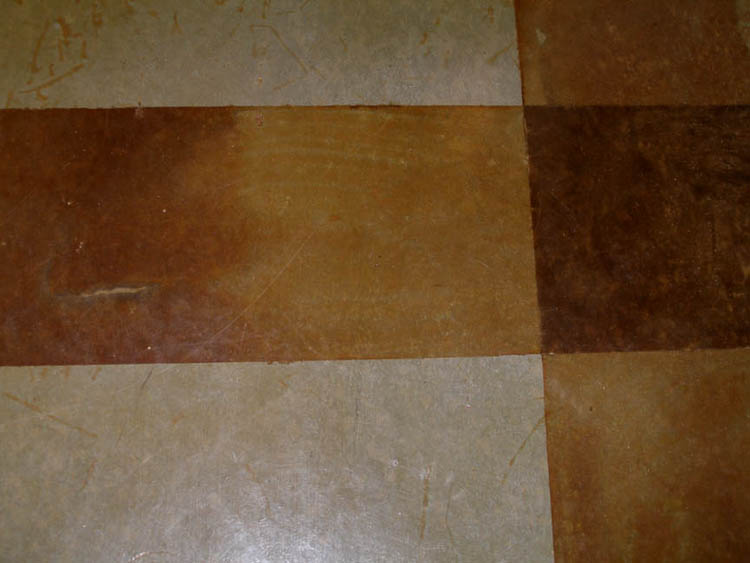
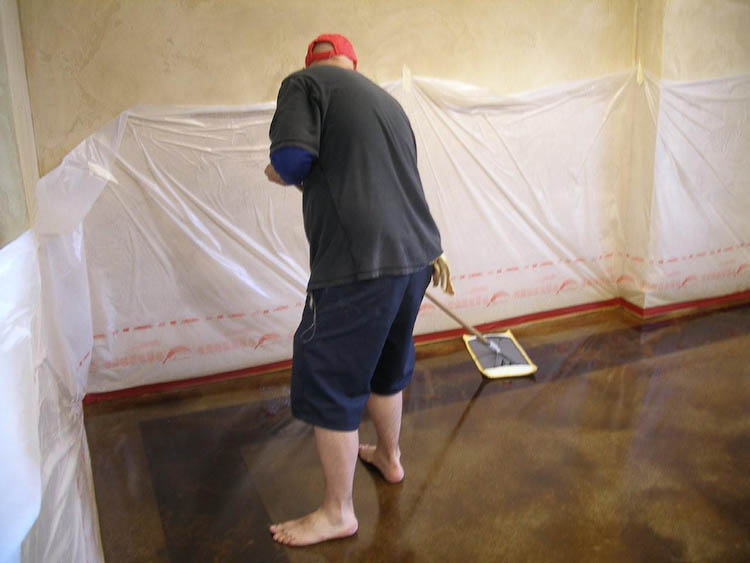
Photo C
Solvent sealers have what is called “dirt pick-up” – an almost magnetic attraction for dust – until the final finish is applied. Each room must be vacuumed meticulously with a top quality vacuum, then damp-mopped with frequent changes of water before it will be clean enough to seal. If you try to clean too large an area, the portion you have just cleaned will become white with dust by the time you have finished cleaning the next section. Floor cleaners must wear booties and avoid walking back over dusty areas, or they become a part of the problem.
When we got each room clean enough to see the floor clearly, another problem became apparent. A white ring of efflorescence followed the pale edge of every tiny crack which we had not filled. This was a surprise to us all, since the house was built on a hilltop and the builder had installed a moisture-vapor barrier under the slab. Such a small amount of calcium carbonate coming to the surface would probably not have shown against a paler shade of stain. Open expanses in the kitchen and living-room were laced with a network of white bordered cracks, like those seen in Photo C.
We tried the “easy fix” first, rubbing the white stuff off with lacquer thinner or xylene on a rag. This erased some of it, but large areas were trapped under the upper layer of sealer, which had to be rubbed completely through. As we thought about it, we realized that unless we filled every one of the hairline cracks, more efflorescence would surely emerge through them after future rains and snowfalls. We had to bite the bullet and fill every minute crack in the house before we could begin to faux paint away the lines of efflorescence.
For post-stain crack filling we use DAP or Custom Home Builders’ latex crack filler, which comes in a soft plastic tube. We squeeze it out on a paper plate and press it into the cracks with a flexible spatula and wipe the excess away from the sides of the crack with a damp rag. These fillers are smooth and fine-grained and can fill the tiniest crack. They are bright white, however, so we mixed some dark brown-black artist’s acrylic paint into the latex filler with a palette knife before pressing it into the cracks. We knew this would save us time later in the touch-up phase.

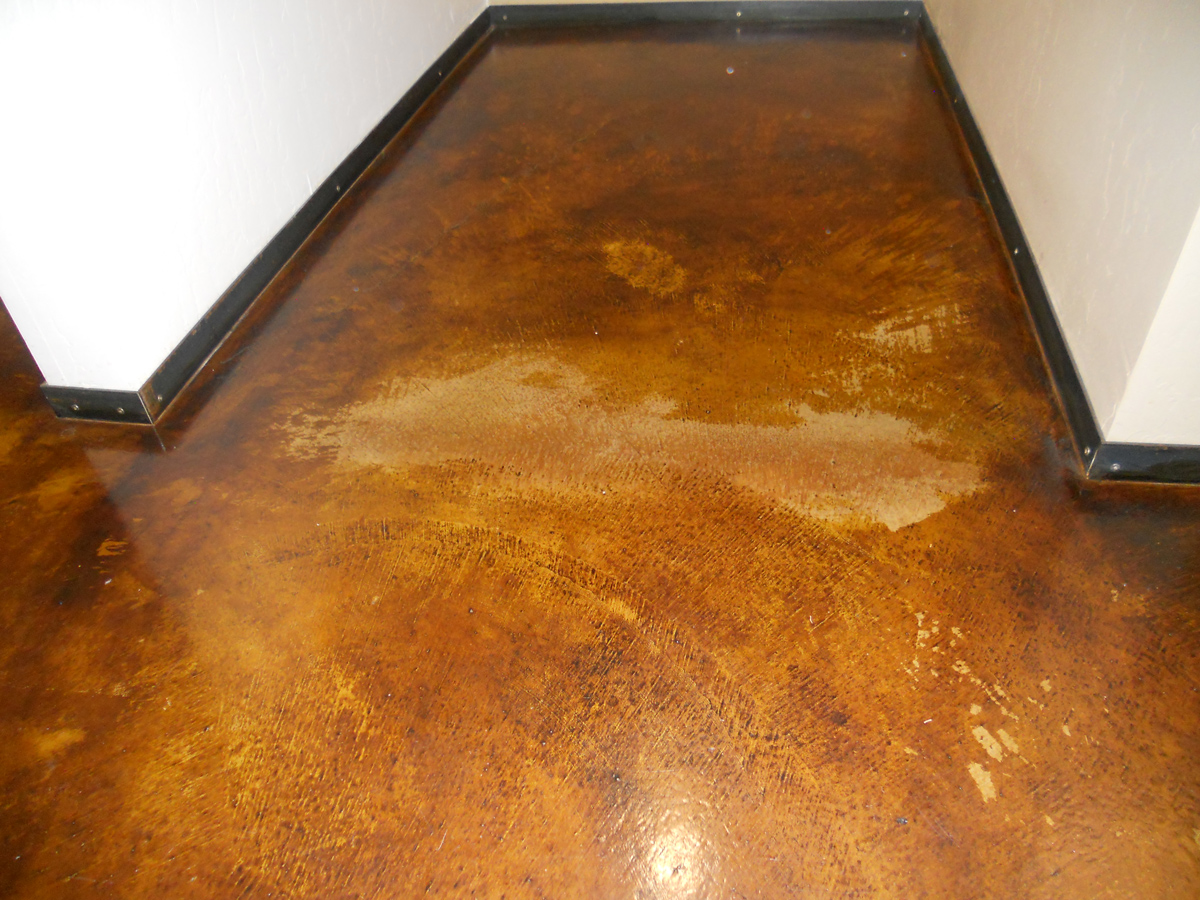
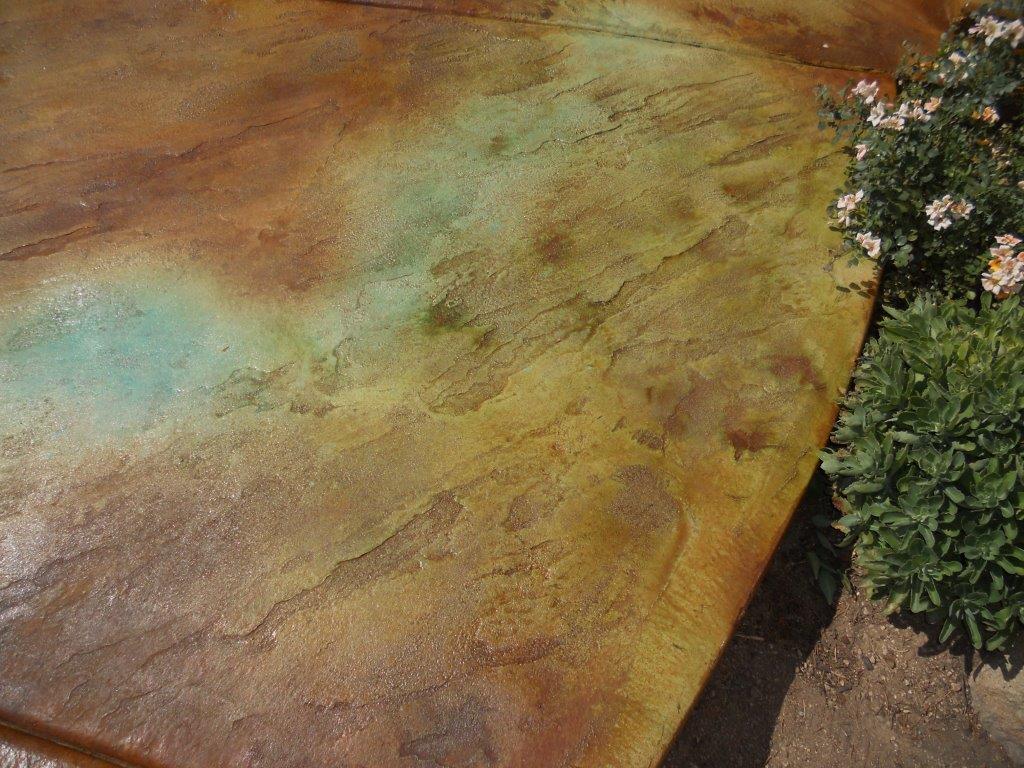
Photo D

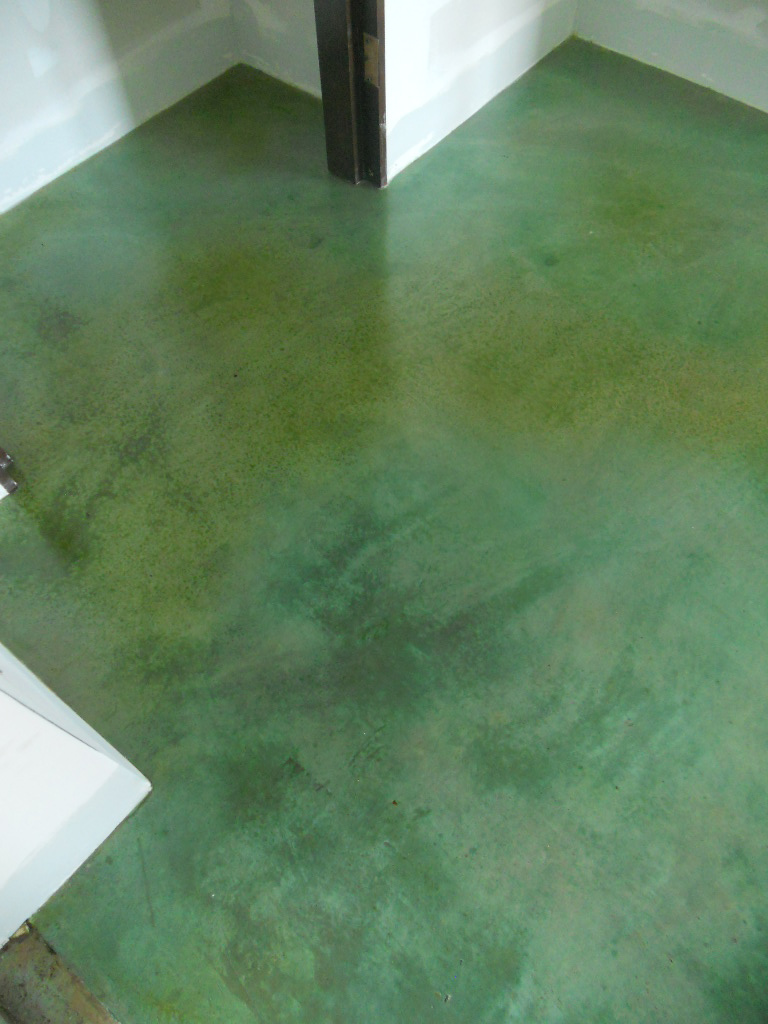
Photo E
After a long day filling cracks they looked better, but opaque and not patterned like the rest of the floor, as in Photo D. You can see from the next shot (E) that the floor was by no means a solid black color, but had a pattern of darker raindrops and blobs scattered against a lighter background shade. This is the sort of wonderful natural patterning which makes stained concrete so special and endearing to us. But it meant that in order to render the cracks less visible, we had to work in layers from the bottom up, with the top layer of faux paint being a translucent black applied in raindrop fashion with a tiny round artist’s brush. It took two artists 24 hours of mixing and dabbing to bring all the filled areas into harmony with the rest of the floor.
Even with gloss medium added to the acrylic paint, it dries much less glossy than the rest of the solvent-sealed floor. To bring everything up to the same durability and level of gloss, we had to roll on a fresh coat of solvent sealer, let it gas off for 36 hours, and then apply our two coats of Terra Glaze Final Finish.
Guess what? Despite locked doors and restricted traffic zones during the gas-off period, the floors had to be wiped down with microfiber covered mops several times more before we could apply the final finish.

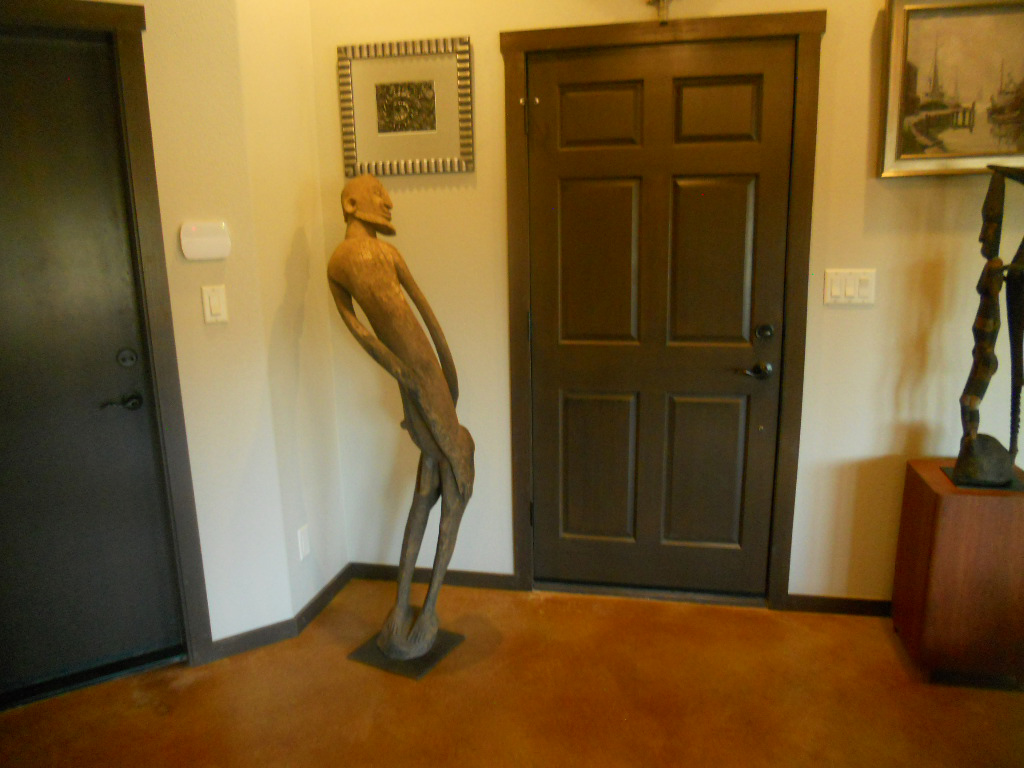
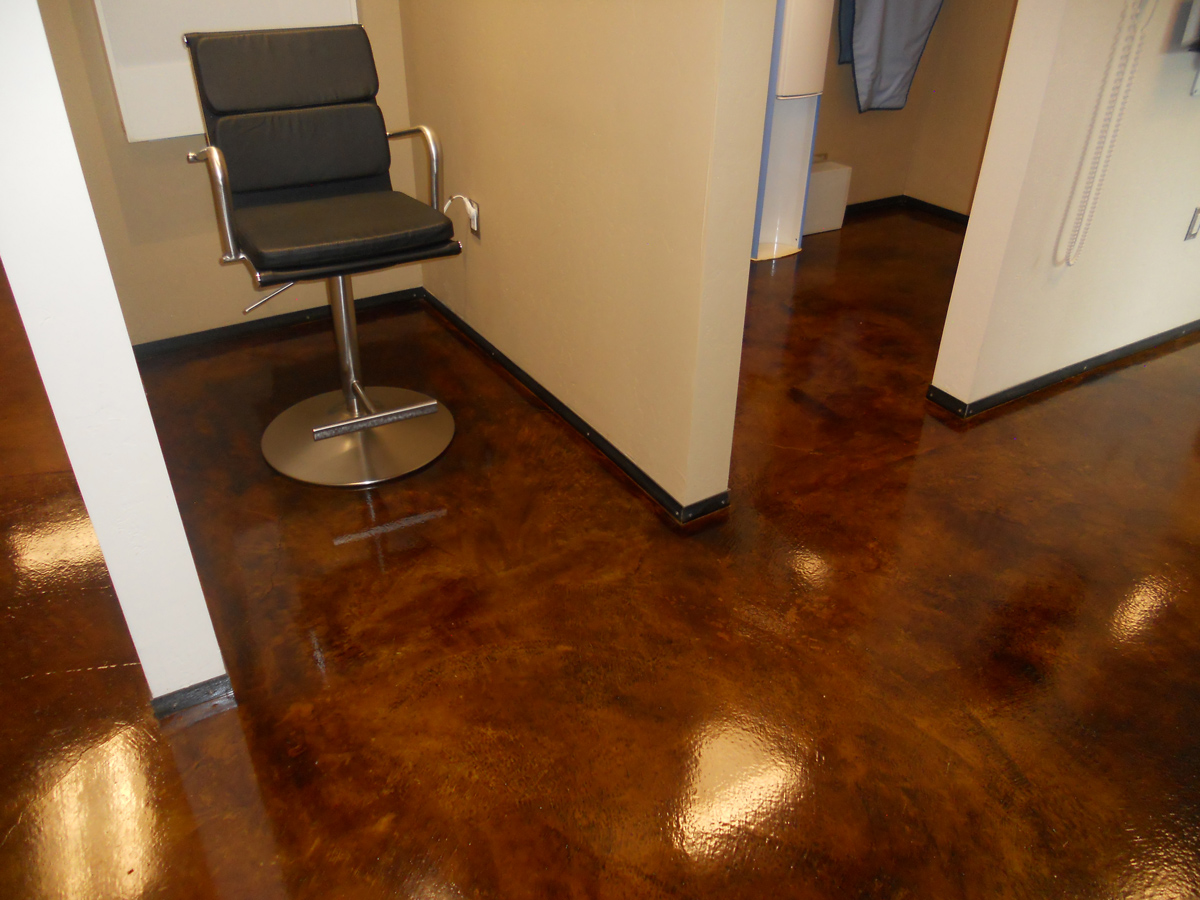
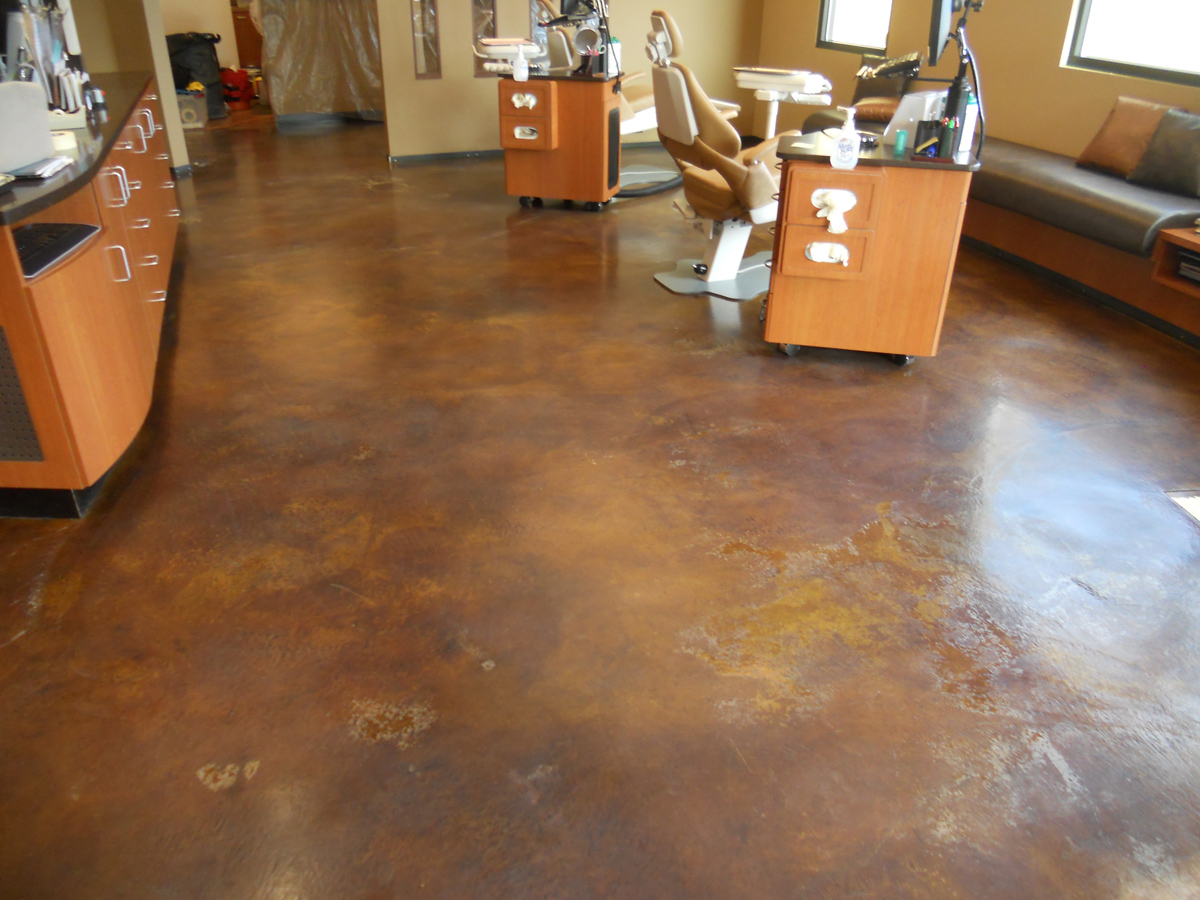
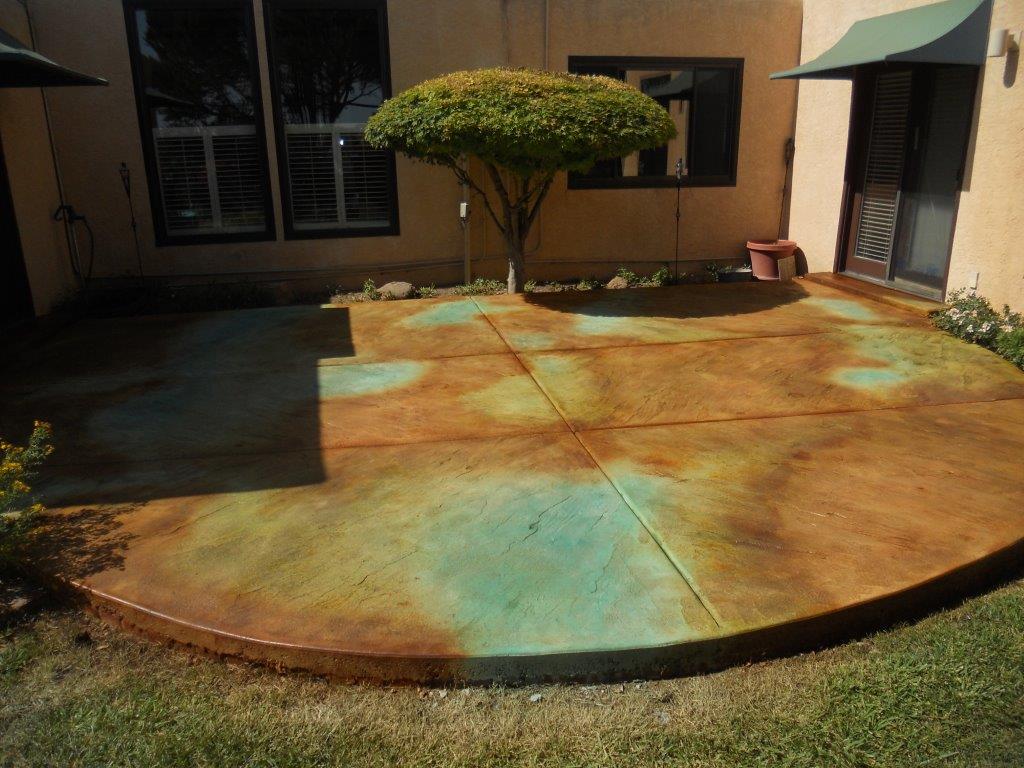
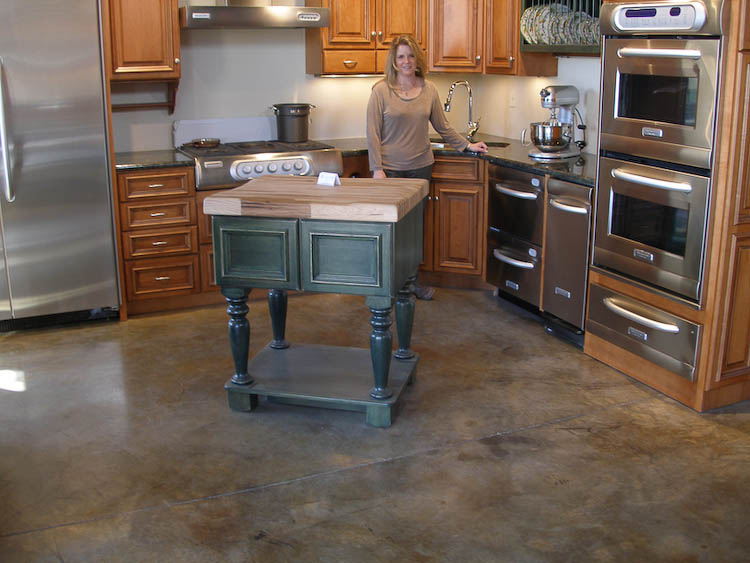
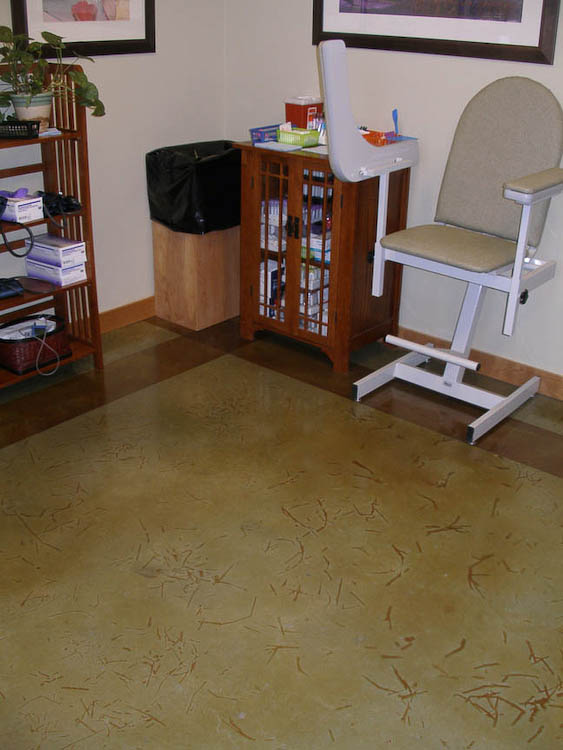
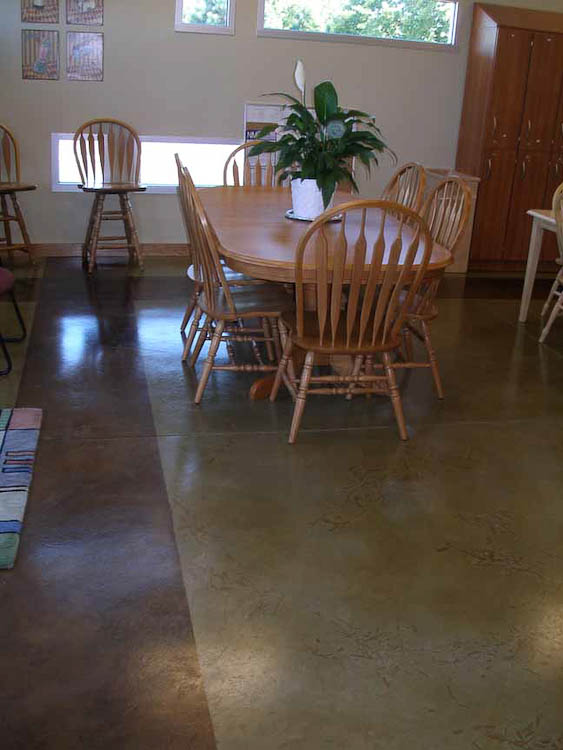
Photo F
Photo F
Photo F shows the kitchen floor, finished at last. We really liked the conscientious builder and the owners of this home, so we did not have the heart to charge them for four extra days of cleaning and faux painting, but we are quite glad that these black floors are now their responsibility. On the drive home we decided that we would charge extra the next time a client wants black floors!


Recent Comments