I would like to explain why we use two kinds of cementitious fillers by Lyons Manufacturing. Both are very good fillers, but we found out the hard way that Patchcrete should be used ONLY for flat patches and never in cracks. Super Flowcrete, which comes in large sacks and is made to be used as a slightly rough gray overlayment, however, is just fine to use as a pre-stain crack filler.
My crew had been using Super Flowcrete to fill cracks for years. Just prior to staining we would clean out and vacuum the cracks in the floor, apply bonding cement with a woodworker’s syringe or accordion squeeze bottle, so that it went only into the crack, and let it set up until dry. We then mixed the powdered Flowcrete with enough water to make a stiff paste and pressed it into the cracks, being careful to wipe away any excess alongside the crack before it set up. All of this is shown clearly in my DVD, “Acid Staining for Commercial Spaces.” As you can see, this is a procedure requiring two steps, often with an hour’s wait for the bonding agent to set up within the crack.
One day our supplier gave us a box of Patchcrete by Lyons and told us that it would speed things up. The bonding cement (or polymer) does not need to be squeezed into the crack first, but is mixed right in with the dry powder and pressed into the crack as soon as you are ready to fill it. The crew went for this shorter system and also liked the fact that the Patchcrete was finer (less gritty) than the Super Flowcrete, which made the texture of the filled crack match the floor better. So we switched to Patchcrete for both hole-filling and crack-filling and seemed to be doing fine with it UNTIL we had a catastrophe. Naturally, this occurred on a problem house with a fairly particular client – a house where another problem with stain absorbed by the rough-finished Variance walls had already wiped out our profit margin!

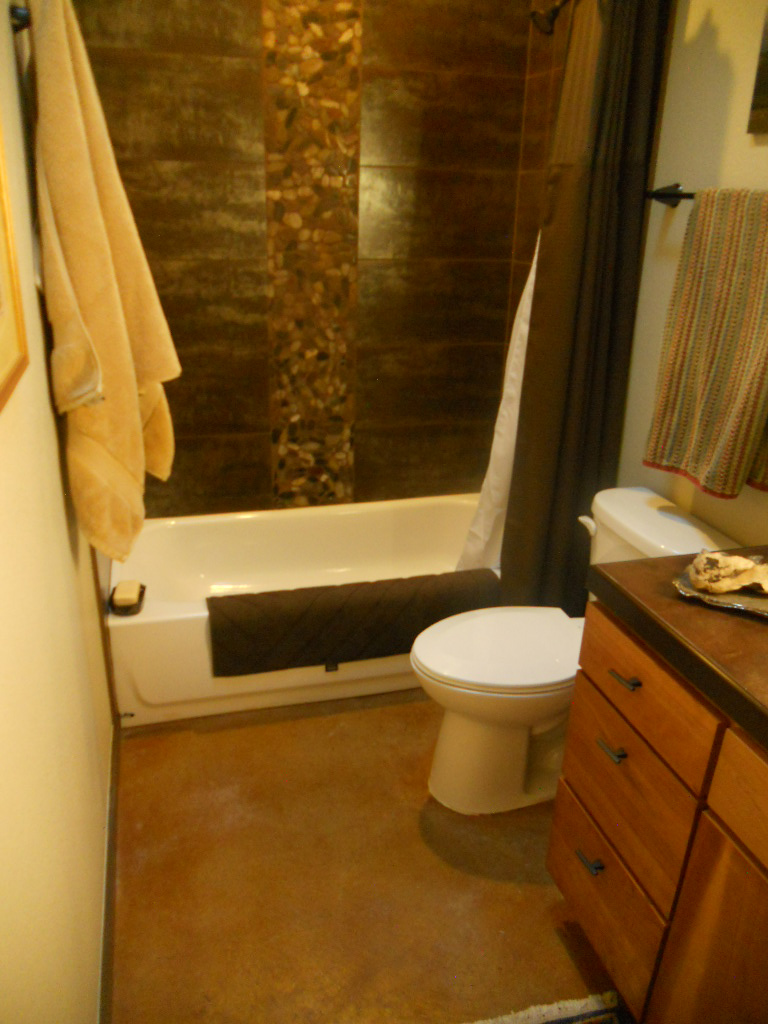
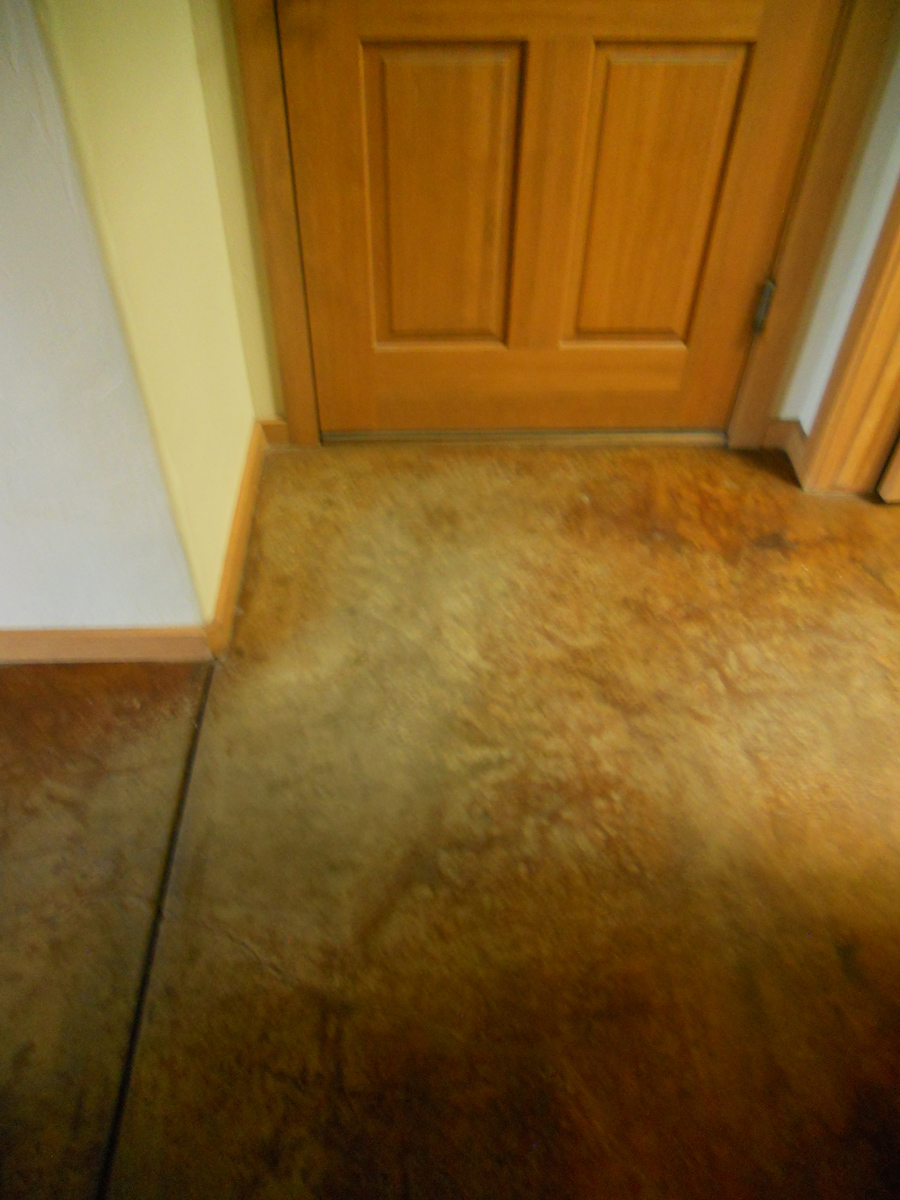
Photo A
The homeowners had moved into their new home and were happy with their floors. All our work had been done in the spring and summer months. That winter they turned on their radiant heat and “Whoa!–” every crack we had filled proceeded to chip and turn white. Photo A shows what happened to one crack in a bathroom. There were fifty such cracks all around the house.
The owners called and told me that our filler was popping out of the cracks. I had never seen THAT happen before, so I rushed over to look. It was not true. The Patchcrete was still holding well in the original cracks, but the thin, delicate “cream layer” on each side bordering our filled cracks was chipping off, taking all our stain with it. (Evidence that acid stain only penetrates about 1/16th of an inch into most slabs).
We could only conclude that when the radiant floor heat was turned on, the slab expanded as it warmed. There was no space for the slab to expand into, since the Patchcrete was smooth (not grainy) and very durable. So what “gave way” was the delicate layer of surface concrete bordering the crack.
This house was not a fluke. Several other radiant floors produced the same problem for us that winter. Here is how we fixed the now-
wide cracks and made them almost disappear:

Photo B
Photo B: We tapped along the crack with a rubber mallet to break off anything which was about to pop anyway.
Photo C: We scraped up the loose material.
Photo D: With a toothbrush-sized wire brush, we cleaned out the concrete powder and debris from the crack and vacuumed it up.
Photo E: We filled the void with a pliable latex crack filler made by DAP or Custom Building Products. These are sold in the paint department at Home Depot as concrete crack fillers. They only come in white (even the ones labeled gray look white to me).
Photo F: We only fill a foot at a time, since the product sets up fairly fast. We wipe away excess filler from the sides of the void with a damp microfiber rag. We find that a microfiber rag is much more effective than a damp sponge or piece of fabric.
Photo G: Once the filler has hardened enough to form a firm skin (in an hour or so) we can mix artist’s acrylic paints in colors to match the background floor and paint the area with a small brush. It may take two coats of acrylic paint to cover the white filler. We have since found that artist’s acrylics can be mixed right into latex fillers to color them, often eliminating the need for this step (see Blog #6 re: cracks on black floors).

Photo C
The final step is always to brush the repaired cracks with two coats of Terra Glaze Final Finish with a small brush. This is done to increase the gloss of the matte acrylic paint and to protect our faux paint from scuffing. These three layers of material are all acrylic, so they bond well together and are durable. We found that latex crack filler tends to sink a bit, or slump, as it dries when it is put into depressions greater than 1/8th of an inch. The filled area ends up looking smooth, but dimpled. It took us two or three fillings, letting each layer dry firmly, before we could get the deeper spots level with the rest of the floor.
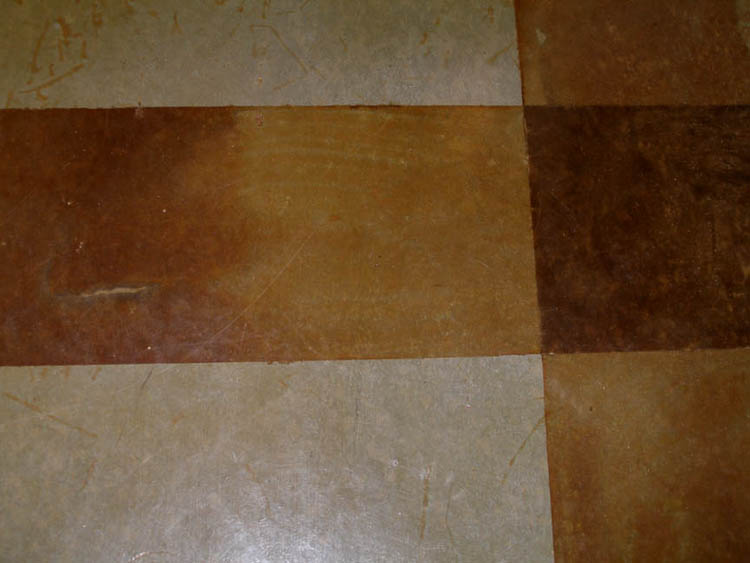
In this case luck was finally with us. The cracks we treated crawled all over the house and did not look as subtle as they had before the catastrophe. However, our clients had found their evenly-stained floors a bit plain and said that they liked the way the cracks now made the floor look more like stone. Proof, once again, that “it is better to be lucky than smart,” as I always say.
We no longer risk using Patchcrete to fill cracks, but it is perfect for broad depressions or patches in the floor and takes acid stain very well.

Photo D

Photo E

Photo F

Photo G


Recent Comments